
How to use Axios Cancel Tokens with React Redux
If you’ve done any NodeJS development, you’ll undoubtedly have worked with (or at least heard) about Axios. Axios is a great package that makes making HTTP calls easy for both front and backend projects.
Axios has a pretty robust API and allows you to do a lot of different things with how you make HTTP calls in your projects. Something I ran across recently was the ability to use cancel tokens.
Cancel Tokens are great for a situation where your Frontend project makes a long running HTTP call. This might be a heavy database read, or potentially some kind of number crunching that takes an abnormally long amount of time. To better improve that experience, you can use Axios Cancel Tokens to allow the user to cancel the HTTP call after it has started.
If you’re working with a React Redux application, this might not be quite as straightforward since you’re using effects to handle your HTTP calls rather than local state with useEffect setup. In this post I’m going to talk about Axios Cancel Tokens, and then show you how you can use them with React Redux. The example I’m going to walkthrough can be copied from my GitHub repo.
My Example
If you checkout out my GitHub repo, you’ll find a simple React Redux application that uses cancel tokens.
I’ve added some npm scripts that use concurrently to run a local express server alongside the React application. The server just has one endpoint that doesn’t return a response, thereby creating a long running HTTP call that we can visually see getting started and stopped.
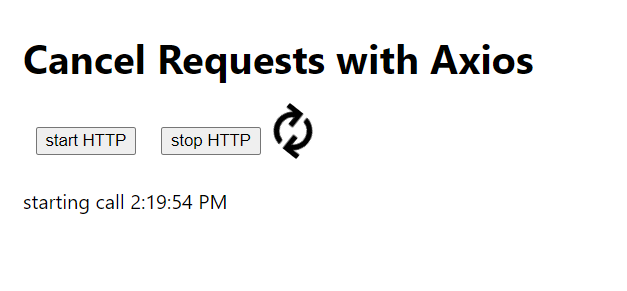
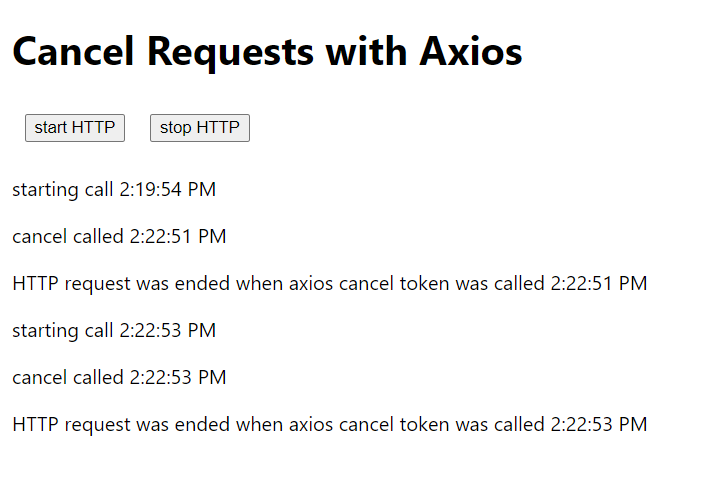
The application has two buttons that let you start and stop the calls. Whenever you do anything, it writes a message to the Redux store and you can see (in realtime) the calls getting started and stopped. When you start the HTTP call a little progress spinner will spin, showing activity.
If you want to run this locally, just clone the project and then do the standard npm install. When that finishes, you can run npm run start and watch it in action.
How to use cancel tokens
When you use cancel tokens in your Axios HTTP calls, you just pass them in similar to how you would parameters for a request.
import axios from "axios";

const CancelToken = axios.CancelToken;
let cancel;

function retrieveMessage() {

    axios
      .get("http://localhost:5000/api/call", {
        cancelToken: new CancelToken((c) => {
          cancel = c;
        }),
      })
      .then((response) => {
        // this would be a successful return from the call
	return response.data;
      })
      .catch((error) => {
        // watch for the cancel and then report on the call
        if (axios.isCancel(error)) {
          return 'HTTP call ended with cancel';
        }

	// when an error happened that was not the cancel token
        return JSON.stringify(error);
      });

    return;
  };
}

function callCancel() {
  return function (dispatch) {
    if (cancel !== undefined) {
      cancel();
    }

    return;
  };
}
As you can see in this snippet, the cancel token is first declared outside of the functions that use it, and its passed into the Axios call as a property. Now that you have the cancel object existing outside of the HTTP call, you can call it with a second function. This works well for components and React apps that use local state. In the next section I’ll explain how to use this with Redux.
How to use Cancel Tokens with Redux
With Redux, your applications state is managed with the “flux” pattern. If you’re new to Redux, I recommend reading my post How to get started with React Redux.
With Redux, your HTTP calls are typically done with effects that are called by your components. If you look at my sample project, you’ll notice that I have two effects for working with the cancel tokens:
import axios from "axios";
import { MessageActionTypes } from "../actionTypes";

const CancelToken = axios.CancelToken;
let cancel;

export function retrieveMessage() {
  return function (dispatch) {
    const timestamp = new Date();
    dispatch(setMessage(`starting call ${timestamp.toLocaleTimeString()}`));
    dispatch(setProcessing(true));
    axios
      .get("http://localhost:5000/api/call", {
        cancelToken: new CancelToken((c) => {
          cancel = c;
        }),
      })
      .then((response) => {
        // this would be a successful return from the call
        dispatch(setProcessing(false));
        return dispatch(setMessage(response.data.message));
      })
      .catch((error) => {
        // watch for the cancel and then report on the call
        if (axios.isCancel(error)) {
          dispatch(setProcessing(false));
          const timestamp2 = new Date();
          return dispatch(
            setMessage(
              `HTTP request was ended when axios cancel token was called ${timestamp2.toLocaleTimeString()}`,
            ),
          );
        }
        dispatch(setProcessing(false));
        return dispatch(setMessage("error caught"));
      });

    return;
  };
}

export function callCancel() {
  return function (dispatch) {
    if (cancel !== undefined) {
      cancel();
    }

    const callTimestamp = new Date();
    return dispatch(
      setMessage(`cancel called ${callTimestamp.toLocaleTimeString()}`),
    );
  };
}
If you notice in the retrieveMessage effect I have an Axios call where I pass the cancel token. Then in the callCancel you’ll note that I actually cancel the HTTP call with the passed in token.
You can dispatch these effects, within your components and just attach them to a button click etc.
Wrapping Up
In this post I covered some basics about how to use Cancel Tokens in your projects. From here you can add them to both front and backend JavaScript applications where you want to be able to control an HTTP call. Its a great benefit for the user experience in a frontend project to be able to stop a long running process. I highly recommend checking out the Axios Docs and also my sample project. Axios is great because you can use it beyond just React, and the same pattern that was used here can be applied to any JavaScript application.