Mandalorian Halloween
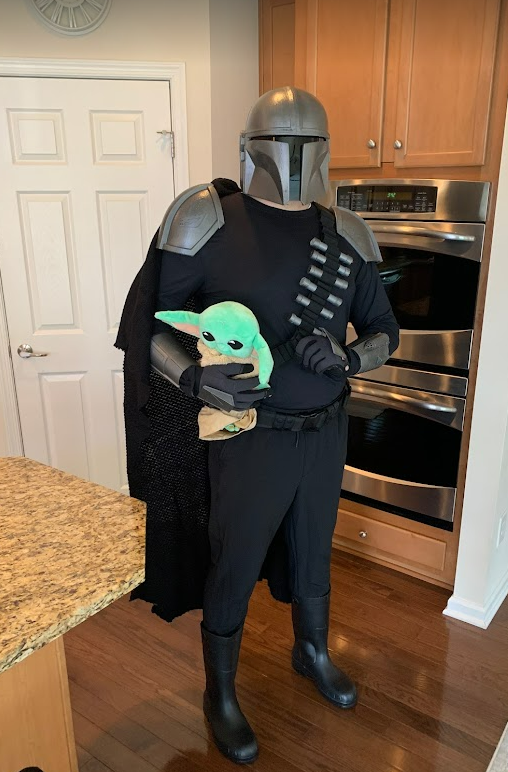
This Halloween I decided to dress up as one of my favorite Star Wars characters, the Mandalorian. I had seen several other folks create similar costumes, and we thought this year would be fun to make our own using my own 3D printer. I 3D-printed the helmet & armor, and the rest was a combination of Target and Amazon. In this post, I’ll talk about how I created the costume and a few things I learned. As the Mandalorian says, this is the way.
Also as a side note, if you’re new to the Mandalorian, I highly recommend the show on Disney+. I even created a small fan site with some info at mandalorianfan.com.
Starting Out
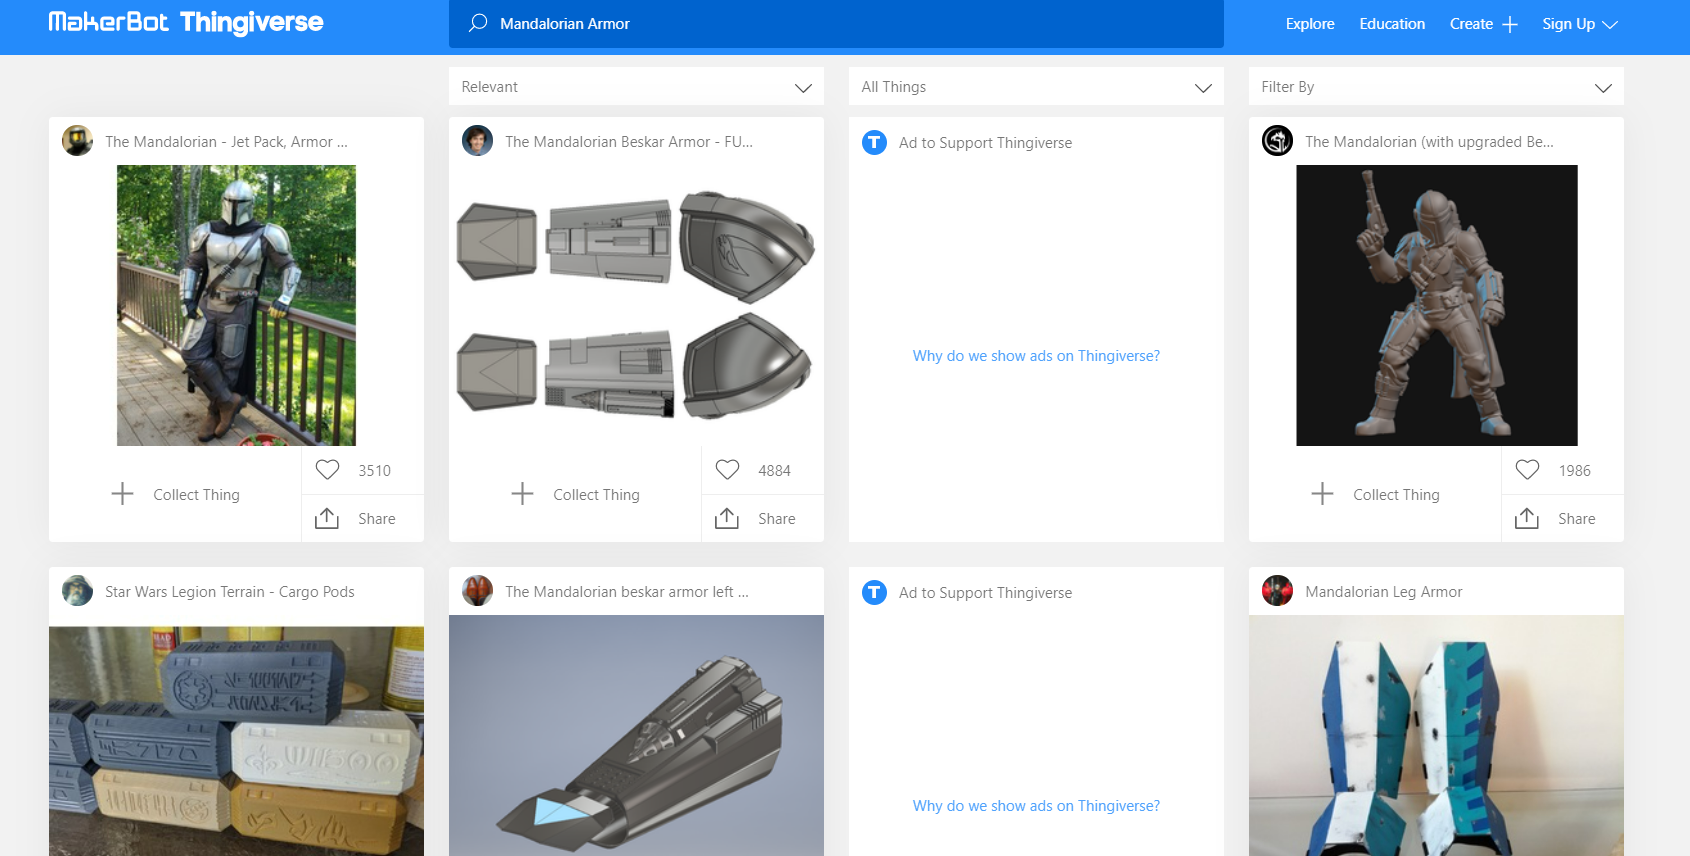
Most of the time when I create 3D prints, I usually start at thingiverse.com. If you go check out the models that are posted, you’ll find several variations of the Mandalorian Helmet and Armor. I went with a set for the armor (shoulders, forearms, and hands) and then a different set for the Helmet.
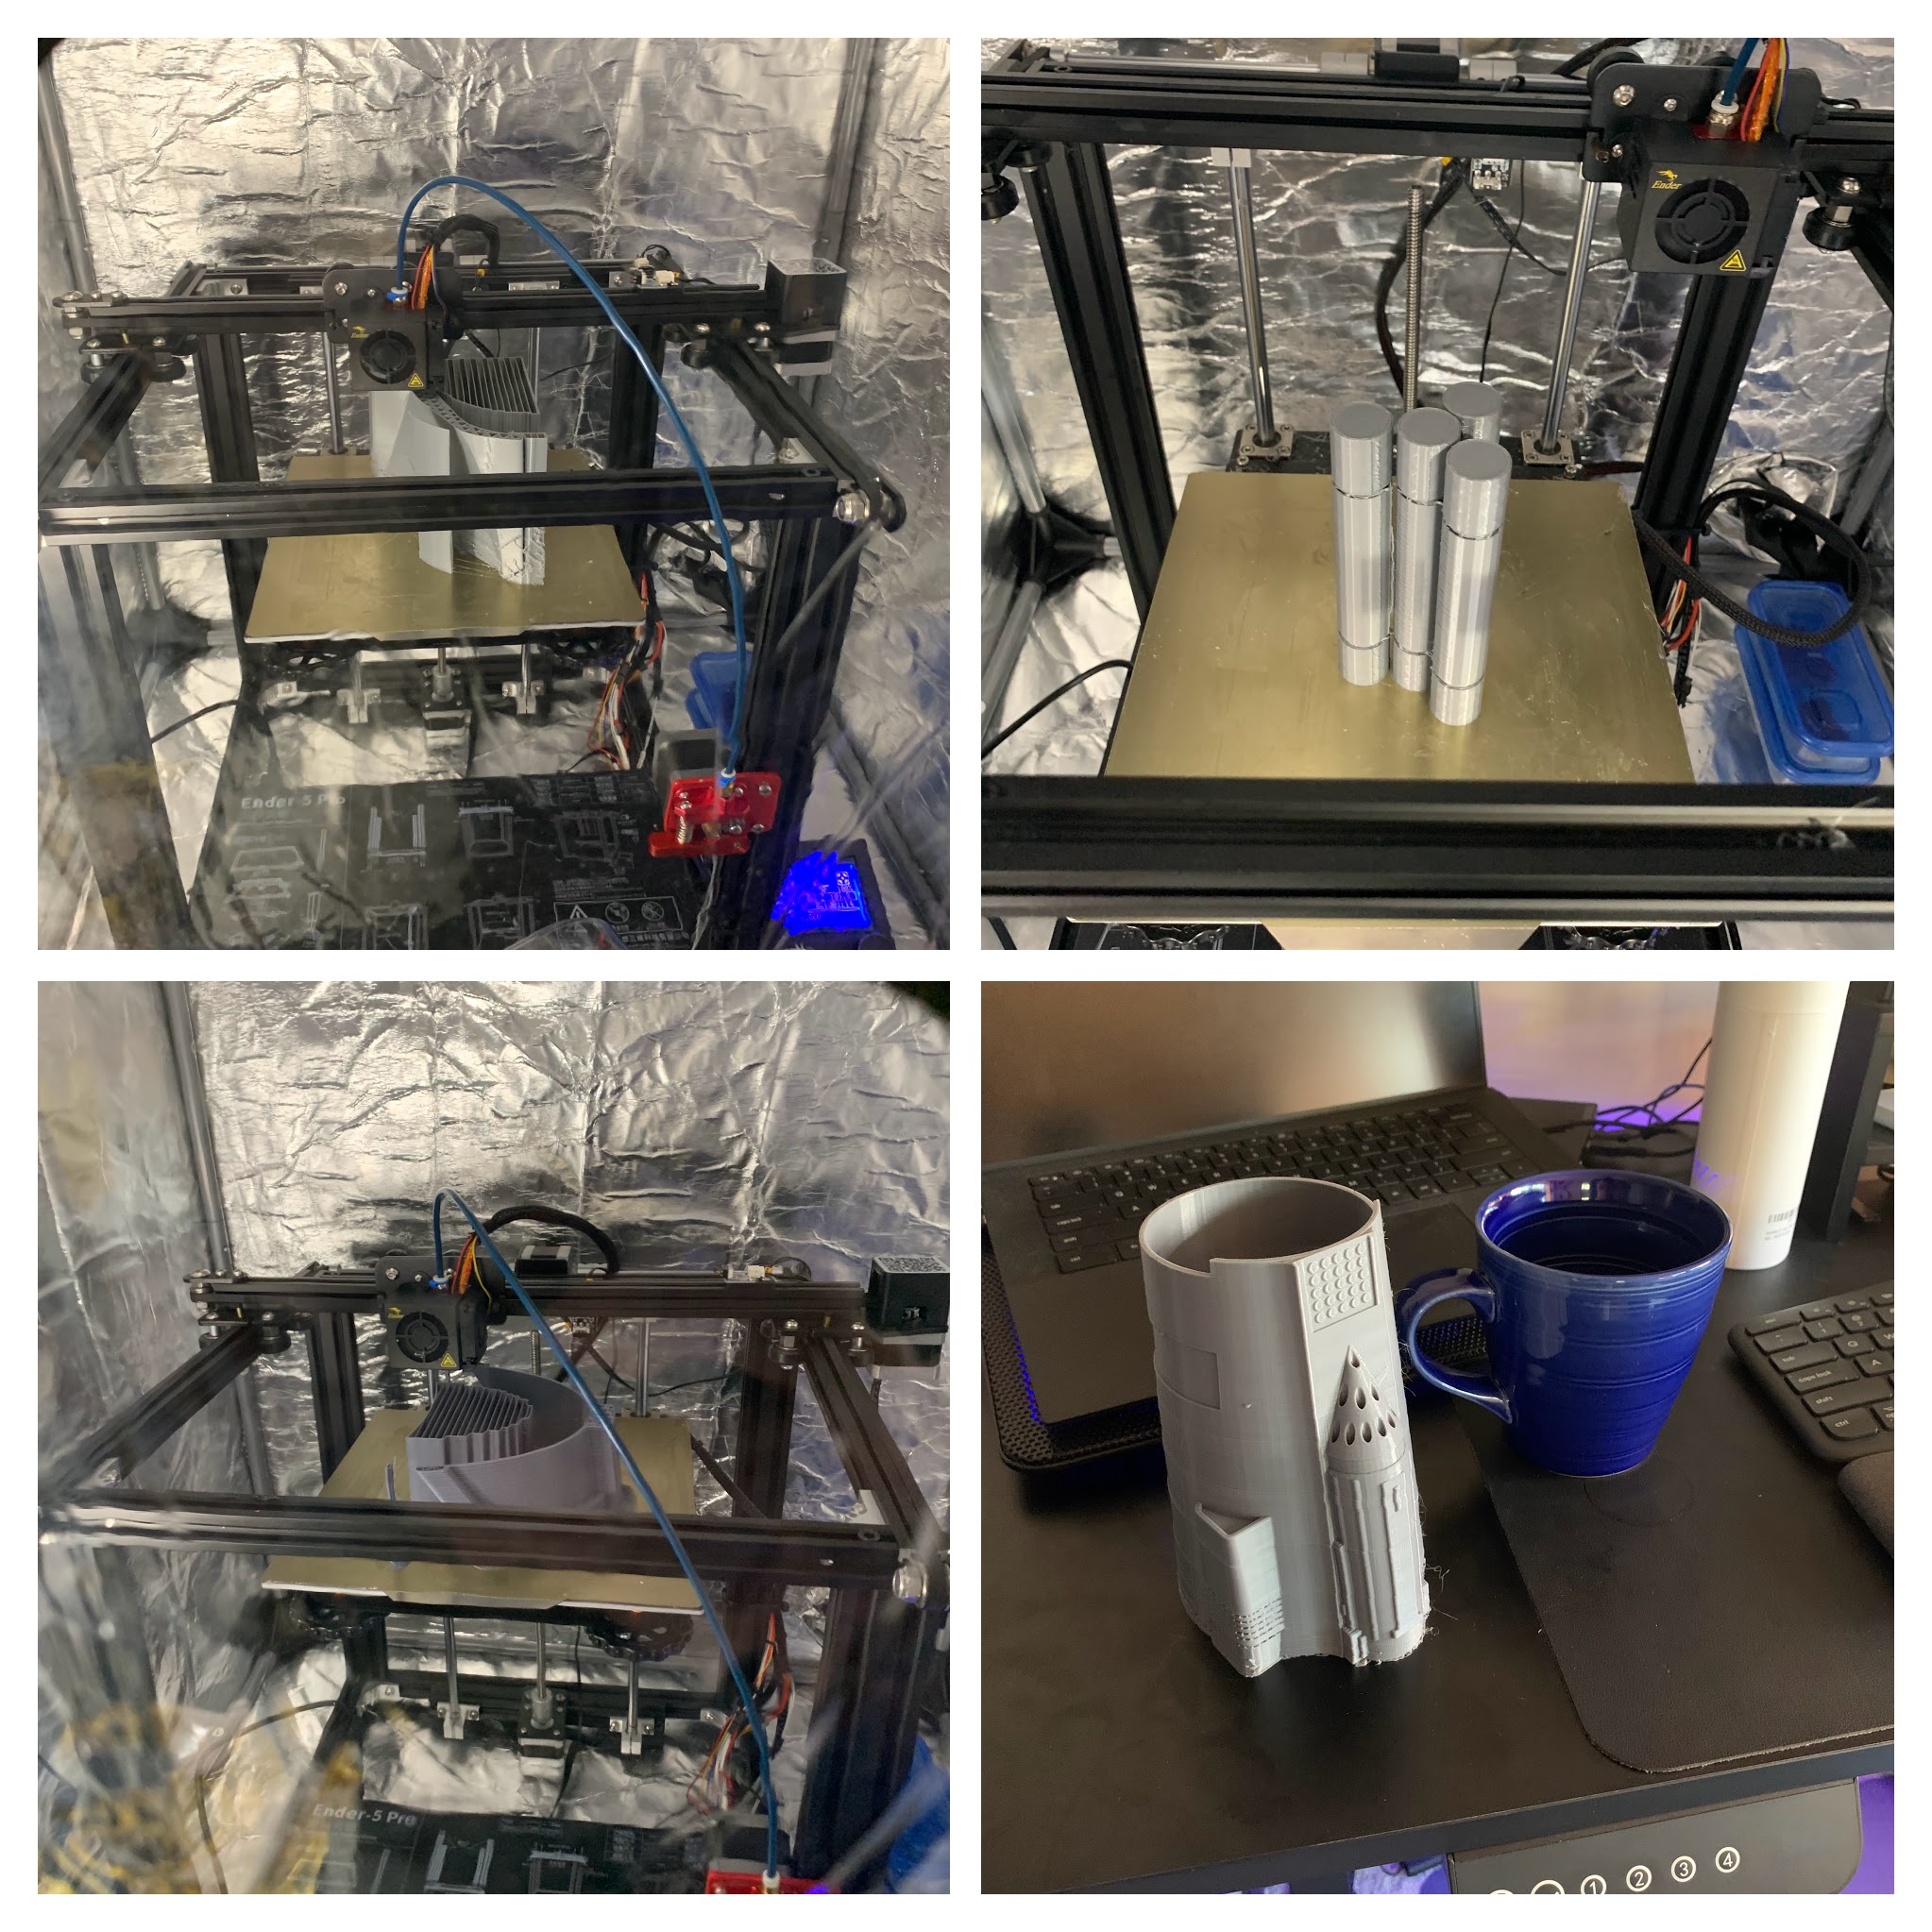
For full disclosure, I have to mention that this entrire project took about a month. I printed each piece of the armor individually, and those took about a day each. The Helmet I had to separate into 4 sections because the build plate was too small on my printer for the life-size Helmet (more on that in a second).
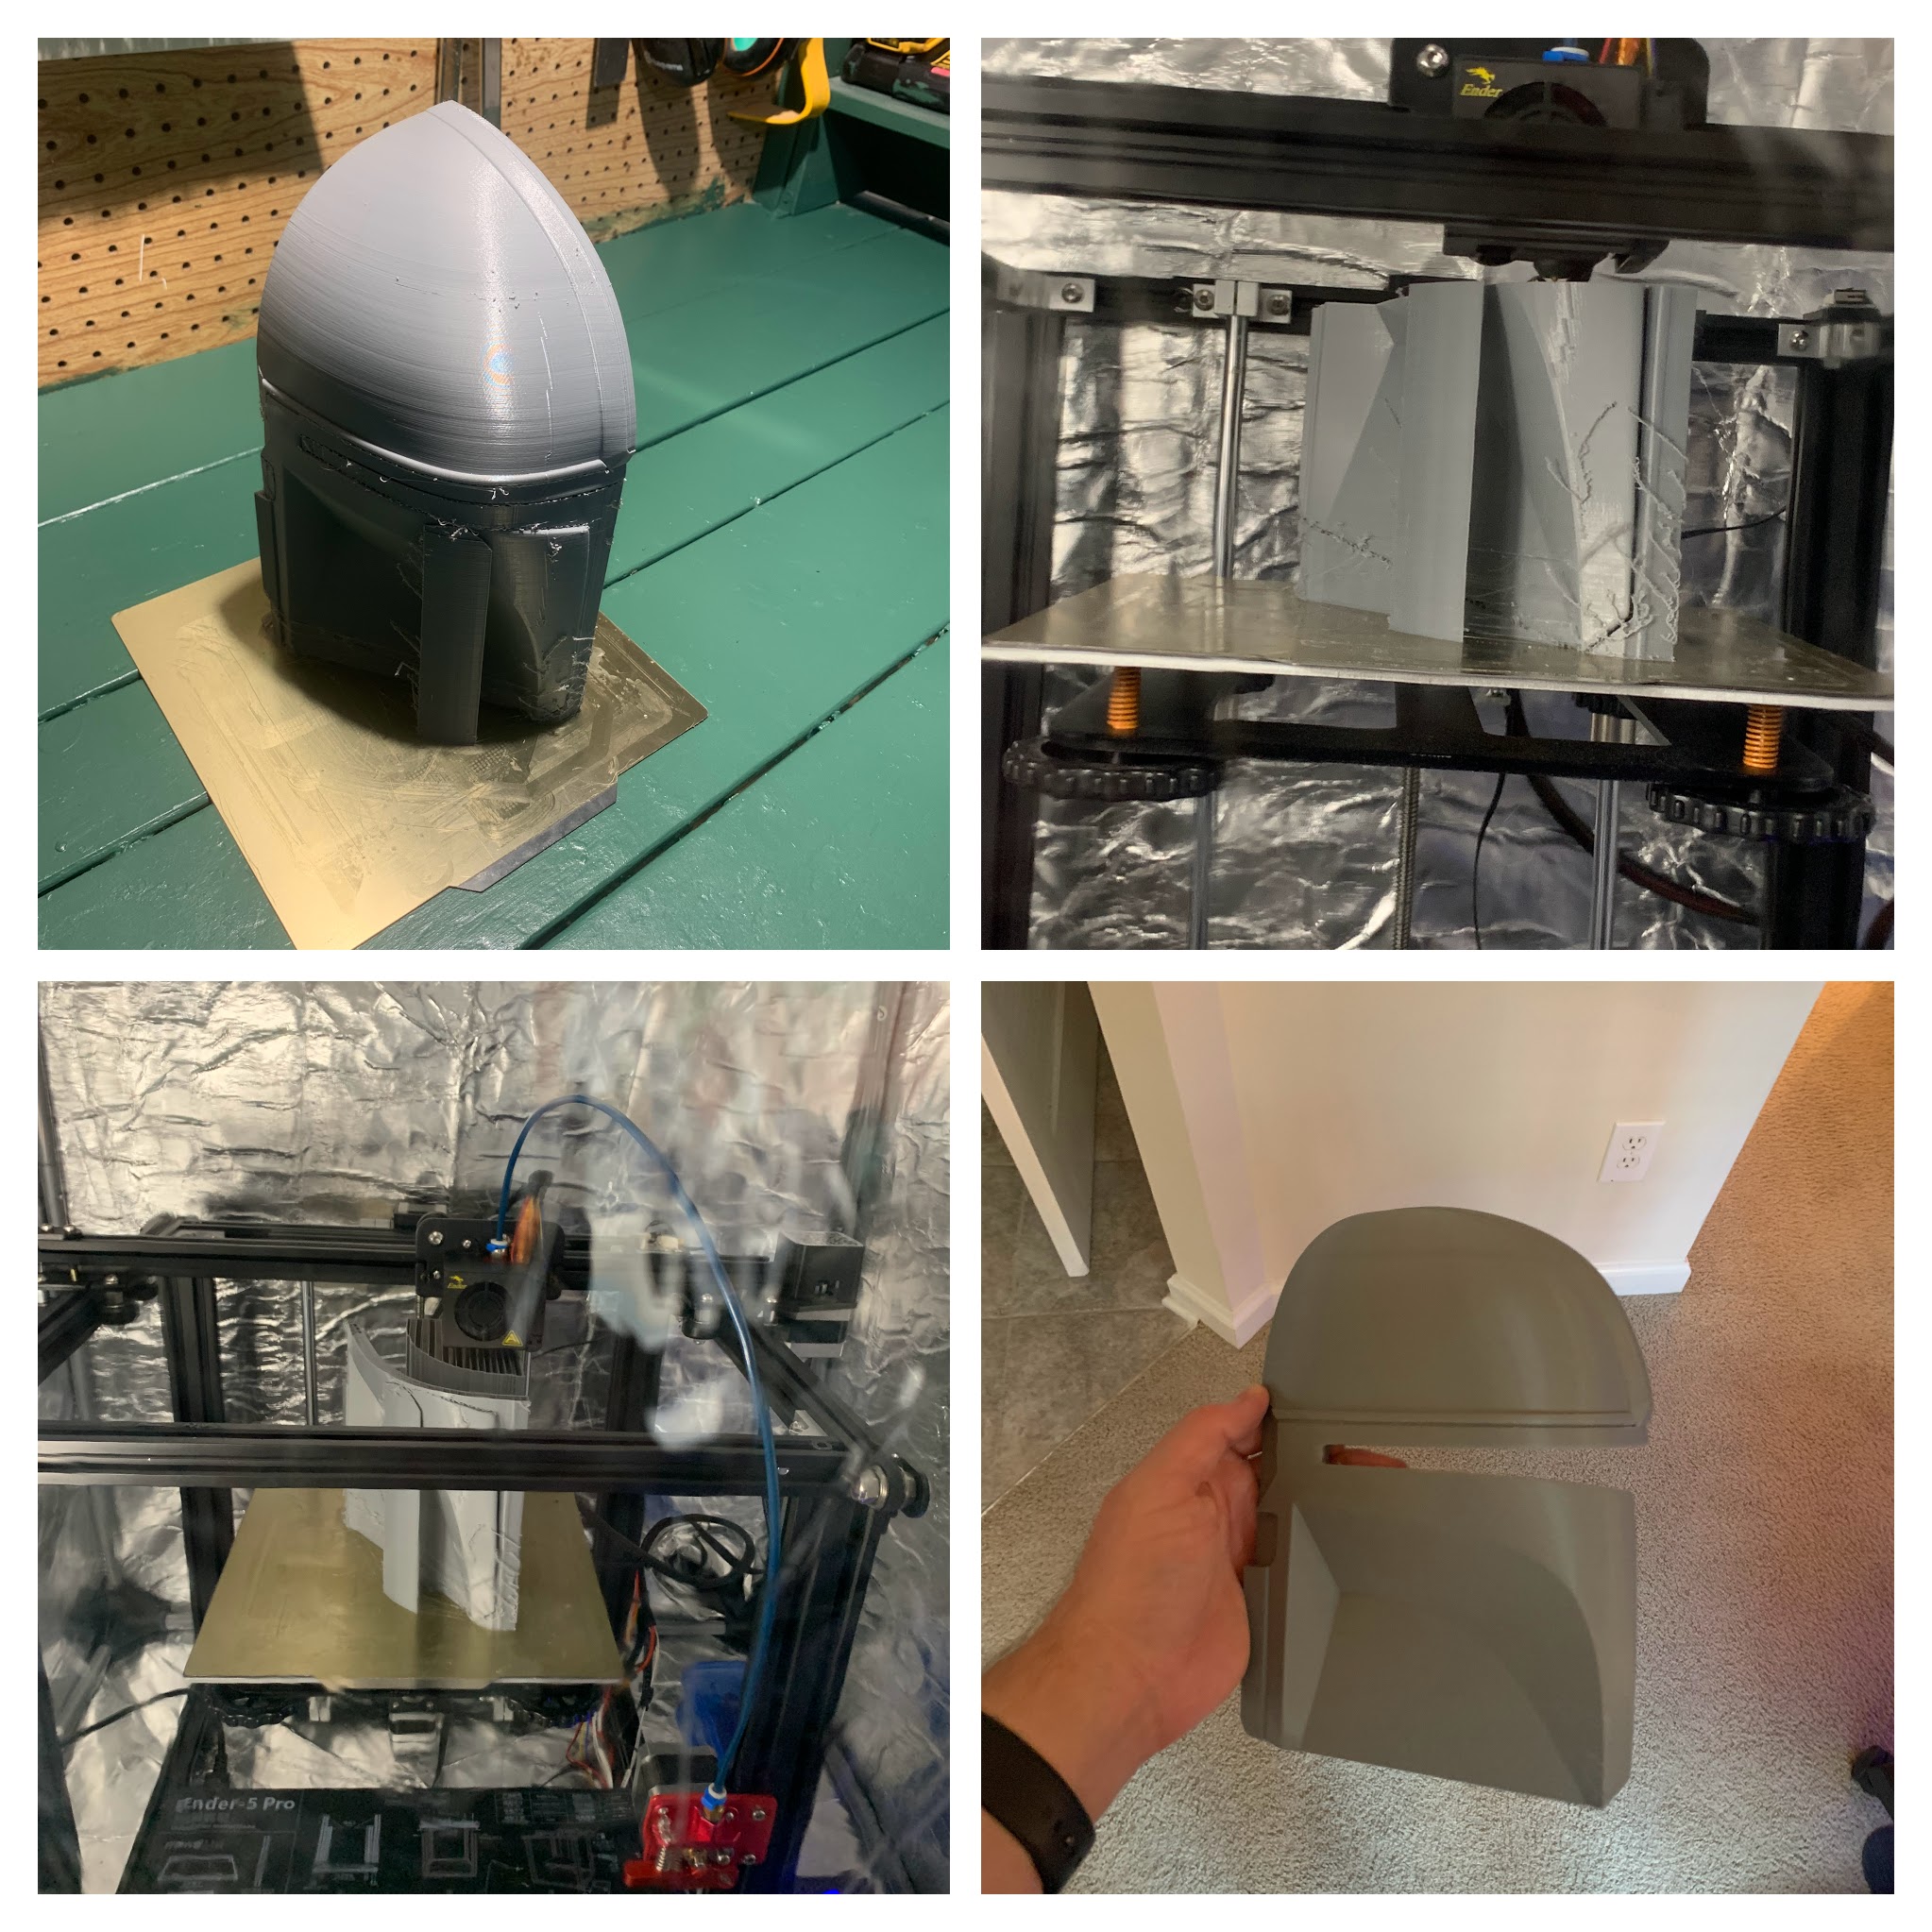
The Helmet
As I said in the above section, the Helmet took the longest to print because I had to separate it into 4 sections. I have to give a big shoutout to Microsoft’s 3D Builder program because it made working with the model file super simple.
Once I made the different sections, then it was just a matter of printing each one out. When they were all completed, I used contact cement to glue the pieces together.
One side note, when I had the 4 pieces printed I taped them together just to test the fit. I found the default fit of the helmet to be tight, so I then printed an additional extender pieces that I glued up as part of the assembly. You can barely even notice the resulting Helmet.
The face shield that Mando has in the helmet can be made with any tinted plastic material. I went with a face shield off of Amazon. My wife lovingly cut it down to fit the inside of the helmet.
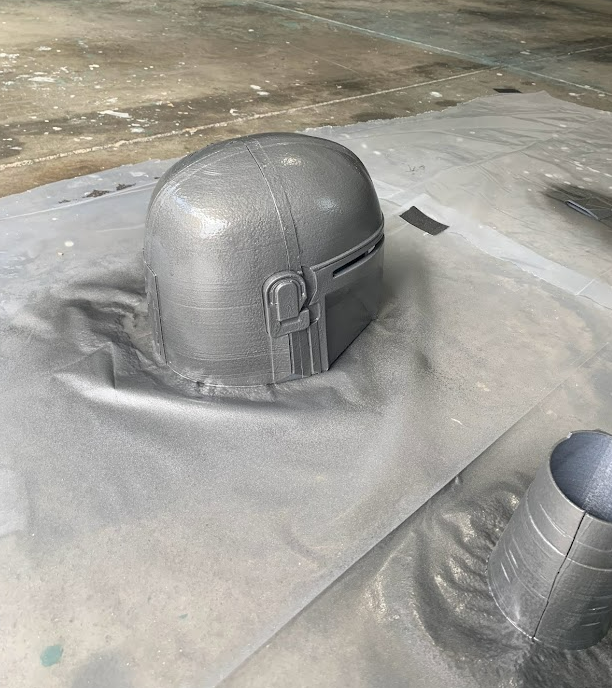
Making The Armor Metallic
Once I had everything glued up, I took some metal paint from my local Home Depot and painted over the printed pieces. A word of caution here, I’ve heard some paints will actually eat the filament that is used in 3D printing. I used PLA and didn’t have any issue, but its always good to test out paint before you go full bore into the doing everything.
Bandolier, Utility Belt, boots, and Gloves oh my!
So now that I had the armor together, the next step was to get the rest of Mando’s accessories.
He also has chest armor and leg armor, I didn’t have enough time to print that out and that also required more customization. Its cool if you can do it, but I was happy with just the armor I had printed.
To make the rest of the costume legit, I got a black athletic shirt and pants from Target. The rest of the outfit I got from Amazon.
- Cape
- Boots
- Utility Belt
- Bandolier
- Gloves, I got these from Home Depot
Finishing Up
So I have to say this was really(!) fun. We’ve enjoyed getting to watch the full outfit come together. I learned a lot about 3D printing actually as well. I had several 3D printing mishaps, which taught me a variety of things including to always tune the speed and temperature. I also learned that positioning your model can mean less supports which means less filament used. I also had a lot of fun getting to dress up as one of my favorite characters. If you’re a fellow enthusiast, or want to do this on your own I highly recommend it. Hope everyone has a safe and Happy Halloween!
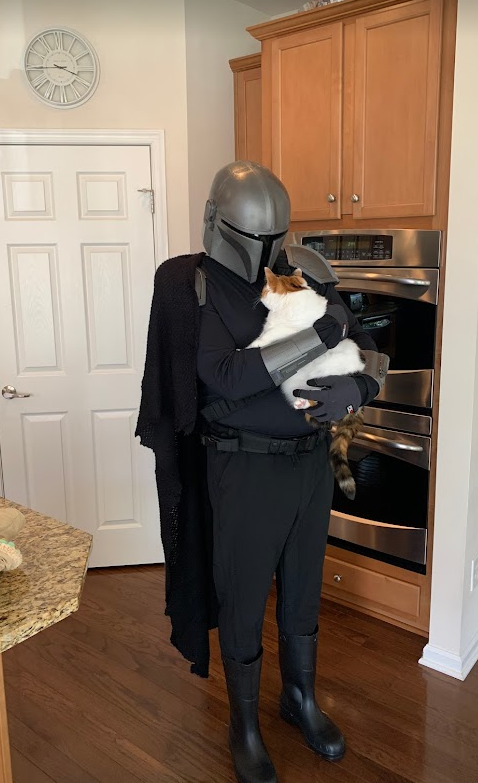
Also had to include a picture with my cat, Chessie. My other cat Rey was preoccupied with a nap, so she missed the photo shoot.