
Building a Woodworking Site with Vue and Netlify CMS
Recently I’ve been learning more about Vue for Frontend projects. I also wanted to build a website to chronicle some of my woodworking projects so I could share with friends and family. Outside of technology, one of my big hobbies is woodworking. I love getting to build things, and there’s always something to learn.
In this post, I’m going to cover how I setup a site with Vue and Netlify CMS. This was a super fun project to do, and the combination of Vue and Netlify CMS documentation made it really easy to dive into. You can jump ahead and checkout my finished site at AndrewEvansWoodworking.com. If you’re interested in some of my projects, I also share them on Instagram.
Getting Started
So to begin with, I want to just lay out the general architecture of this project. It has a Vue project that acts as a Frontend, and then it uses Netlify CMS to make a Git based content management solution.
You have to add an “admin” route to your Vue project which basically is just in the form of a widget (the following snippet was copied from the Netlify CMS page.
<!doctype html>
<html>
  <head>
    <meta charset="utf-8" />
    <meta name="viewport" content="width=device-width, initial-scale=1.0" />
    <title>Content Manager</title>
  </head>
  <body>
    <!-- Include the script that builds the page and powers Netlify CMS -->
    <script src="https://unpkg.com/netlify-cms@^2.0.0/dist/netlify-cms.js"></script>
  </body>
</html>
What makes this even easier is that there are a lot of templates already setup with Netlify CMS. If you use one of those, that will get you started and then you can modify the code and styles to suit your needs.
I started with the Netlify CMS Gridsome Template and then setup my project from there.
Using Gridsome
So for the project that I went with, I used Gridsome because it was really easy to get started with and also it was well documented. Gridsome has a CLI that you use to scaffold out your projects. Once you’ve got a project built, then its just a matter of adding pages and following the basic conventions that the Gridsome docs outline.
I found working with Gridsome to have a very small learning curve, and be very similar to one of my favorite frameworks, Next.js.
The project is orchestrated from a main.js file which basically serves as the project’s entry point. It’s really nice because here you can import anything you want to use with the Gridsome “client API” that basically is available throughout your project. Here was my main.js file to start with:
// Import main css
import "~/assets/style/index.scss";

// Import default layout so we don't need to import it to every page
import DefaultLayout from "~/layouts/Default.vue";

// The Client API can be used here. Learn more: gridsome.org/docs/client-api
export default function (Vue, { router, head, isClient }) {
  // Set default layout as a global component
  Vue.component("Layout", DefaultLayout);
}
As you can see, it’s really nice to be able to do this here instead of the traditional route of pulling things in with the <head> element on your page.
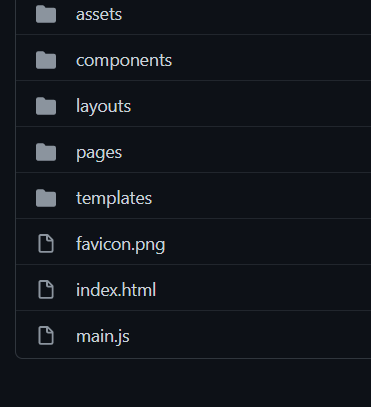
From there, the src directory is organized basically around your projects needs. So you have a place for shared components vs. pages vs. Vue layouts that define each page’s structure.
hooking up Netlify CMS
So as I said, I was able to use one of the prebuilt templates. If you go to the template page there are already instructions for getting started. Netlify supports a lot of frameworks, and has a great set of docs on the Netlify CMS page that get you started. I’m not going to go into the details here, but just show some highlights. I recommend checking out their docs when you’re ready to get started.
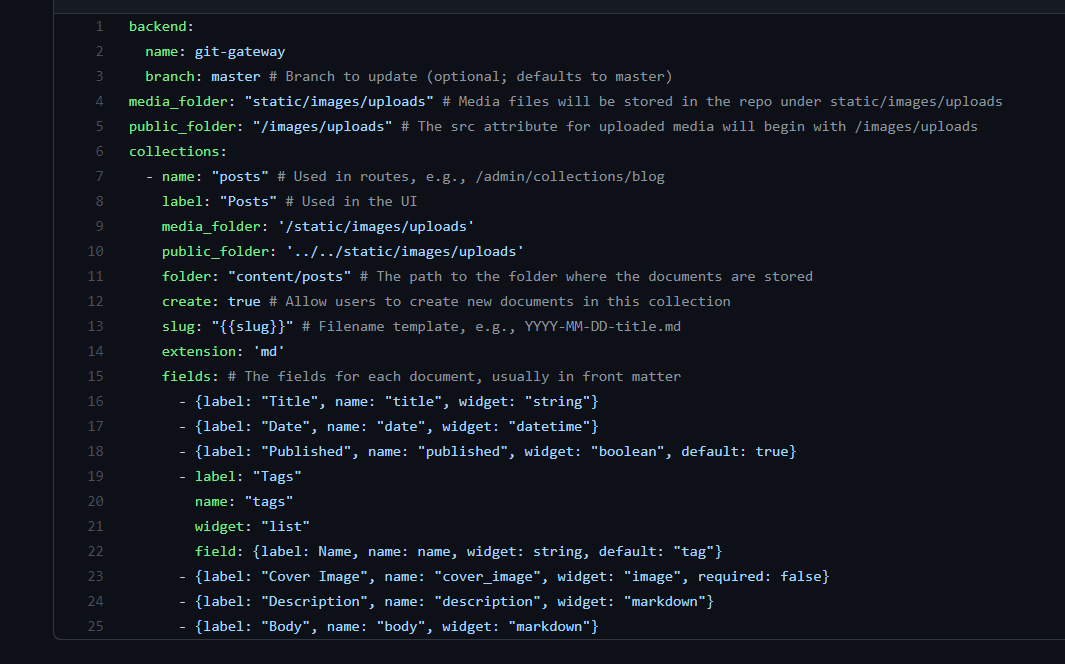
In my project, other than adding the “admin” route I also added a place for content to be stored in the static directory. Netlify CMS also gets you to use a yaml file that is read in for configuration and how the WYSIWYG editor runs.
Here is the sample config file from the template I used:
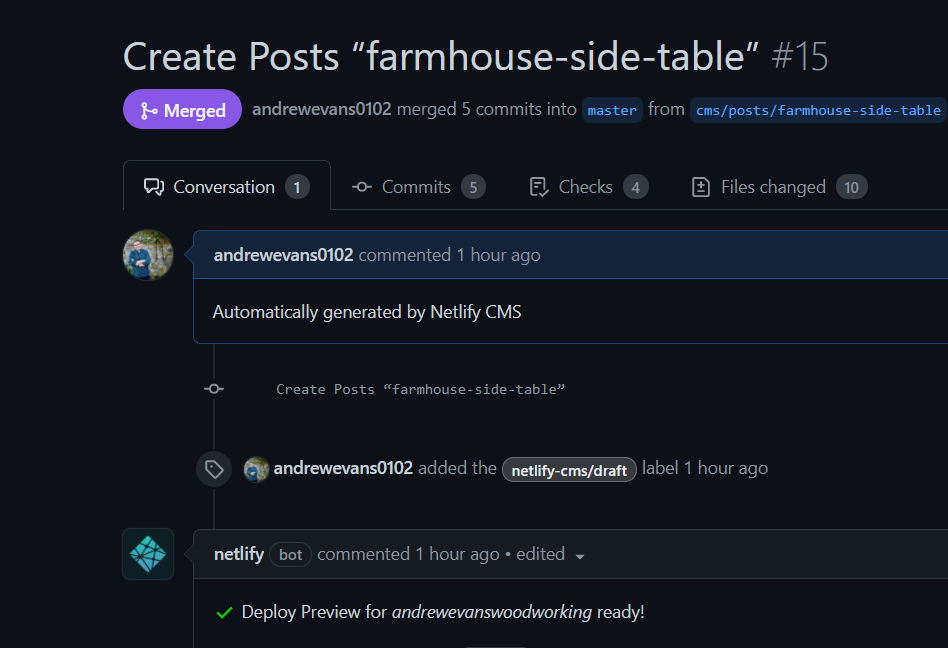
Once you have everything setup, you can then just use the “/admin” route of your site to sign in with Netlify and then get to writing your posts.
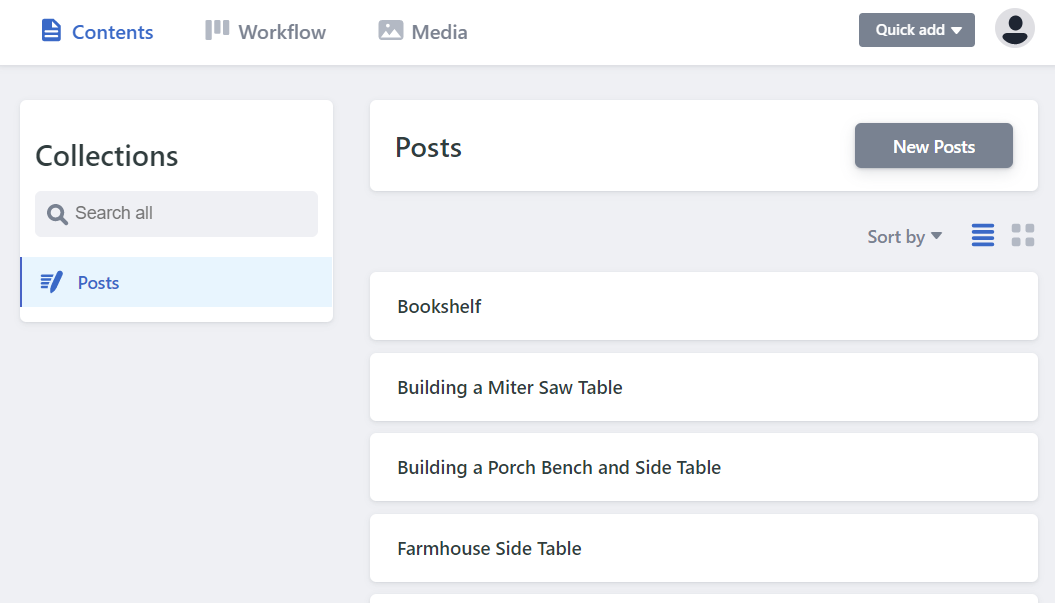
The WYSIWYG editor connects directly to your Git Repo, so as your editing your posts a PR is created. Each time you save, a commit is made to your repo.
GraphQL
One of the coolest parts about this whole setup is that under the covers Gridsome uses GraphQL to query your project’s assets. So (in real time) when people visit your site, GraphQL queries run against your repo’s assets and generate content on each page. I used the prebuilt queries that came with my template, but you can customize these for your content. If you’d like to learn more about the Gridsome GraphQL templates check out their page on templates at https://gridsome.org/docs/templates/.
Here is the GraphQL query that I use on my posts page:

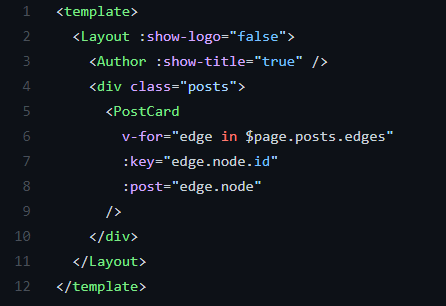
Then in the template part of the Vue component for the page, I can reference what was queried directly:
Finishing Thoughts
So once I got everything setup, it was just a matter of fine tuning the styles to match what I wanted on my site. I was super happy with the finished product. My site is pretty simple with just a homepage that shows the posts, and then an About page and individual pages for each post.
Here is the home page:
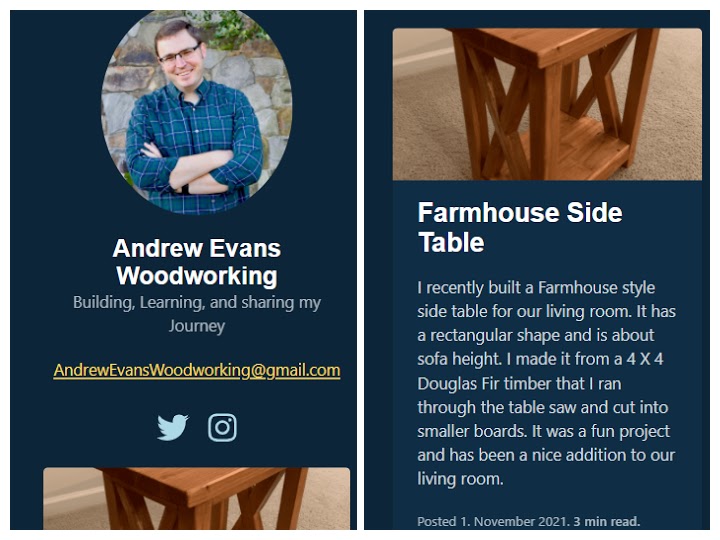
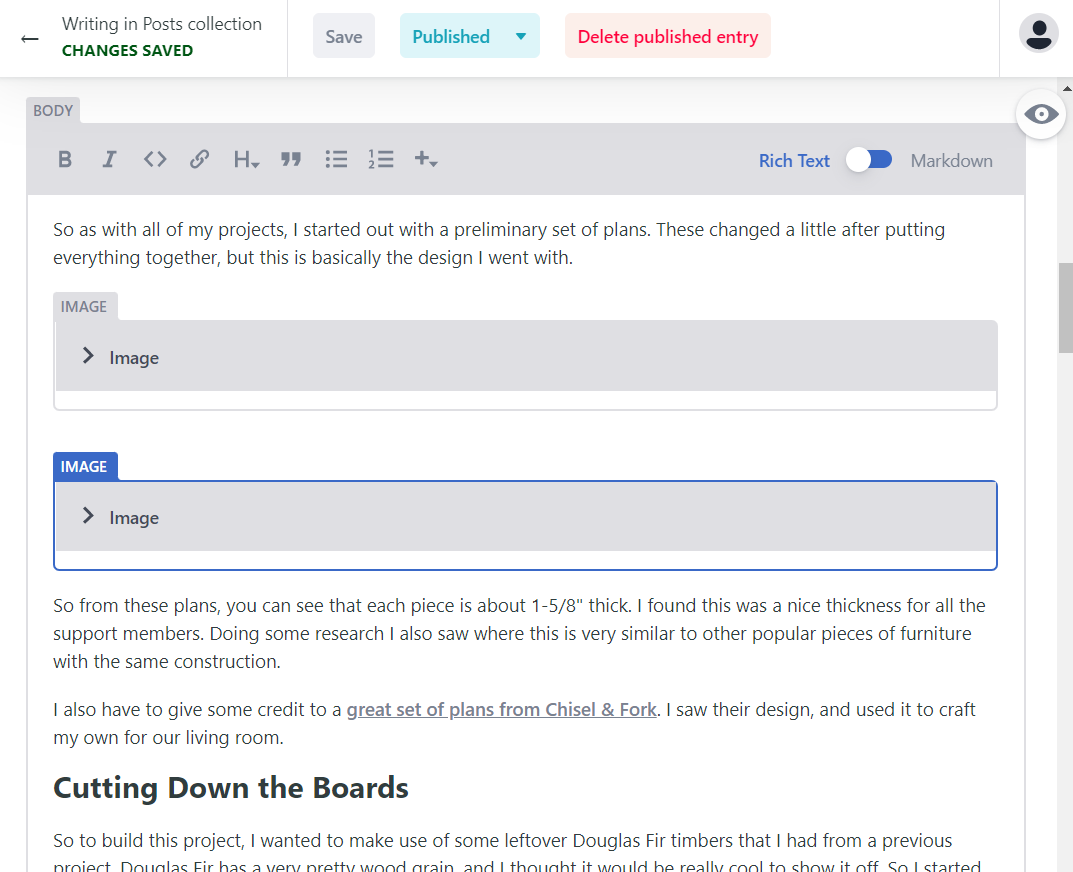
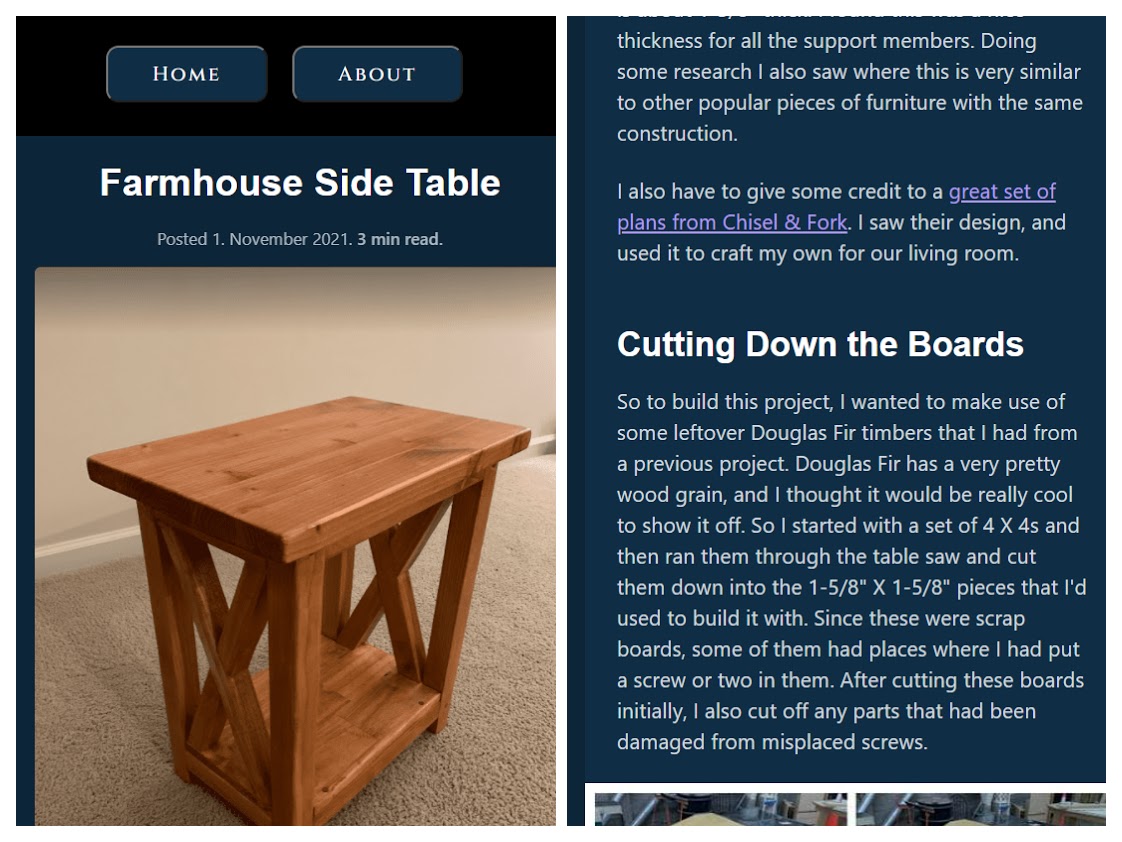
Here is what posts look like:
I highly recommend this project and building projects with Vue and Netlify CMS. Check out my site at AndrewEvansWoodworking.com.