
Azure SignalR Service Intro
The Azure SignalR Service is a great technology that enables real time updates in web applications. Real time updates are really important in applications that are used for collaboration or have data that changes quickly. I have used it on a few applications, and wanted to put together a quickstart for using it in projects.
This post is going to introduce Azure’s SignalR Service and show how you can setup a project to use it. I’ll be referring to my sample project on GitHub, and recommend checking that out when you have time. If you’d like to see more examples, please check out the Microsoft tutorials.
What is Azure’s SignalR Service?
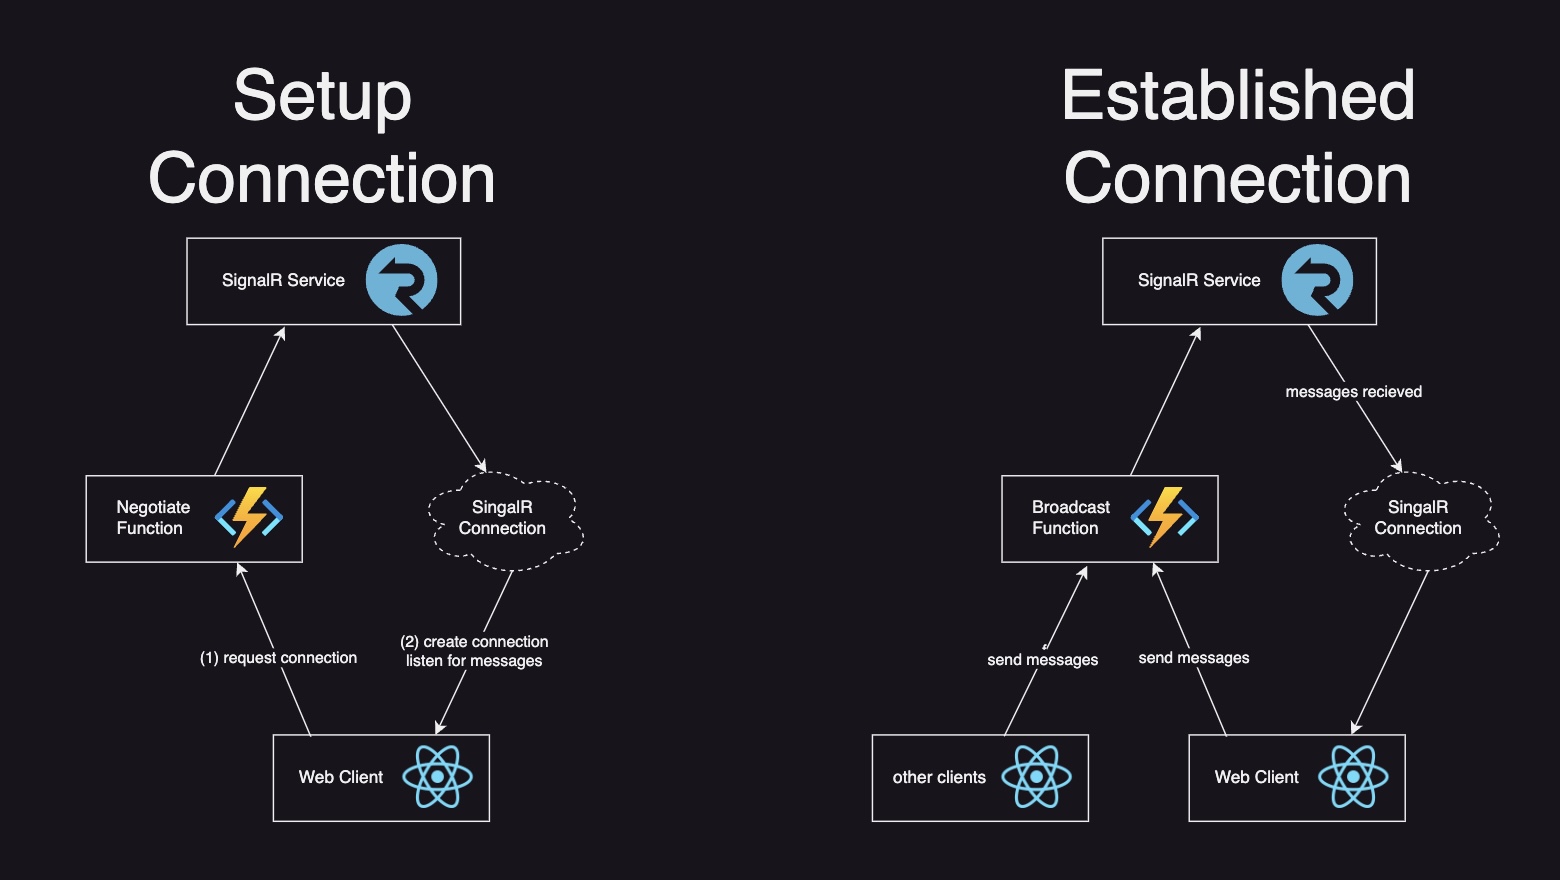
As I said in the intro, Azure enables you to create real time updates in your web applications. This is managed with WebSockets, and basically allows Azure to manage the connection between a server and any web clients. You can think of this very similar to the way chatrooms or similar technologies work. In the above diagram, you see two different processes (1) setup connection and (2) established connection.
The main parts of these process are:
- a
negotiateAzure Function that connects the client to the server - a
broadcastAzure Function that handles sending messages to a SignalR service and then to the corresponding clients - an instance of the Azure SignalR Service
- one or more webclients that connect to the SignalR Service instance via the
negotiateAzure Function
The way the process works is basically the following:
- A web client calls a
negotiatefunction which asks the SignalR service if a connection can be created. - If successful, the web client then is given a persistent connection (via WebSocket) that is used to listen for messages
- When a client wants to send a message they pass it via a
broadcastfunction which sends the message to the SignalR service and then is propagated into any connecting clients - Clients listening with the WebSocket connection granted in step #2 receive messages as they are passed to the service
- If you would like to see a more detailed layout of how the service works in Azure, check out the Microsoft service documentation.
When you connect your web client to SignalR, you’ll use the @microsoft/signalr npm package. To use this package, you basically just first call your negotiate endpoint to get the actual SignalR URL as well as the access token the endpoint provides. With these values, you can then establish a “connection” which your app can listen to for message updates. The actual implementation looks similar to the following (note this example is from a NextJS React project):
import * as signalR from '@microsoft/signalr';
import { useMemo, useState } from 'react';
import axios from 'axios';

const [payload, setPayload] = useState('');
const [messages, setMessages] = useState<any[]>([]);
const [loading, setLoading] = useState(false);

// do this in useMemo and not useEffect since
// when page updates occur a rerender will occur firing the useEffect
useMemo(() => {
    // call negotiate endpoint firest
    axios.get(negotiateUrl).then((response) => {
        const options = {
            accessTokenFactory: () => response.data.accessToken,
        };

        // define connection
        const connection = new signalR.HubConnectionBuilder()
            .withUrl(response.data.url, options)
            .configureLogging(signalR.LogLevel.Information)
            .build();

        // create listener method that responds when messages sent
        // note it is listening to the "newMessage" event
        connection.on('newMessage', (message) => {
            // show loading animation based on local state
            setLoading(true);
            // persist the values retrieved
            setMessages((prevMessages) => [...prevMessages, message]);
            // turn off loading indicator since values have been retrieved
            setLoading(false);
        });

        connection.onclose(() => console.log('disconnected'));
        console.log('connecting...');

        // start connection
        connection
            .start()
            .then(() => console.log('ready...'))
            .catch(console.error);
    });
}, []);
Since the above was used in a React project, it is leveraging a useMemo hook. If you were to use a different framework or library for your Frontend, you would still follow the same pattern but place your code accordingly. The important part of the above is just understanding how to use the npm package properly.
In addition to the above setup, you can also use groups in Azure SignalR which is another way to control who can listen to messages. The example above does not use groups, but they could be added for more control over the process. In addition to the broadcast and negotiate functions, you could create a function to add users to groups. The client object in either the C# module or npm package has a function which enables you to add a user to a group. The additional step to the original process would just be that you add a call to this additional function and basically register a user with a group so their connection retrieves messages specific to that group. I recommend consulting the link above if you want to learn more.
In the next few sections, I’m going to walkthrough what you would do to setup a SignalR instance and then a web client to connect to it. As I stated in the intro, please refer to my sample project on GitHub for more info as you follow along.
What prerequisites do I need to get started?
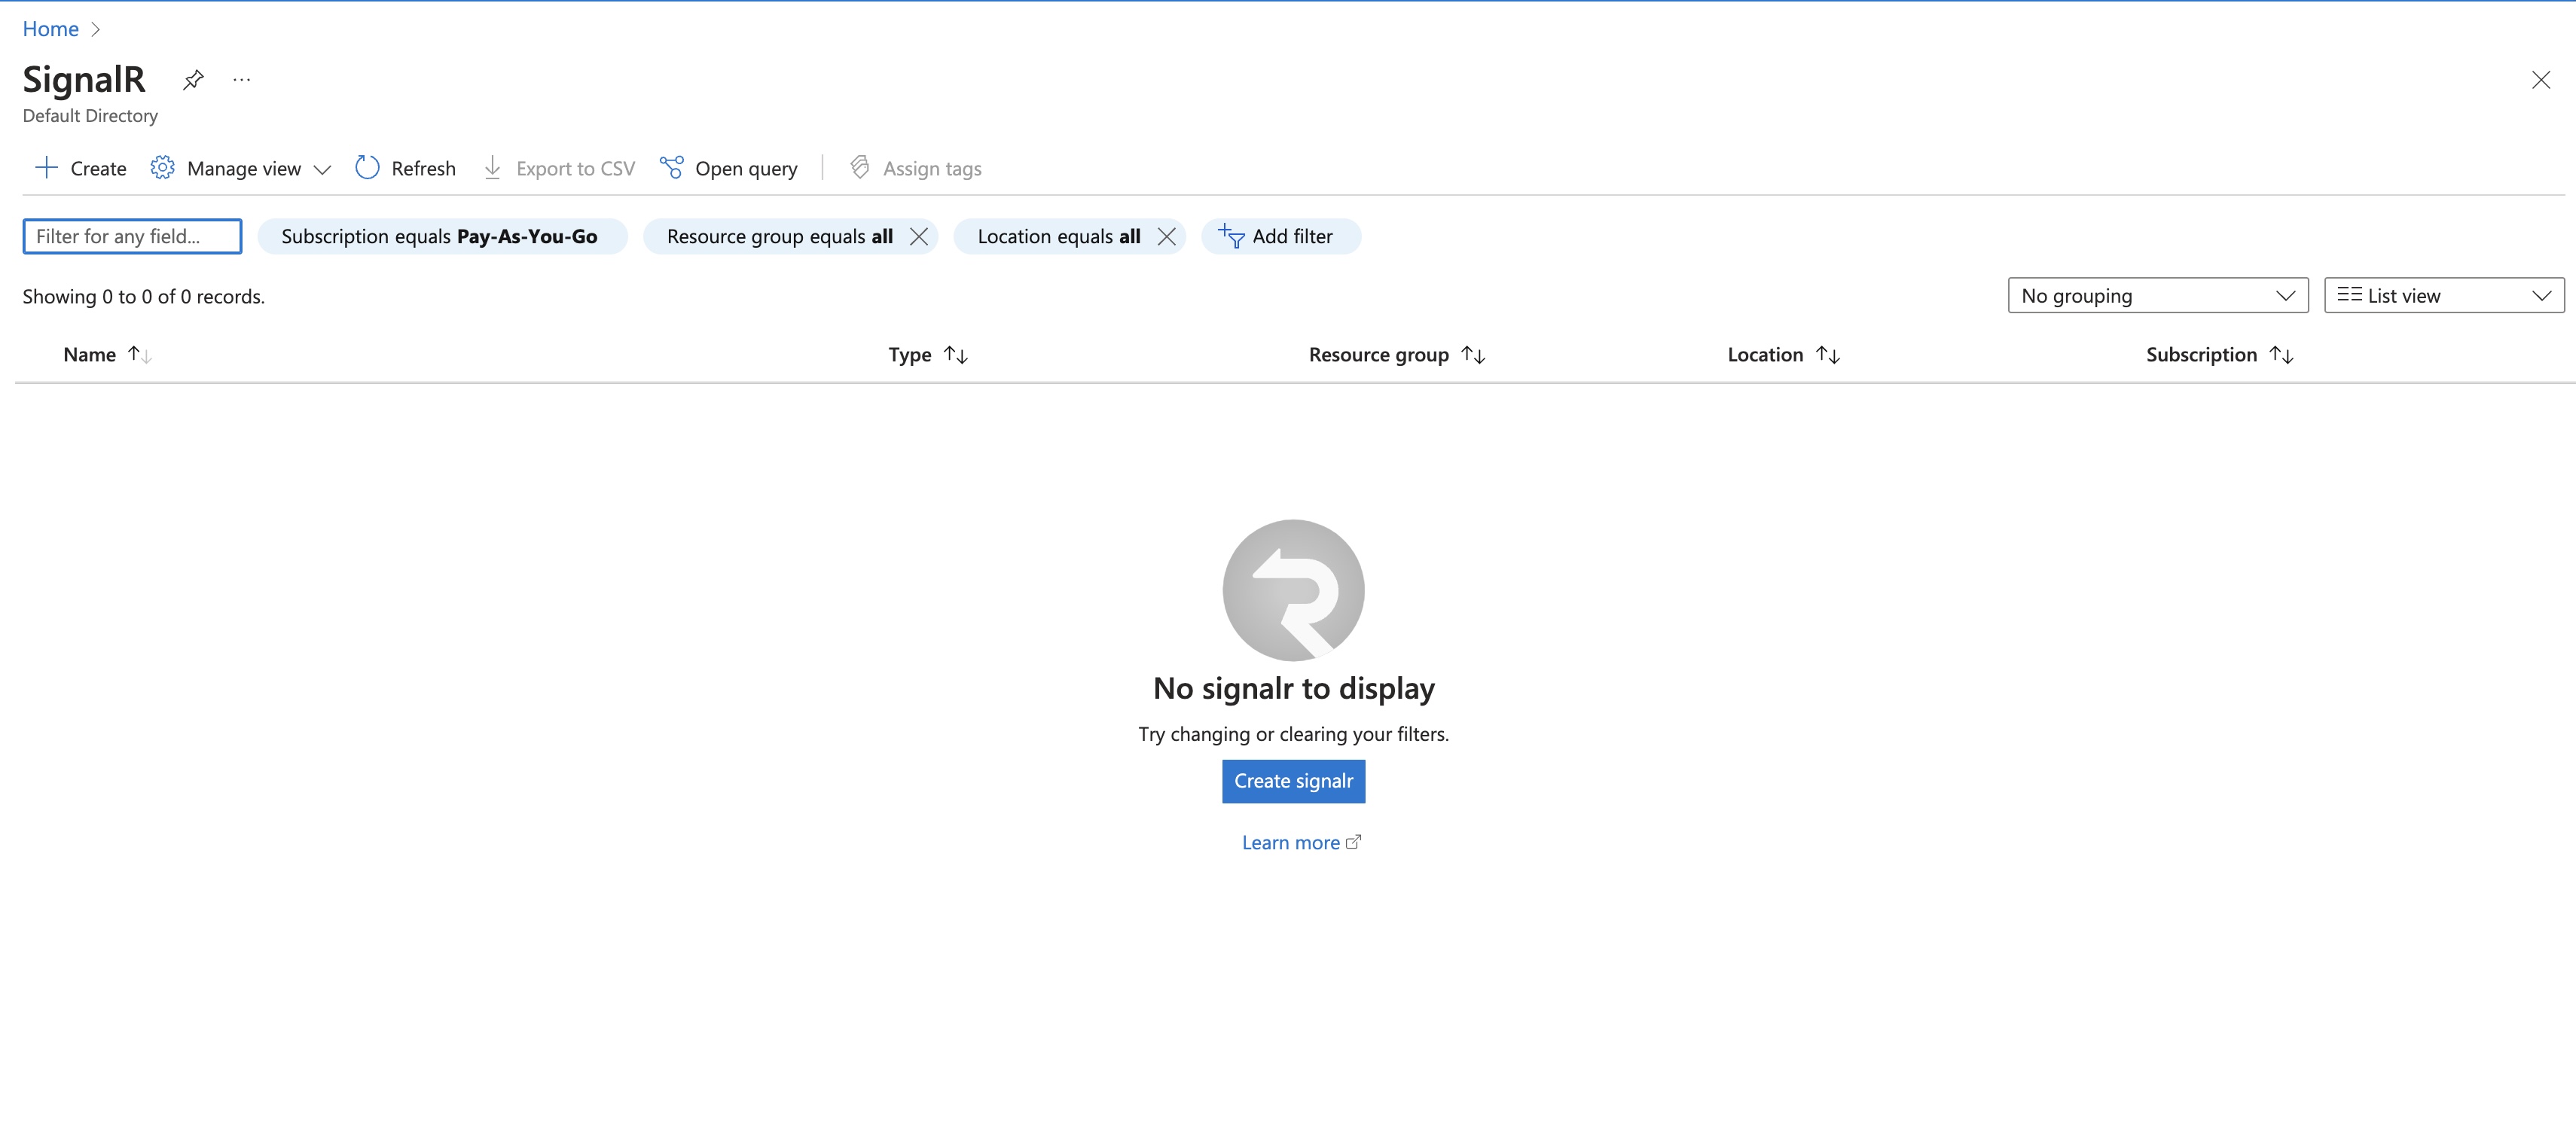
One of the best parts about Azure is that you can easily create infrastructure directly in the console. To use SignalR, just go to the SignalR service in the console and fill out the applicable fields for your instance.
Other than the self explanatory fields, make sure to choose “serverless” for the “service mode.”
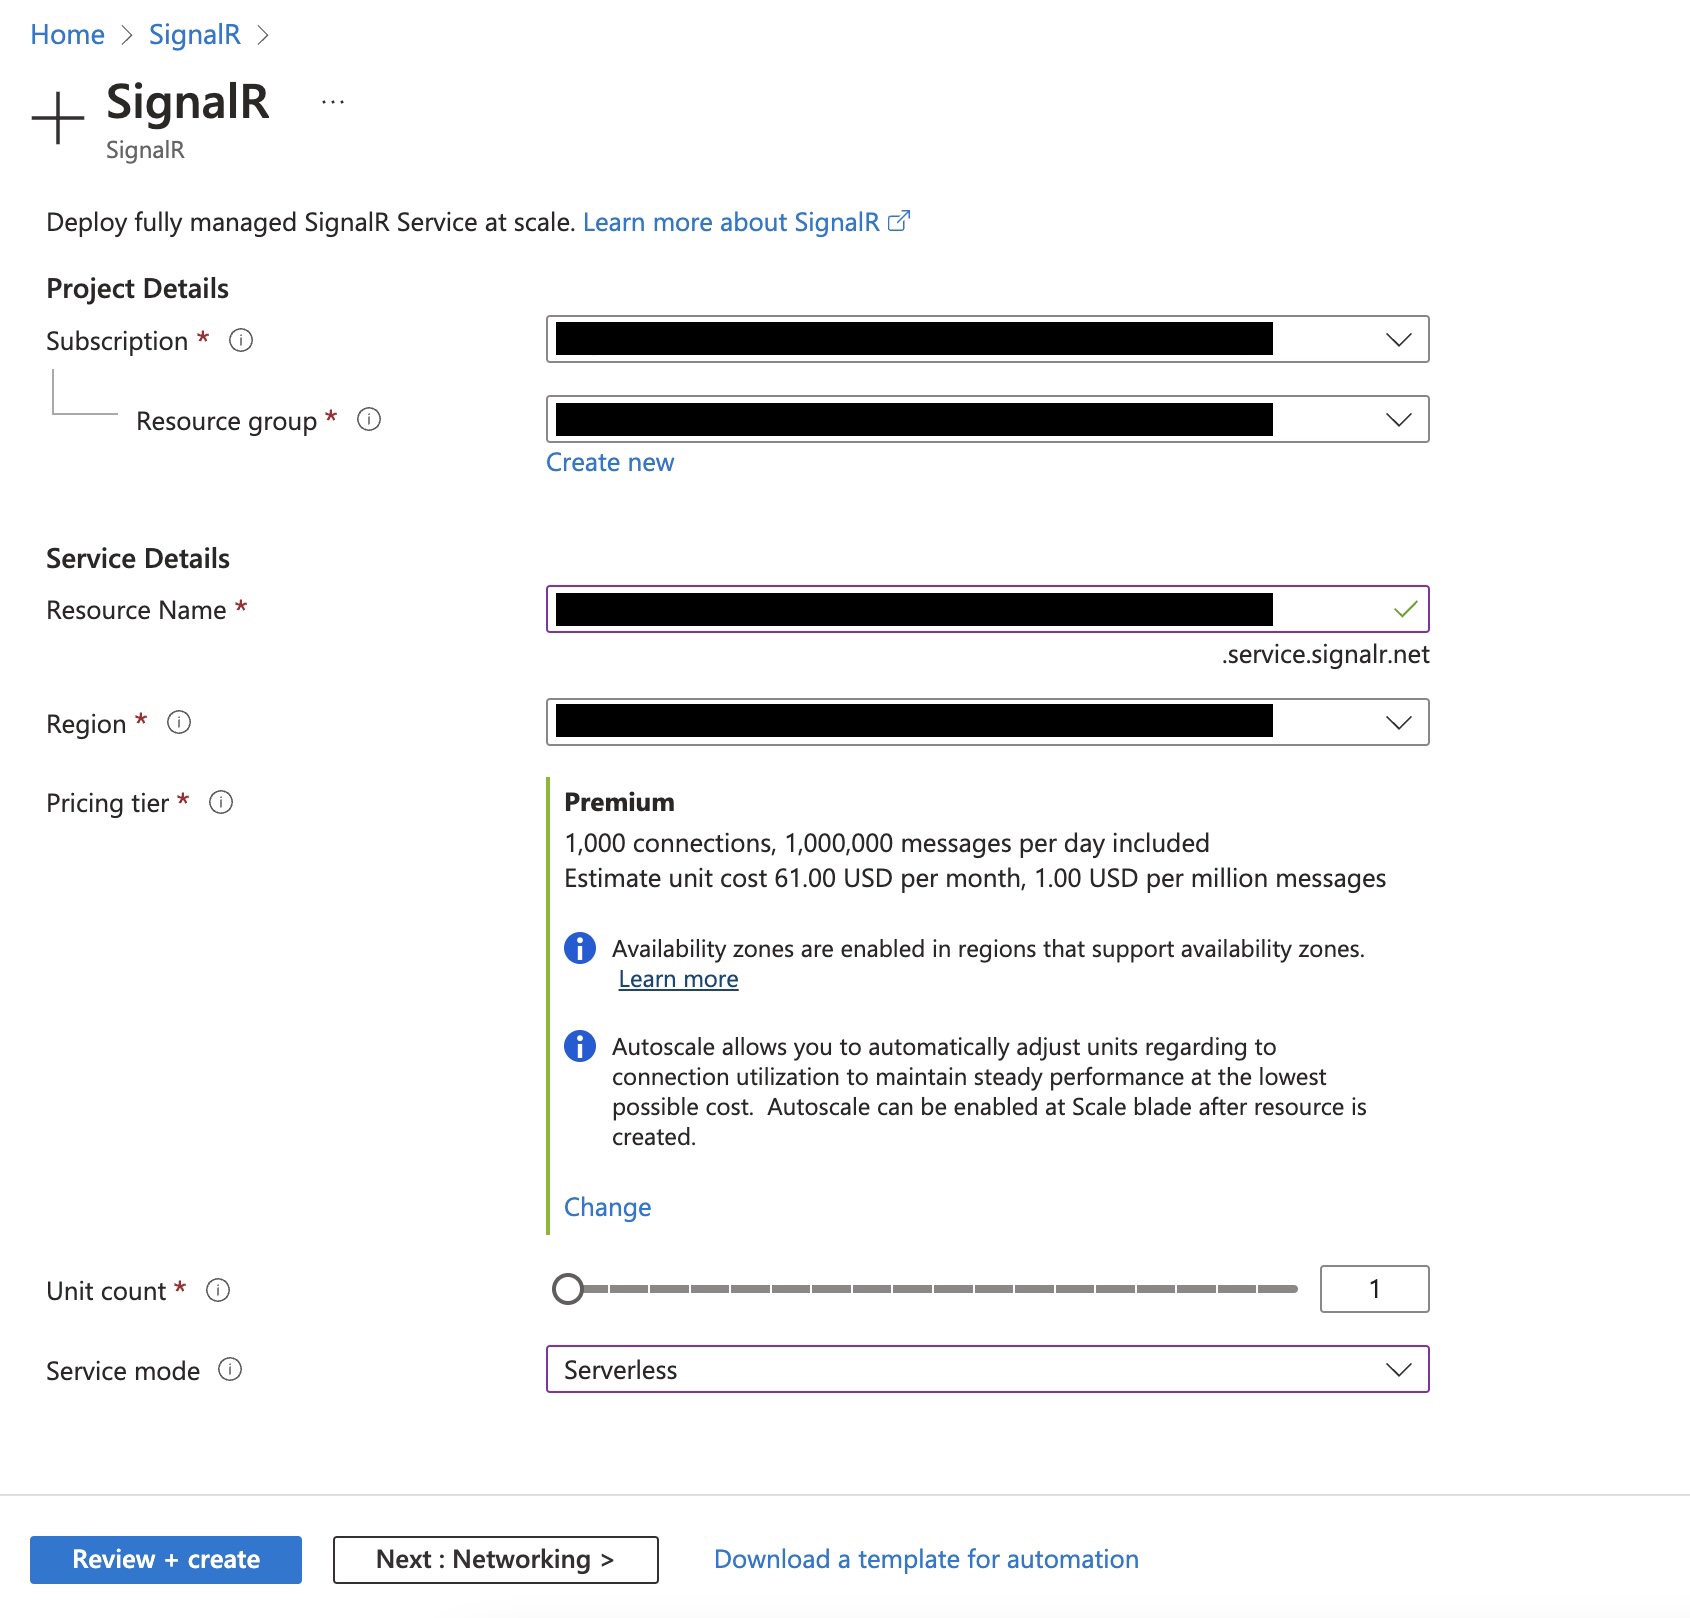
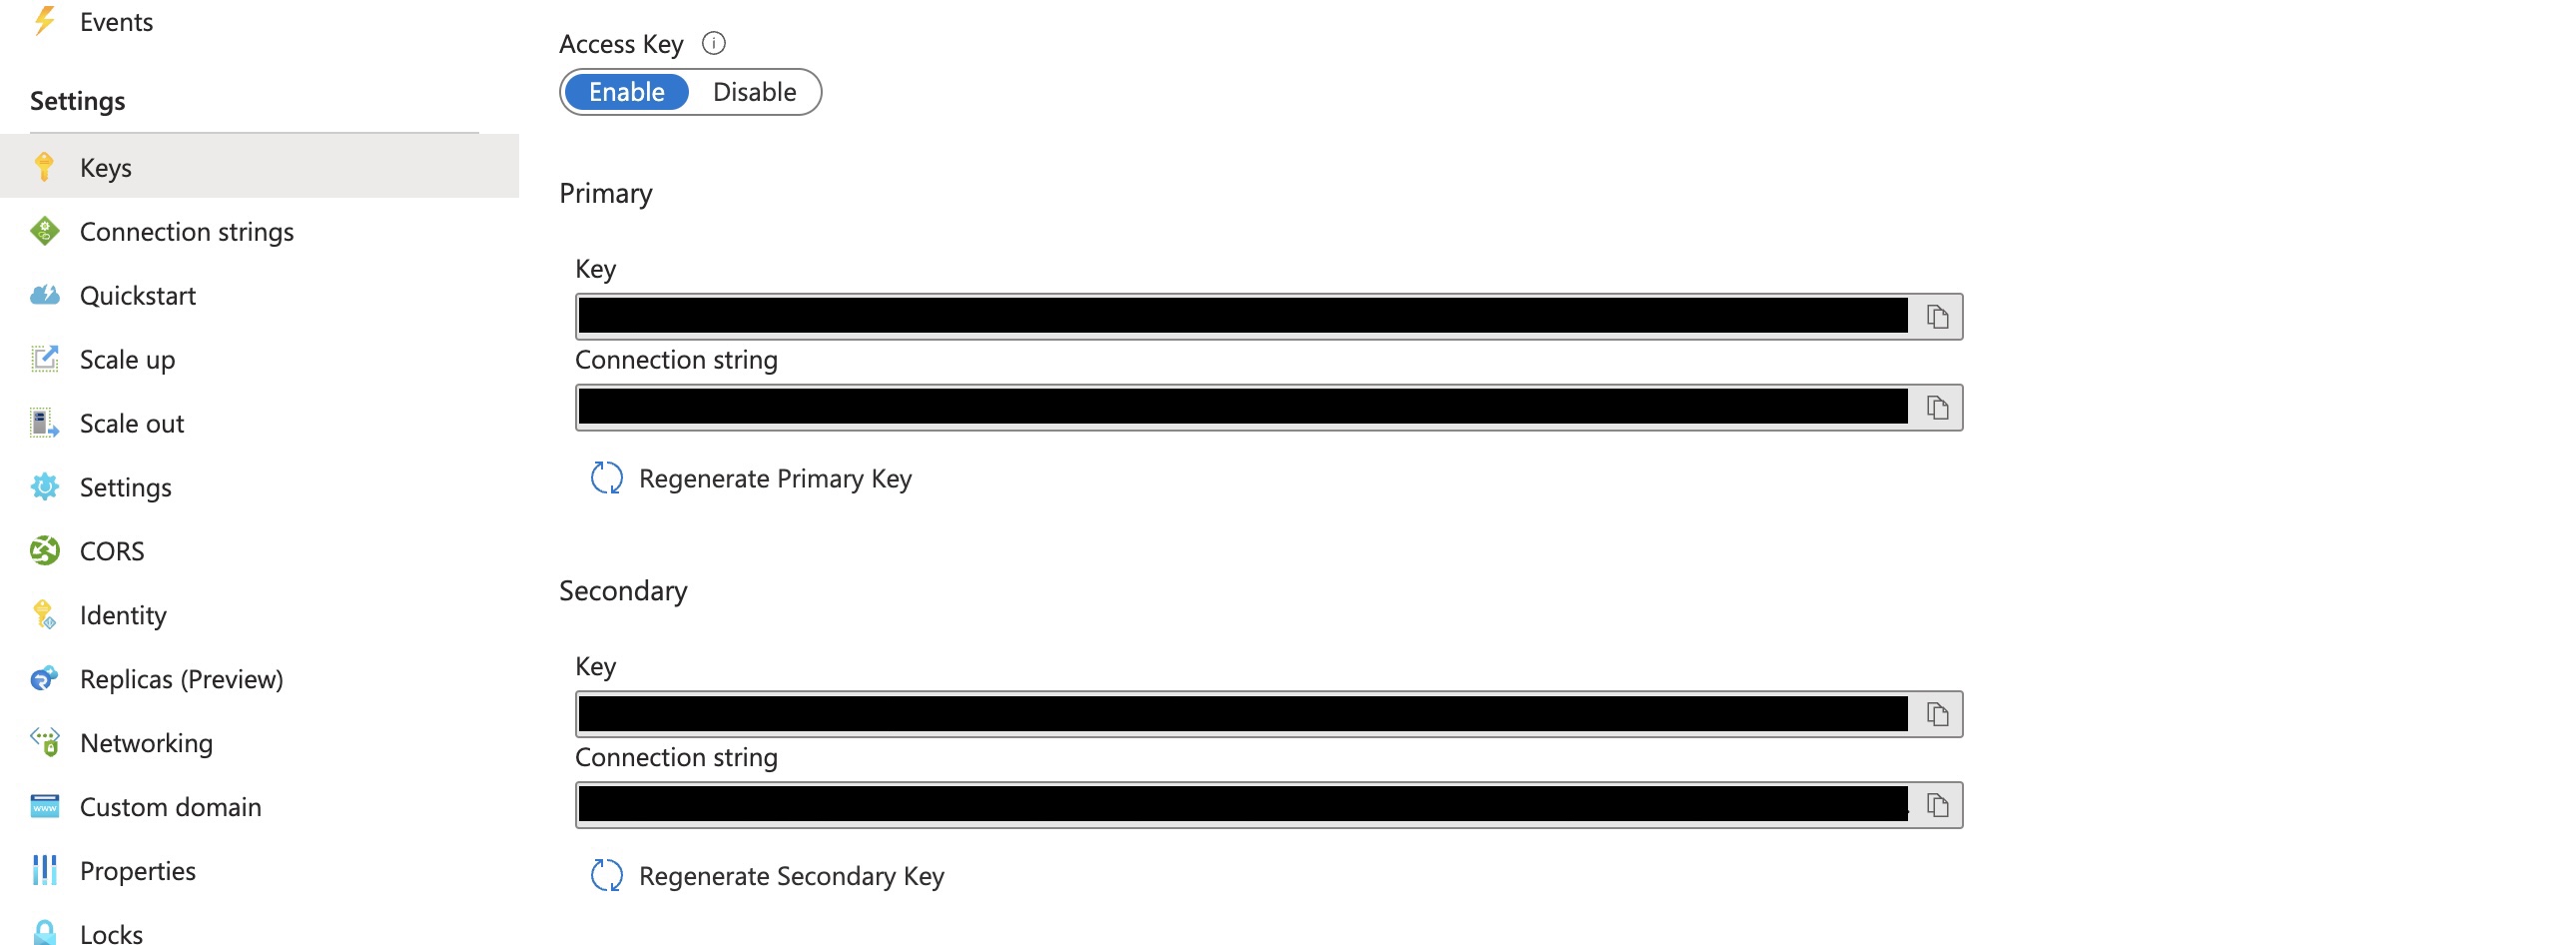
Once the project is created, copy the connection string so you can use it in your project.
Creating the Negotiate and Broadcast Functions
When creating the negotiate and broadcast functions, I recommend using the Azure Functions CLI Core Tools. To create a functions project locally with the CLI:
# Initialize a function project
func init --worker-runtime javascript
If you look in the functions folder of my sample project on GitHub, you can see the negotiate and broadcast functions. Copy those over into the functions project you just initialized with the CLI.
Replace the local.settings.json folder with the following (replace the “AzureSignalRConnectionString” value with what you copied from the prerequisites):
{
  "IsEncrypted": false,
  "Values": {
    "FUNCTIONS_WORKER_RUNTIME": "node",
    "AzureWebJobsStorage": "",
    "AzureSignalRConnectionString": "<YOUR_AZURE_SIGNALR_CONNECTION_STRING_GOES_HERE>"
  },
  "Host": {
    "CORS": "*"
  },
  "ConnectionStrings": {}
}
Connecting your SignalR Functions to your Web Client
With all of the above sections setup, you can now connect your infrastructure to a web client. In my sample project on GitHub I created a NextJS project form scratch. If you’re following along with my sample project, please see the website folder.
You can test out all of these connections locally, or you could take it a step further and deploy what you have into a production environment.
To test everything out locally:
- First clone my sample GitHub project, and then open up two terminal sessions:
- Go to the
functionsfolder and runnpm run startto start the functions locally - second terminal, go to the folder that is housing your web project and call the run command from the terminal (in my sample project this is at the
websitefolder and you runnpm run devto see the project running locally)
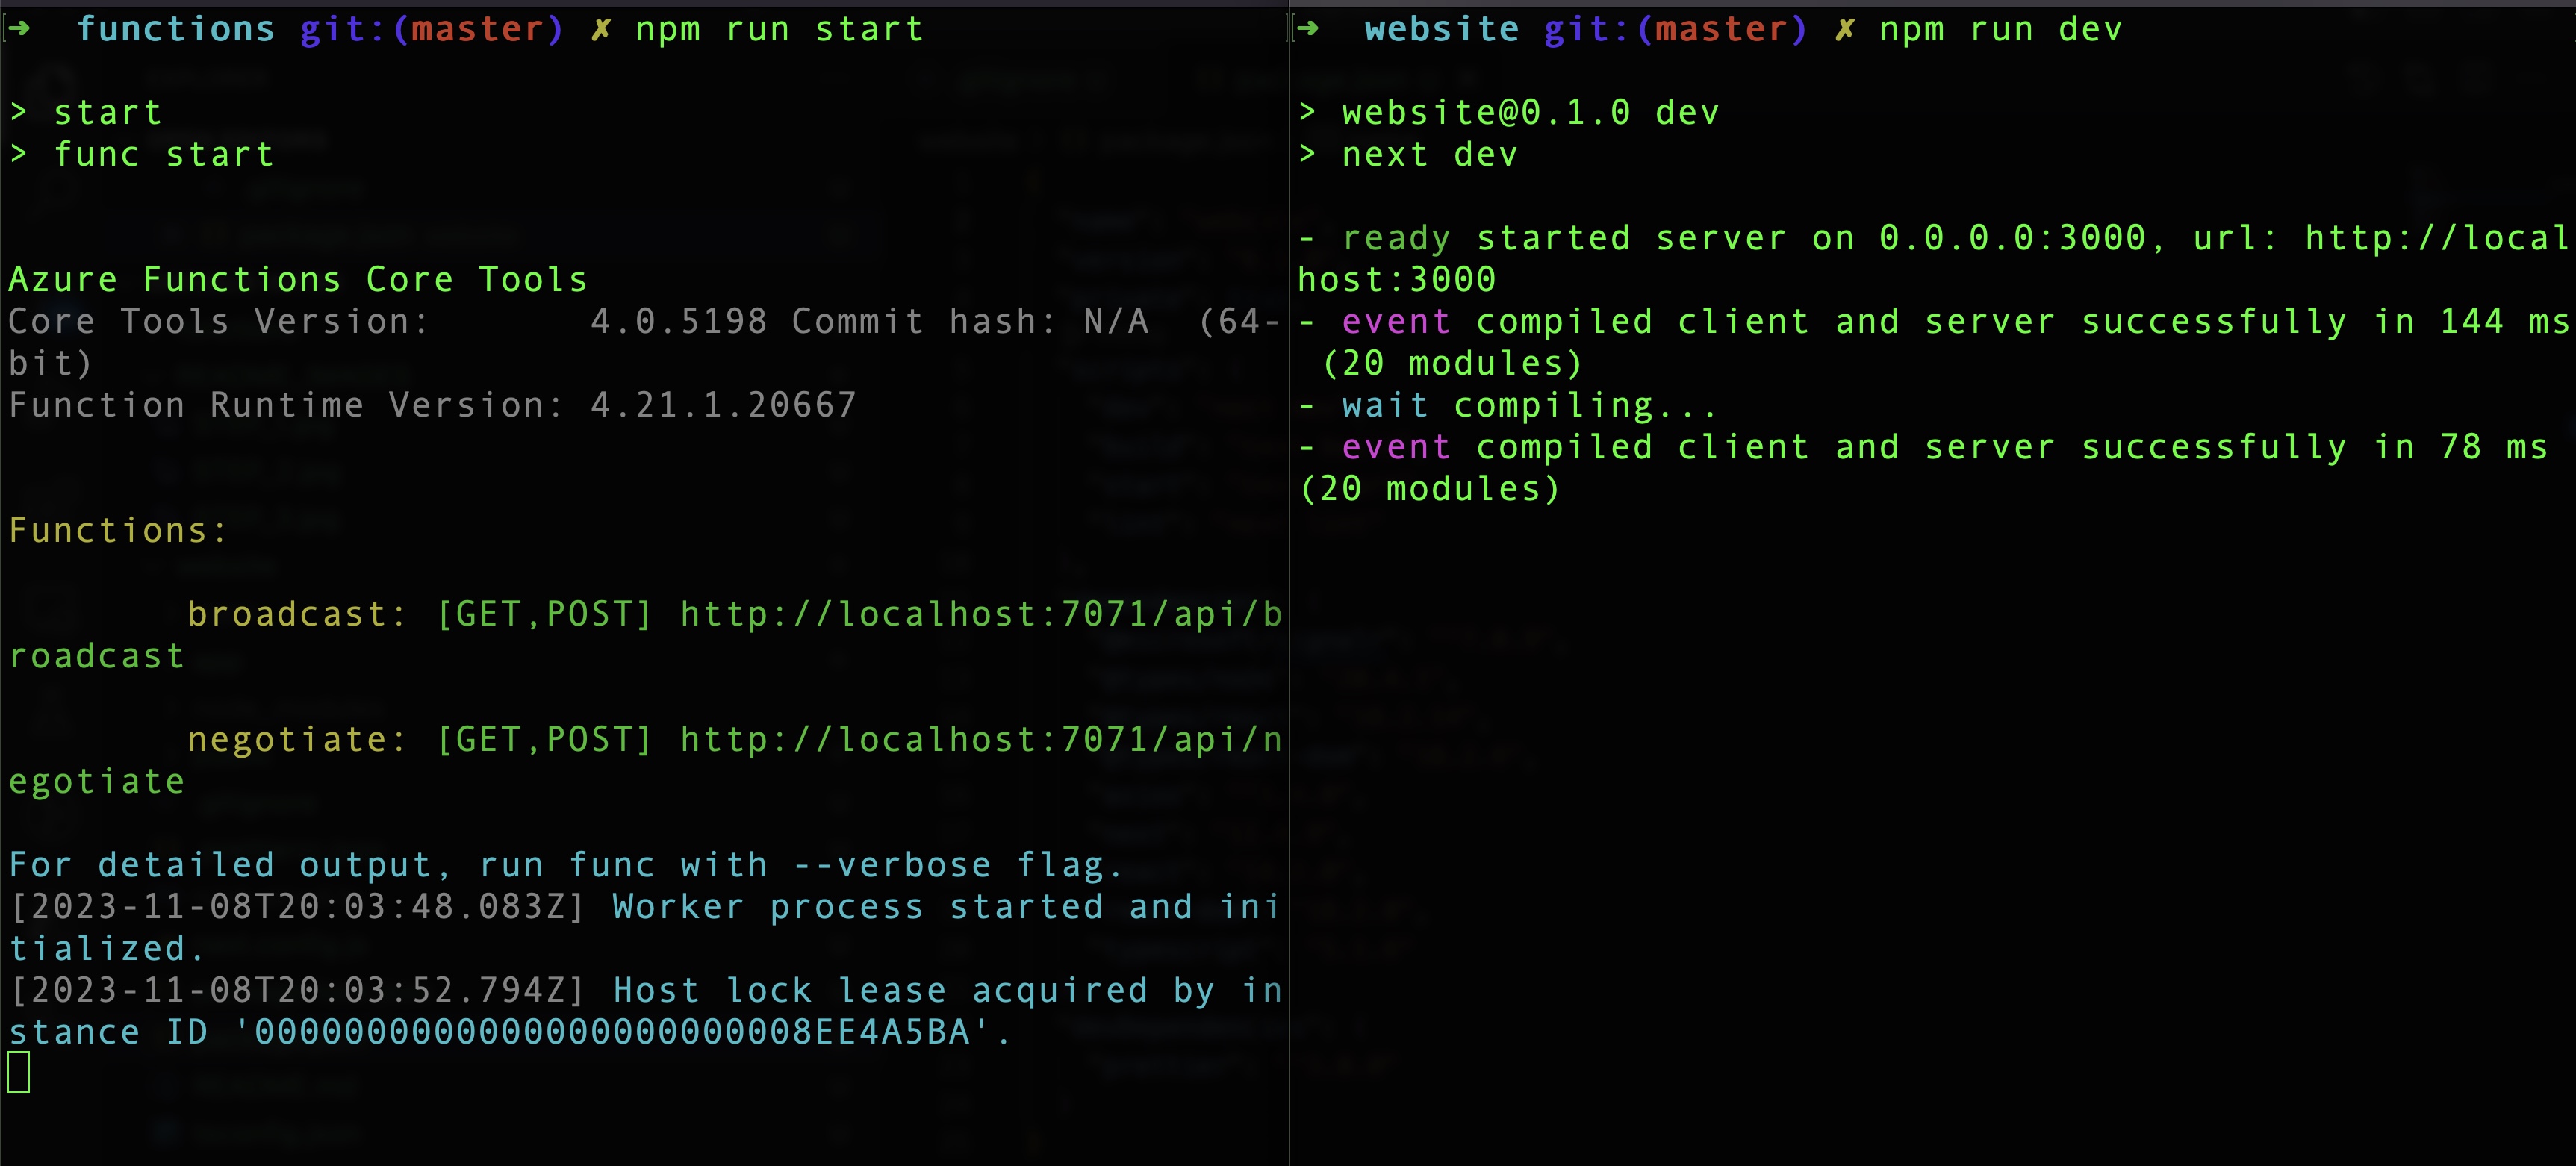
- Now if you open a web browser and go to
localhost:3000you should see the following:

Now if you enter a message into the input field and click “send message” you should see the functions called, and a message sent displayed on the browser.

Congratulations! You’ve got a SignalR instance setup and a web client that will connect to it. The next steps would probably be to add authentication and also package your app for deployment.
Message Tracing
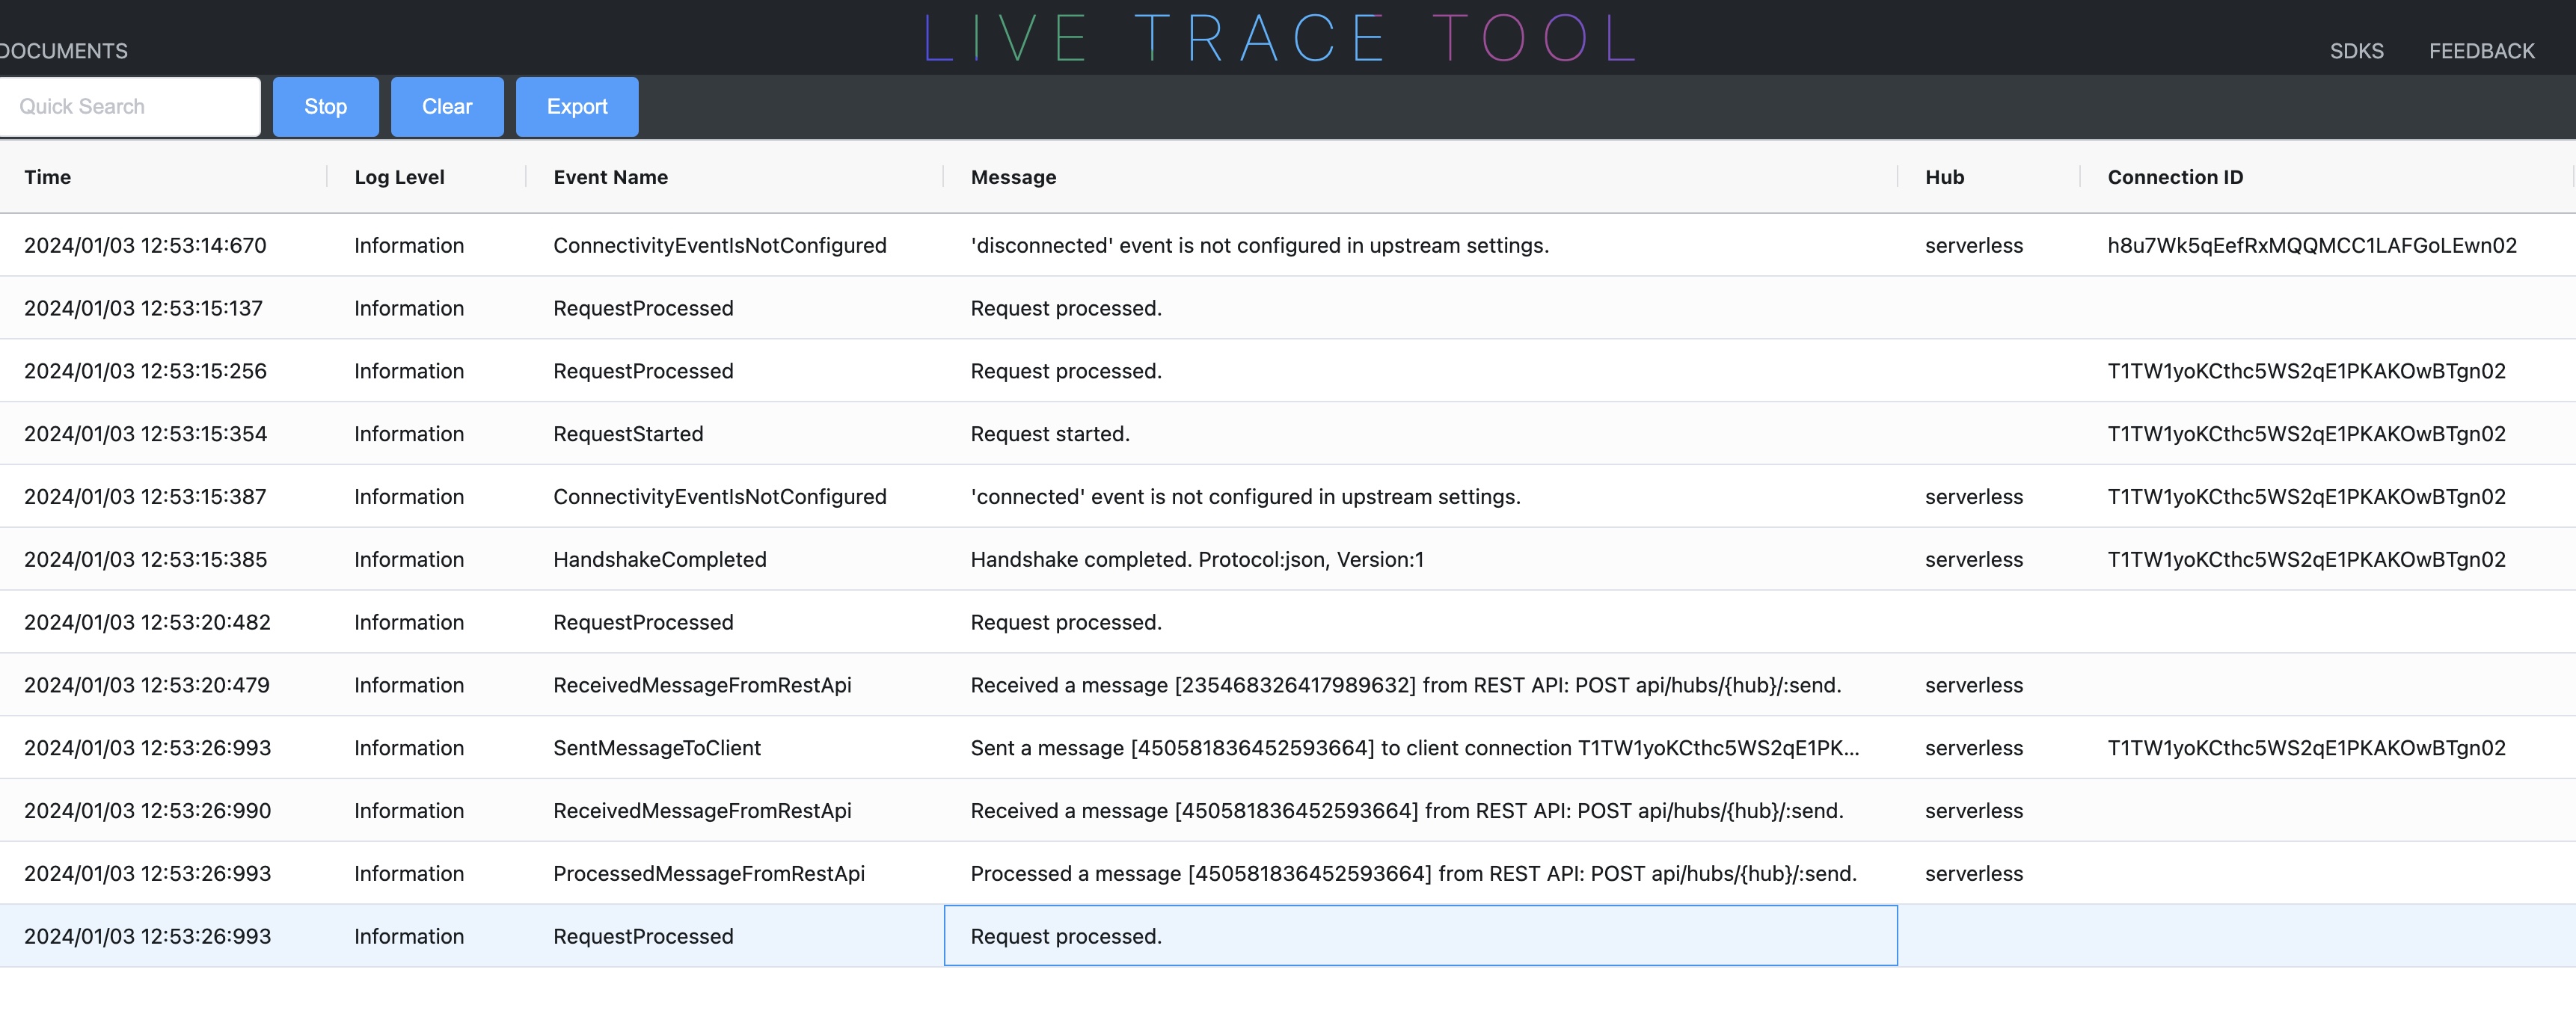
Azure’s SignalR service provides a tracing tool that lets you verify that messages are sent as well as a lot of other information like when connections are made etc. The tracing tool is really helpful when debugging your SignalR instance and also verifying that everything was properly sent.
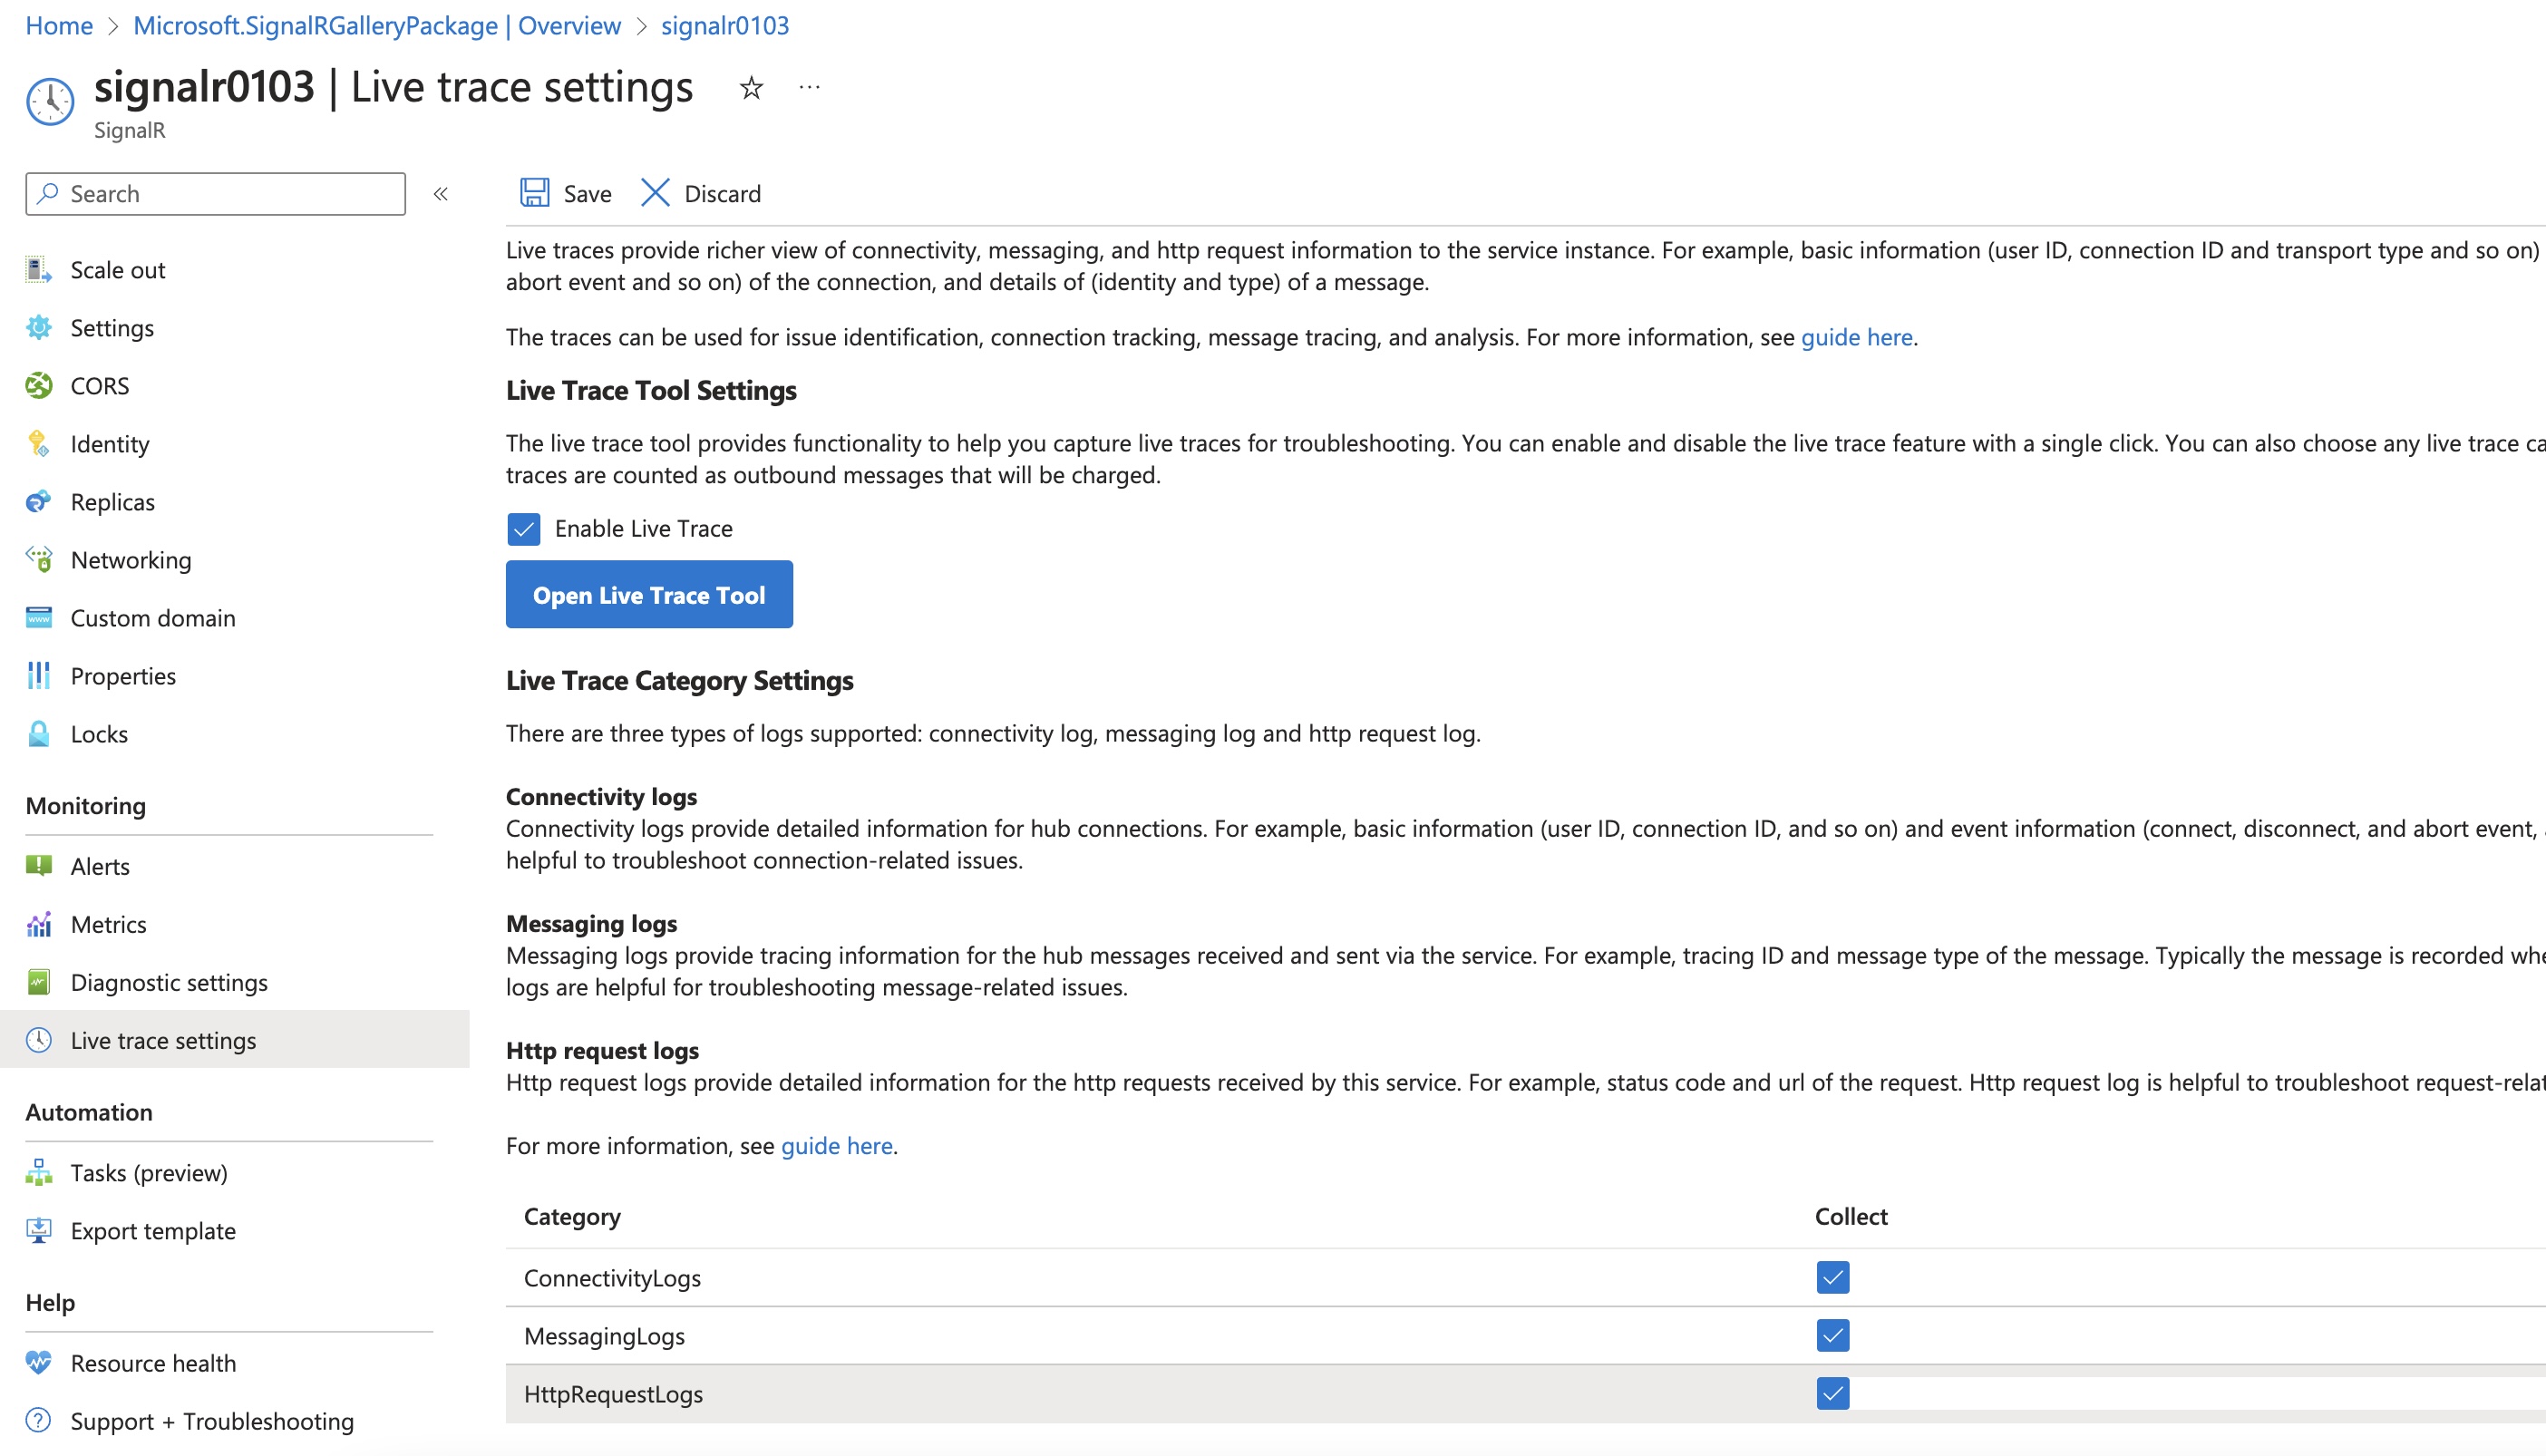
To use the tracing tool, go over to the “Live Trace Settings” under the “Monitoring” section on the left hand navigation of your Azure SignalR instance. You must first select the checkbox to turn on tracing, and then you can select the additional checkboxes for more detailed tracing information. With all of that selected, click the “save” button at the top.
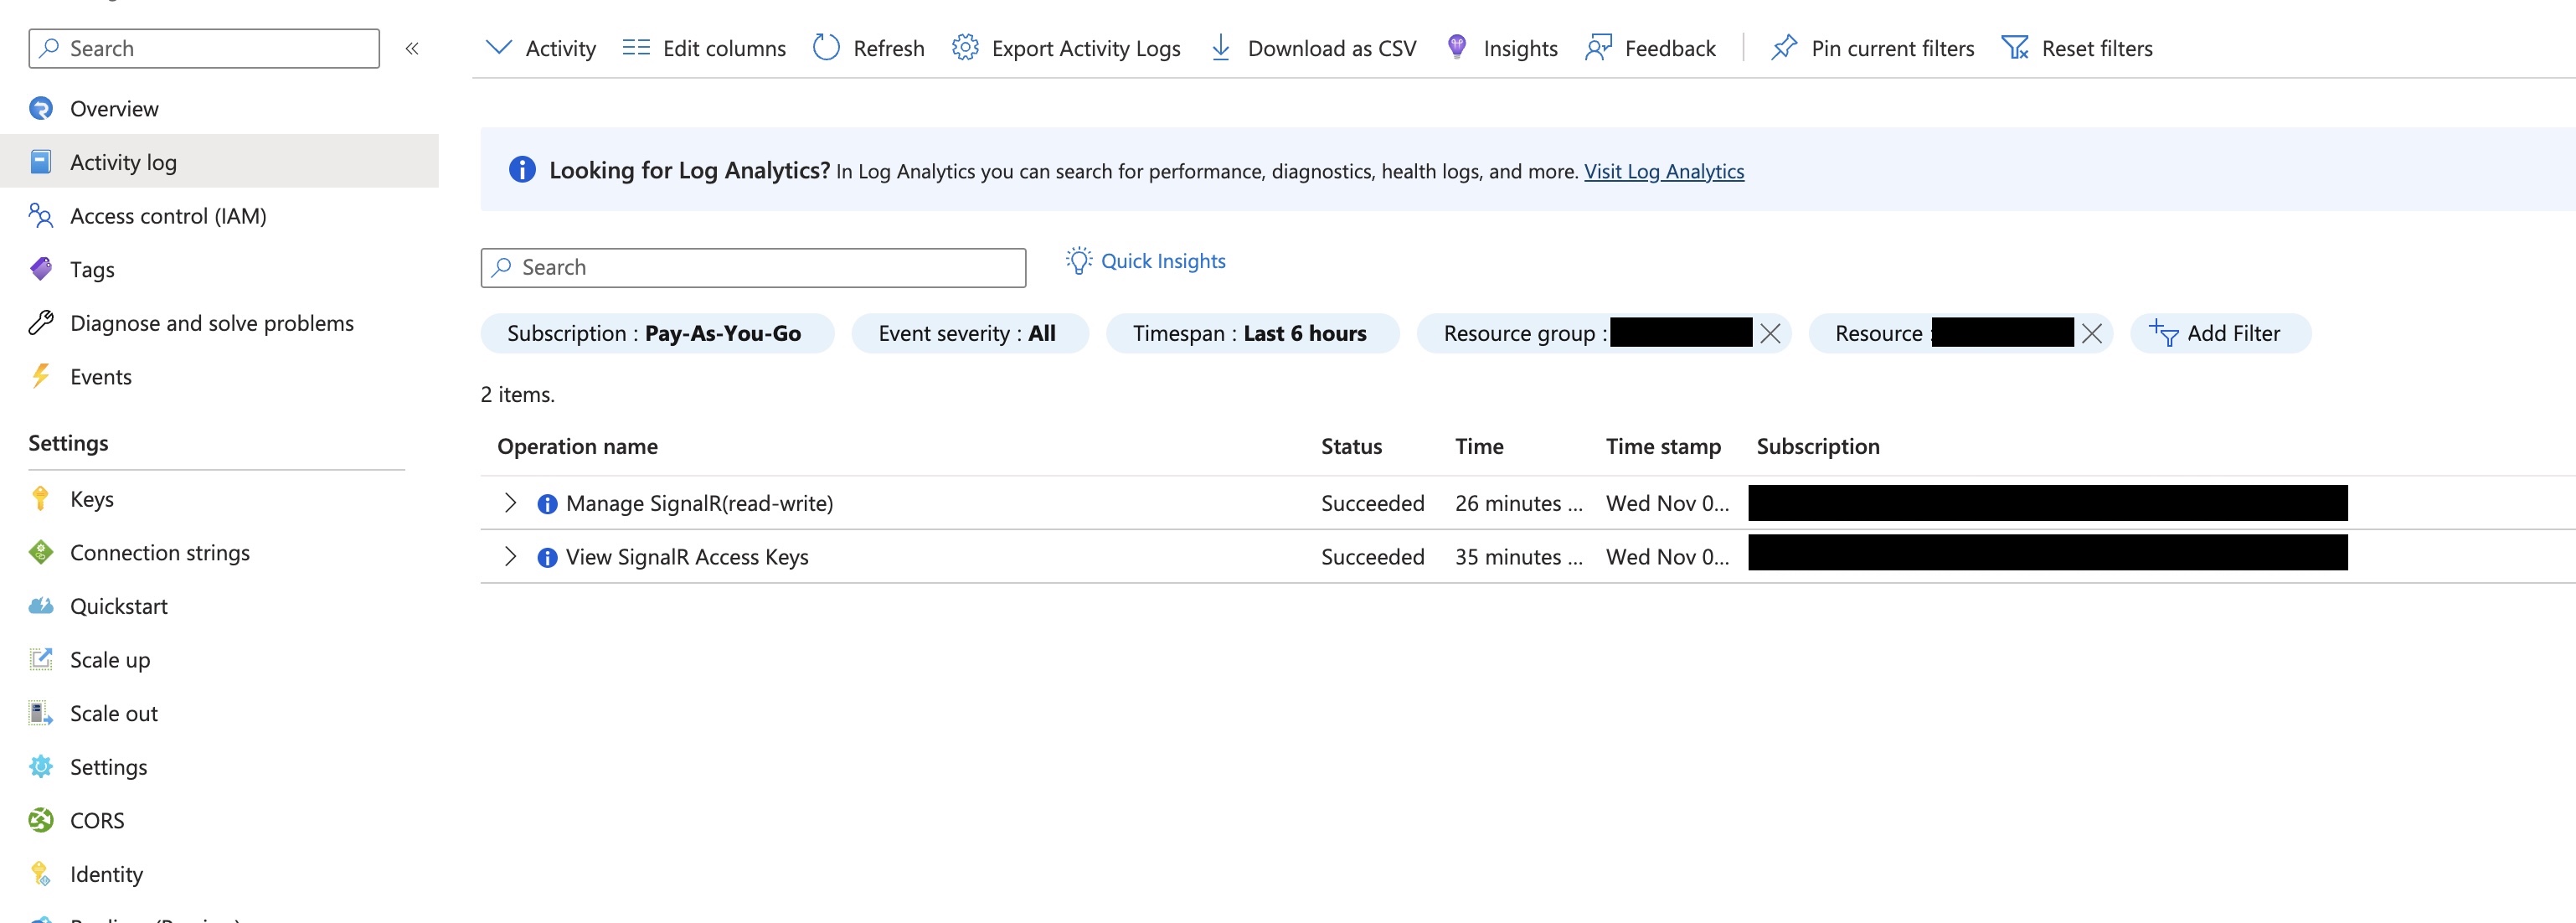
You can now go back to the Azure console and check the “Activity Log” and see the messages sent.
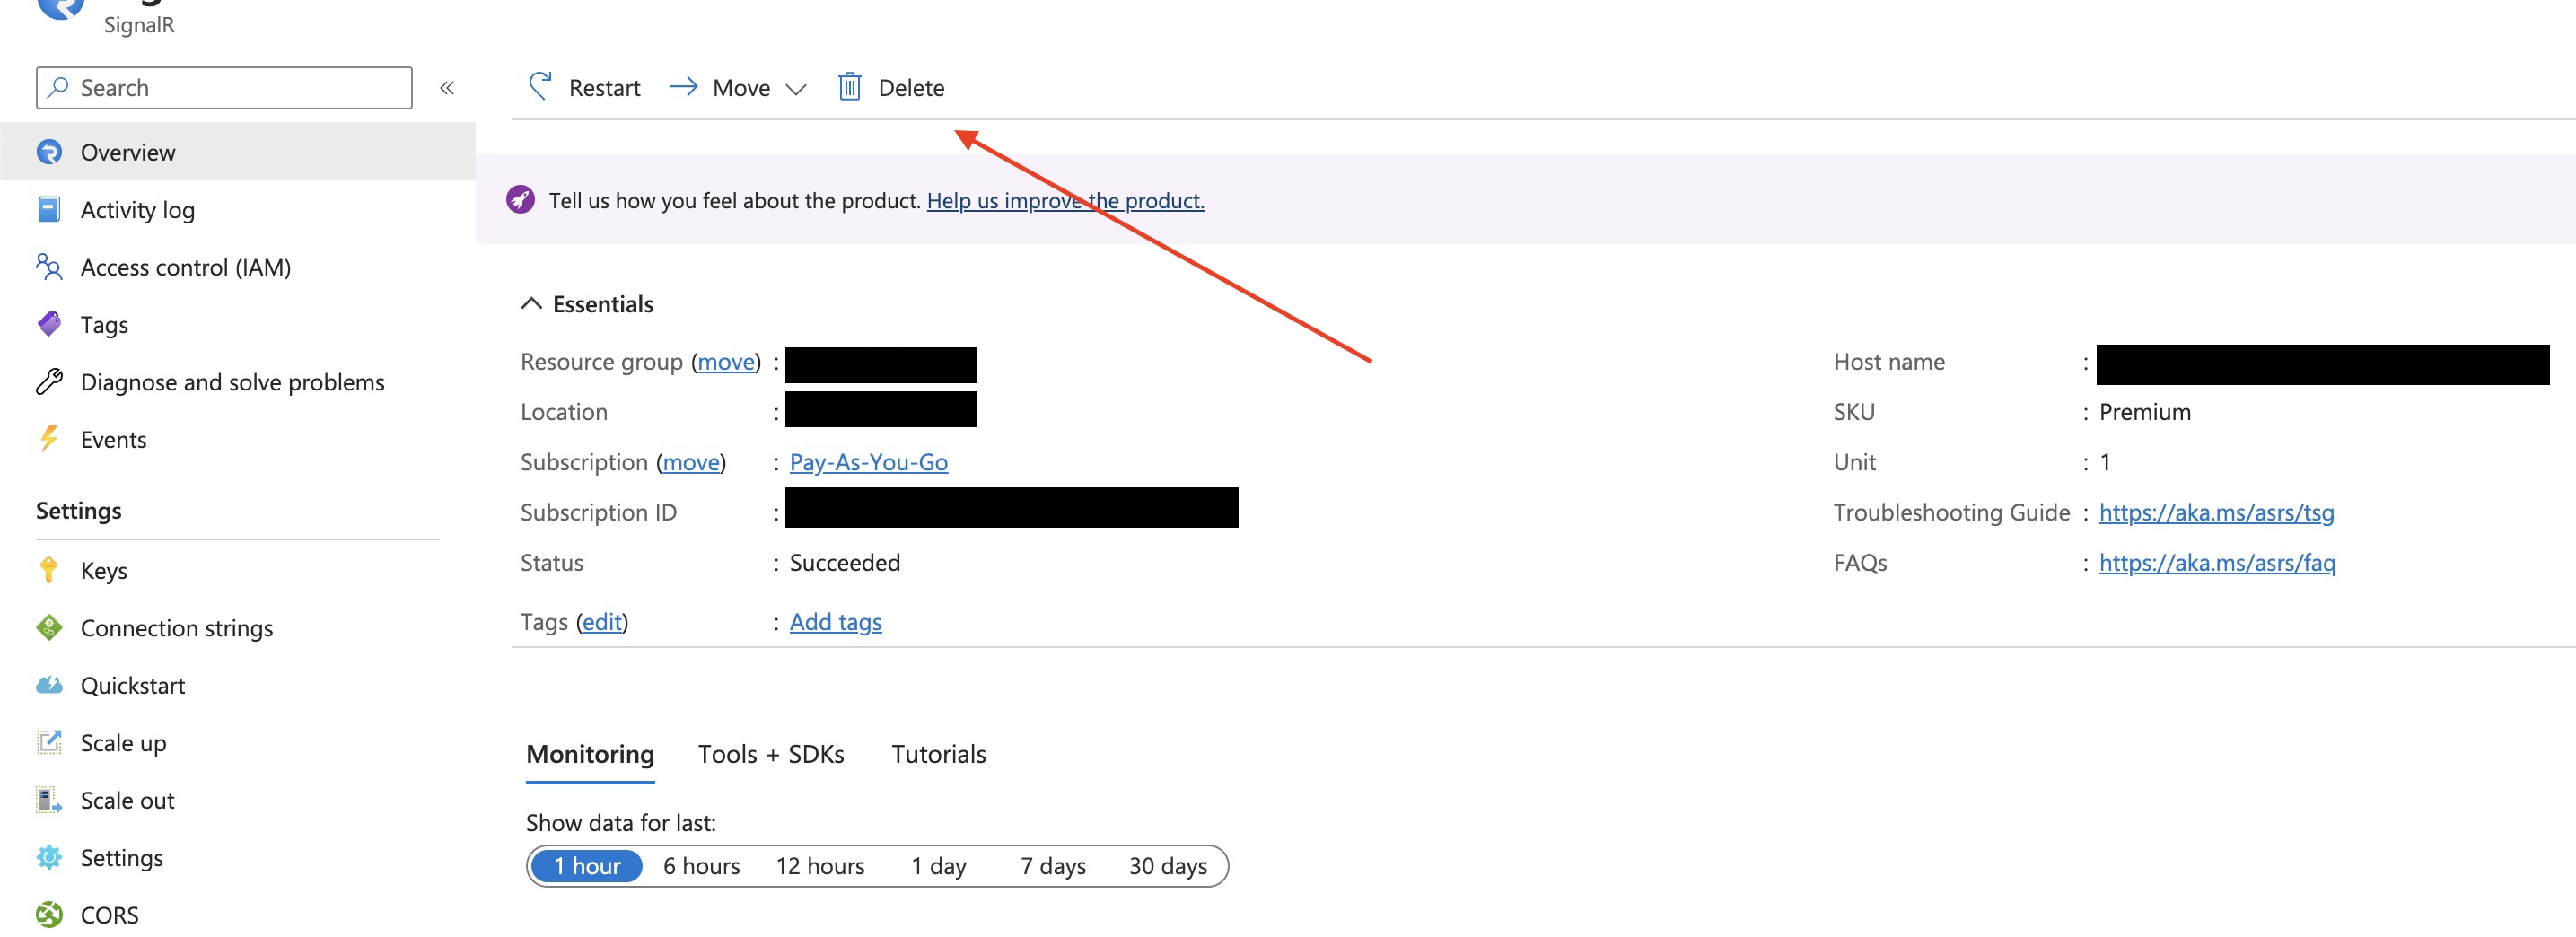
If you do not want to do anything more with your project, make sure to go back and delete the SignalR instance so you won’t potentially incur unnecessary costs.
With those values saved, you can now click the “Open LIve Trace Tool” button to view your traces. When you click that, it opens a new browser tab with the Live Trace Tool shown. Go back to your locally running app and type a few messages. Next go back to the Live Trace Tool to view the messages and connection info saved.
Cleaning up
With all of the above setup, the next steps would be to deploy your functions and client app. Since the purpose of this post was to just get started, I’ll leave those next steps up to you.
To clean up your work, make sure to go back to the Azure console and access your SignalR instance and delete the value using the button at the top of the page.
Wrapping Up
This post was a simple walkthrough of getting setup with Azure’s SignalR service. There are a lot of options and cool things you can do with the Azure SignalR service. I recommend checking out the Microsoft Docs on Azure as well as the sample project I’ve referenced here. Thanks for reading my post!