
Building Microfrontends with Firebase
Recently I’ve been working with Microfrontends and wanted to put together a post that covers some basic concepts and includes an example project. I’m also a Firebase fan and wanted to include how you could build a Microfrontend with Firebase. I’m using React in this project, but if you wanted to pick a different Frontend Library or Framework the same basic principles should apply. Overall this post will cover what a Microfrontend is, and showcase an example project that shows you a working project. If you’d like to follow along or just jump straight into the code, checkout my GitHub repo firebase-mfe.
What is a Microfrontend?
Microfrontends (also called MFEs for short) have been around for several years now, but the core principles and pattern have remained the same. MFEs are a way to break down a large application into smaller pieces that can be deployed independently. The business value of MFEs, is the ability to break a large application into smaller teams that can be developed and released faster.
Consider as an example a web application that is maintained by 50 developers. Consider this application to actually consist of multiple pages that are independent parts (things like a shopping cart page, an info page, etc.). Anytime developers make changes, this could impact any and all parts of the same shared application. This is typically called a monolith whereby everything operates in the same codebase and any change impacts the entire application.
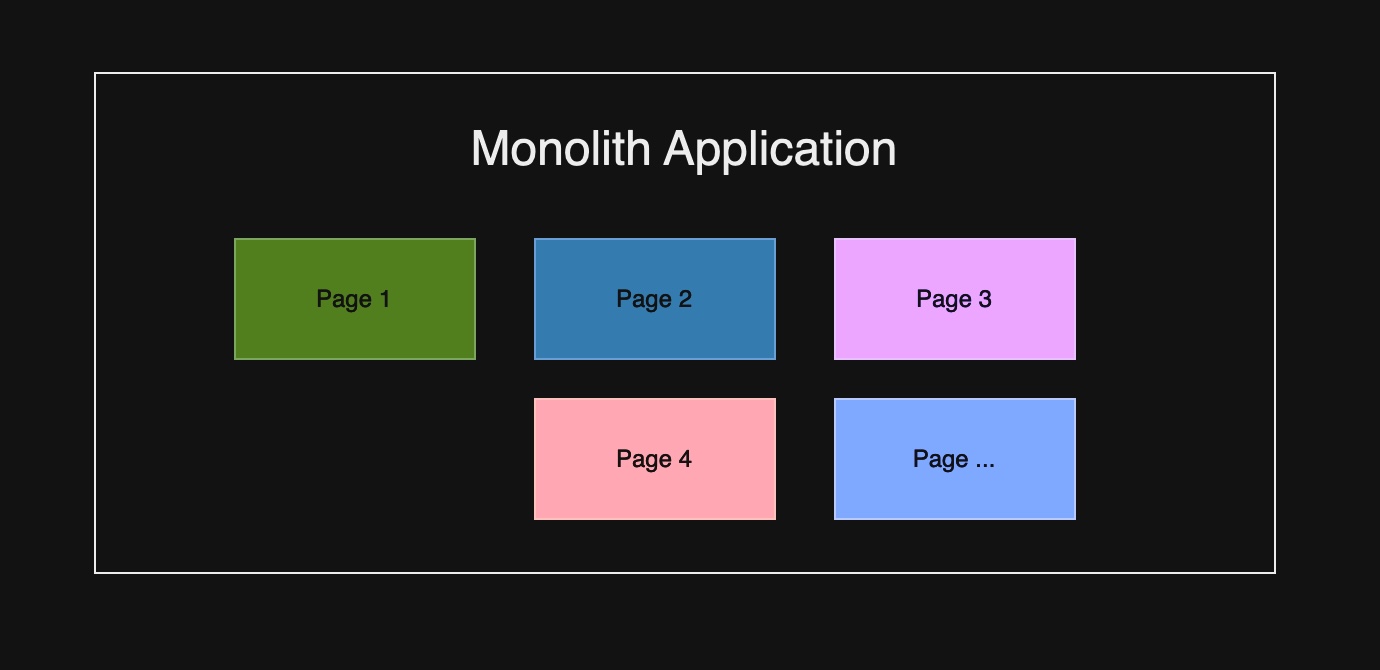
Conversely, consider taking that same application with the 50 developers and multiple pages and breaking it into pieces. Imagine having specific teams focus on specific parts of the application without worrying about potentially breaking or stopping another teams progress. The example of 50 developers could conversely be considered as a project with 5 teams of 10 developers. Each team focusing on a specific area (or page) of the Frontend application. This is the real value of this pattern in that it can stop many of the pain points of managing large systems.
To visually show this, one also has to point out that MFEs work with a host and remotes. The host manages the application as a while and consumes remote applications. The remotes expose components that are then consumed by the host. Modifying the earlier visualization to be shown in terms of MFEs:
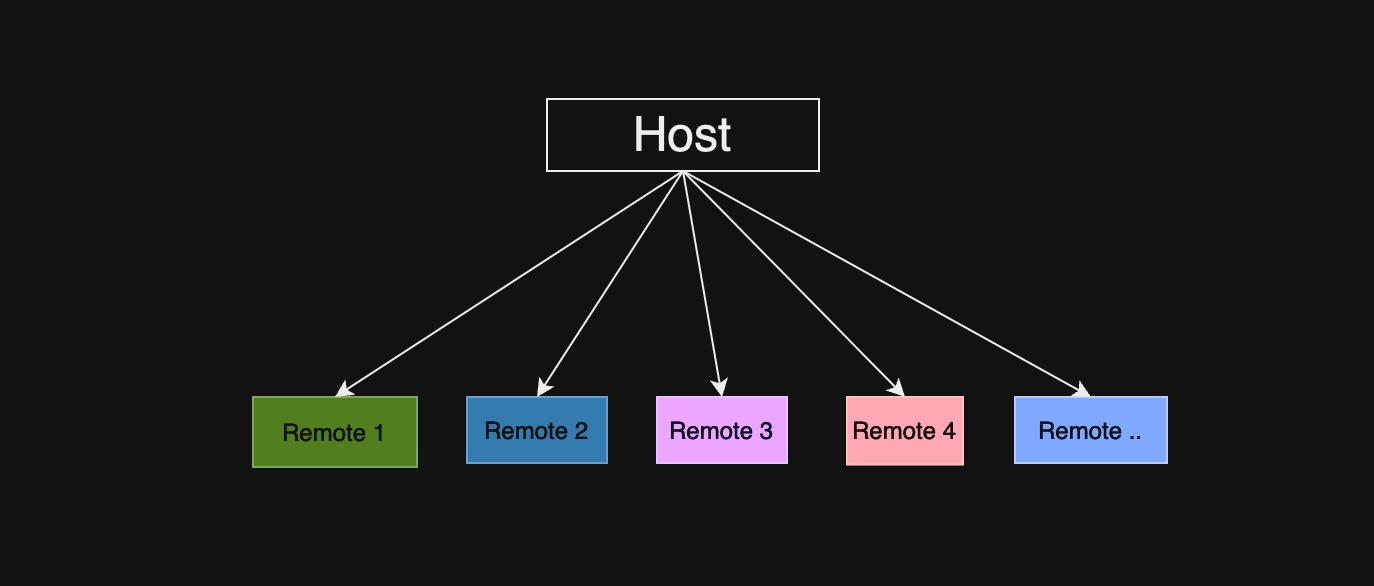
Each of the remotes should be able to be independently developed and deployed. The host can also manage things like tokens or shared settings that can be consumed by the remotes. The remotes can take in values from the host as props within the components. This is really powerful because it means that in a corporate environment, a team could manage things like app settings and authentication and then the remote teams could all use the same values. This means each team doesn’t have to go through the process of setting up their own resources.
At its core, MFEs also take advantage of Module Federation and Webpack. Module Federation has the following key concepts:
- Sharing components (or modules) between pieces of an application through exposing or consuming (versus building everything at once)
- Sharing dependencies within an application (not having to copy the same code in multiple areas)
- On demand loading of dependencies (only load what you need)
- Deploying and developing parts of an application independently
With Module Federation the host will consume remotes and the remotes will expose components to be consumed by the host.
If you do some Googling on this topic, you’ll find that many people have different takes on the way that this is implemented. There are a variety of ways to manage an architecture like this. The overarching concepts are still the same. In the next sections, I’ll share my example application firebase-mfe. and show how it accomplishes the MFE Architecture with Firebase.
Building an MFE with Firebase
Before you begin, you need to go to the Firebase console and create an application. If you’re new to Firebase, I recommend checking out their fundamentals page. Firebase for the most part is free to initially get setup. Certain services have costs over time, but for the purposes of this project you shouldn’t incur any cost.
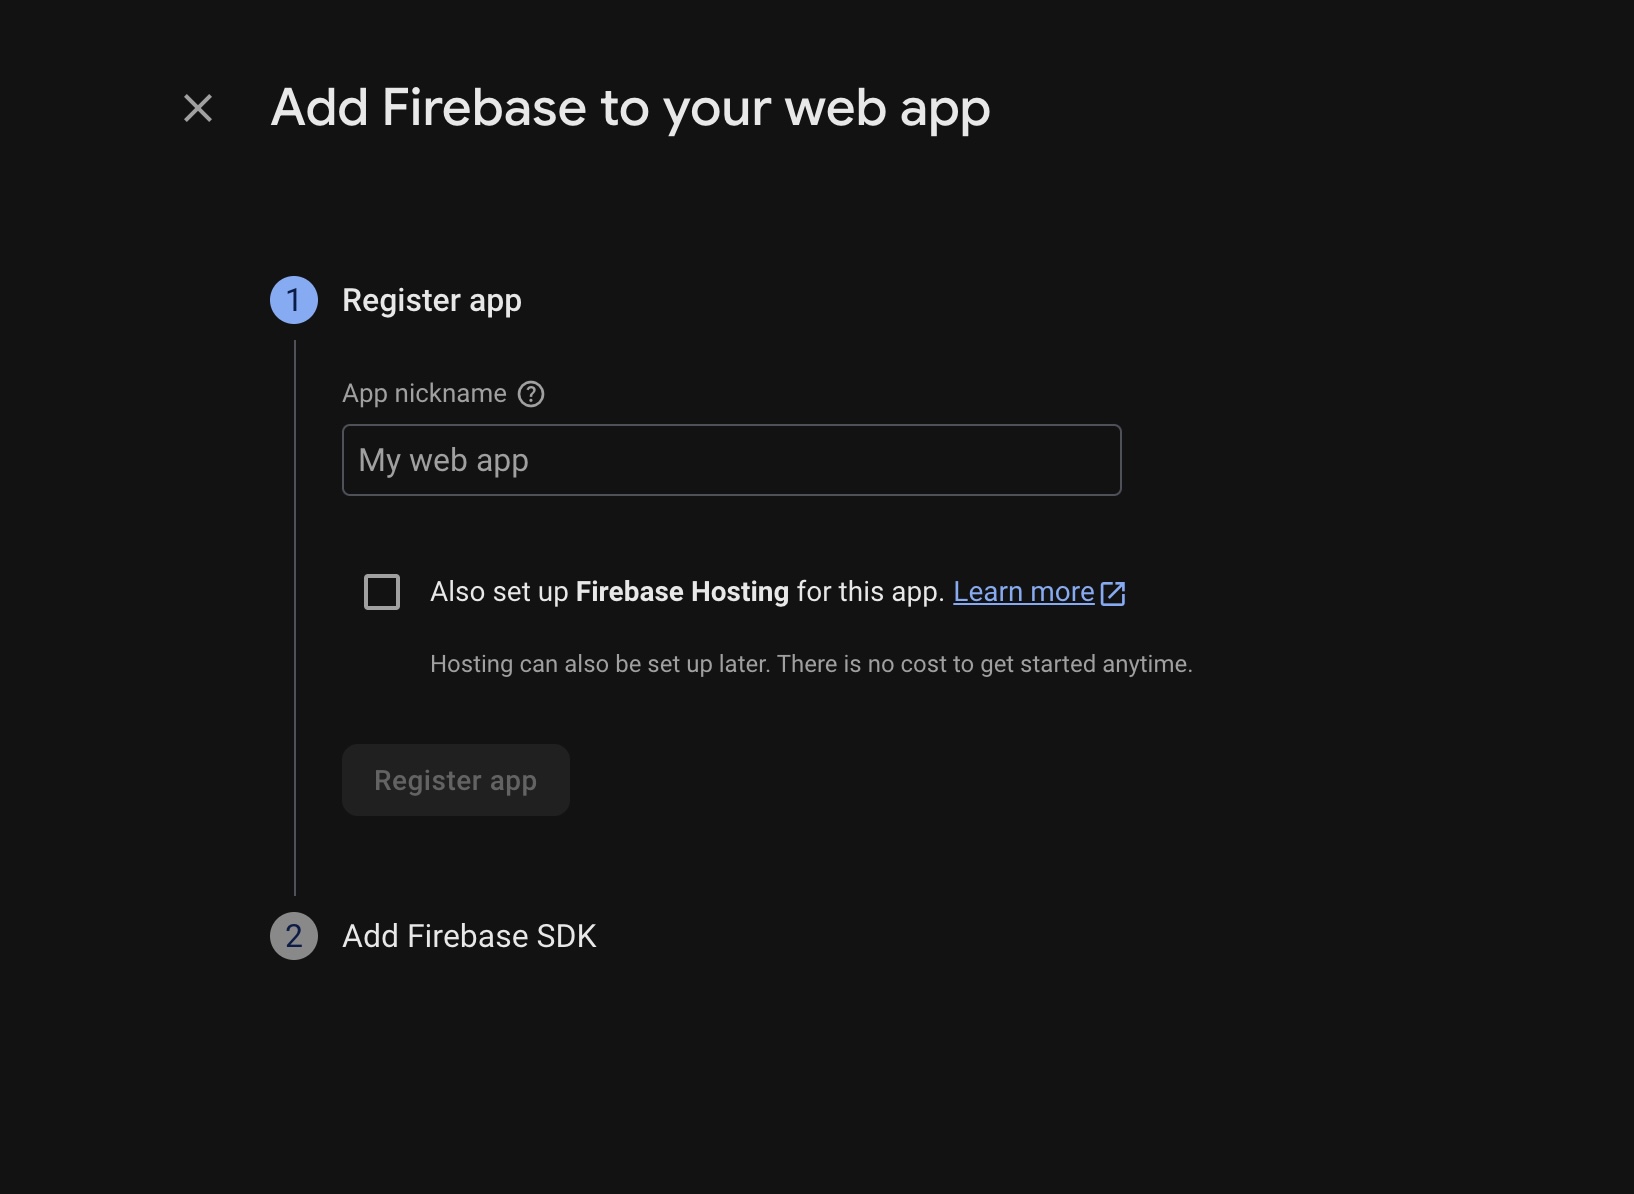
Once you have the project setup, make sure to go and add an application which will result in configuration values like these:
const firebaseConfig = {
  // Add your Firebase config here
  apiKey: "<API_KEY>",
  authDomain: "<AUTH_DOMAIN>",
  projectId: "<PROJECT_ID>",
  storageBucket: "<STORAGE_BUCKET>",
  messagingSenderId: "<MESSAGING_SENDER_ID>",
  appId: "<APP_ID>",
};
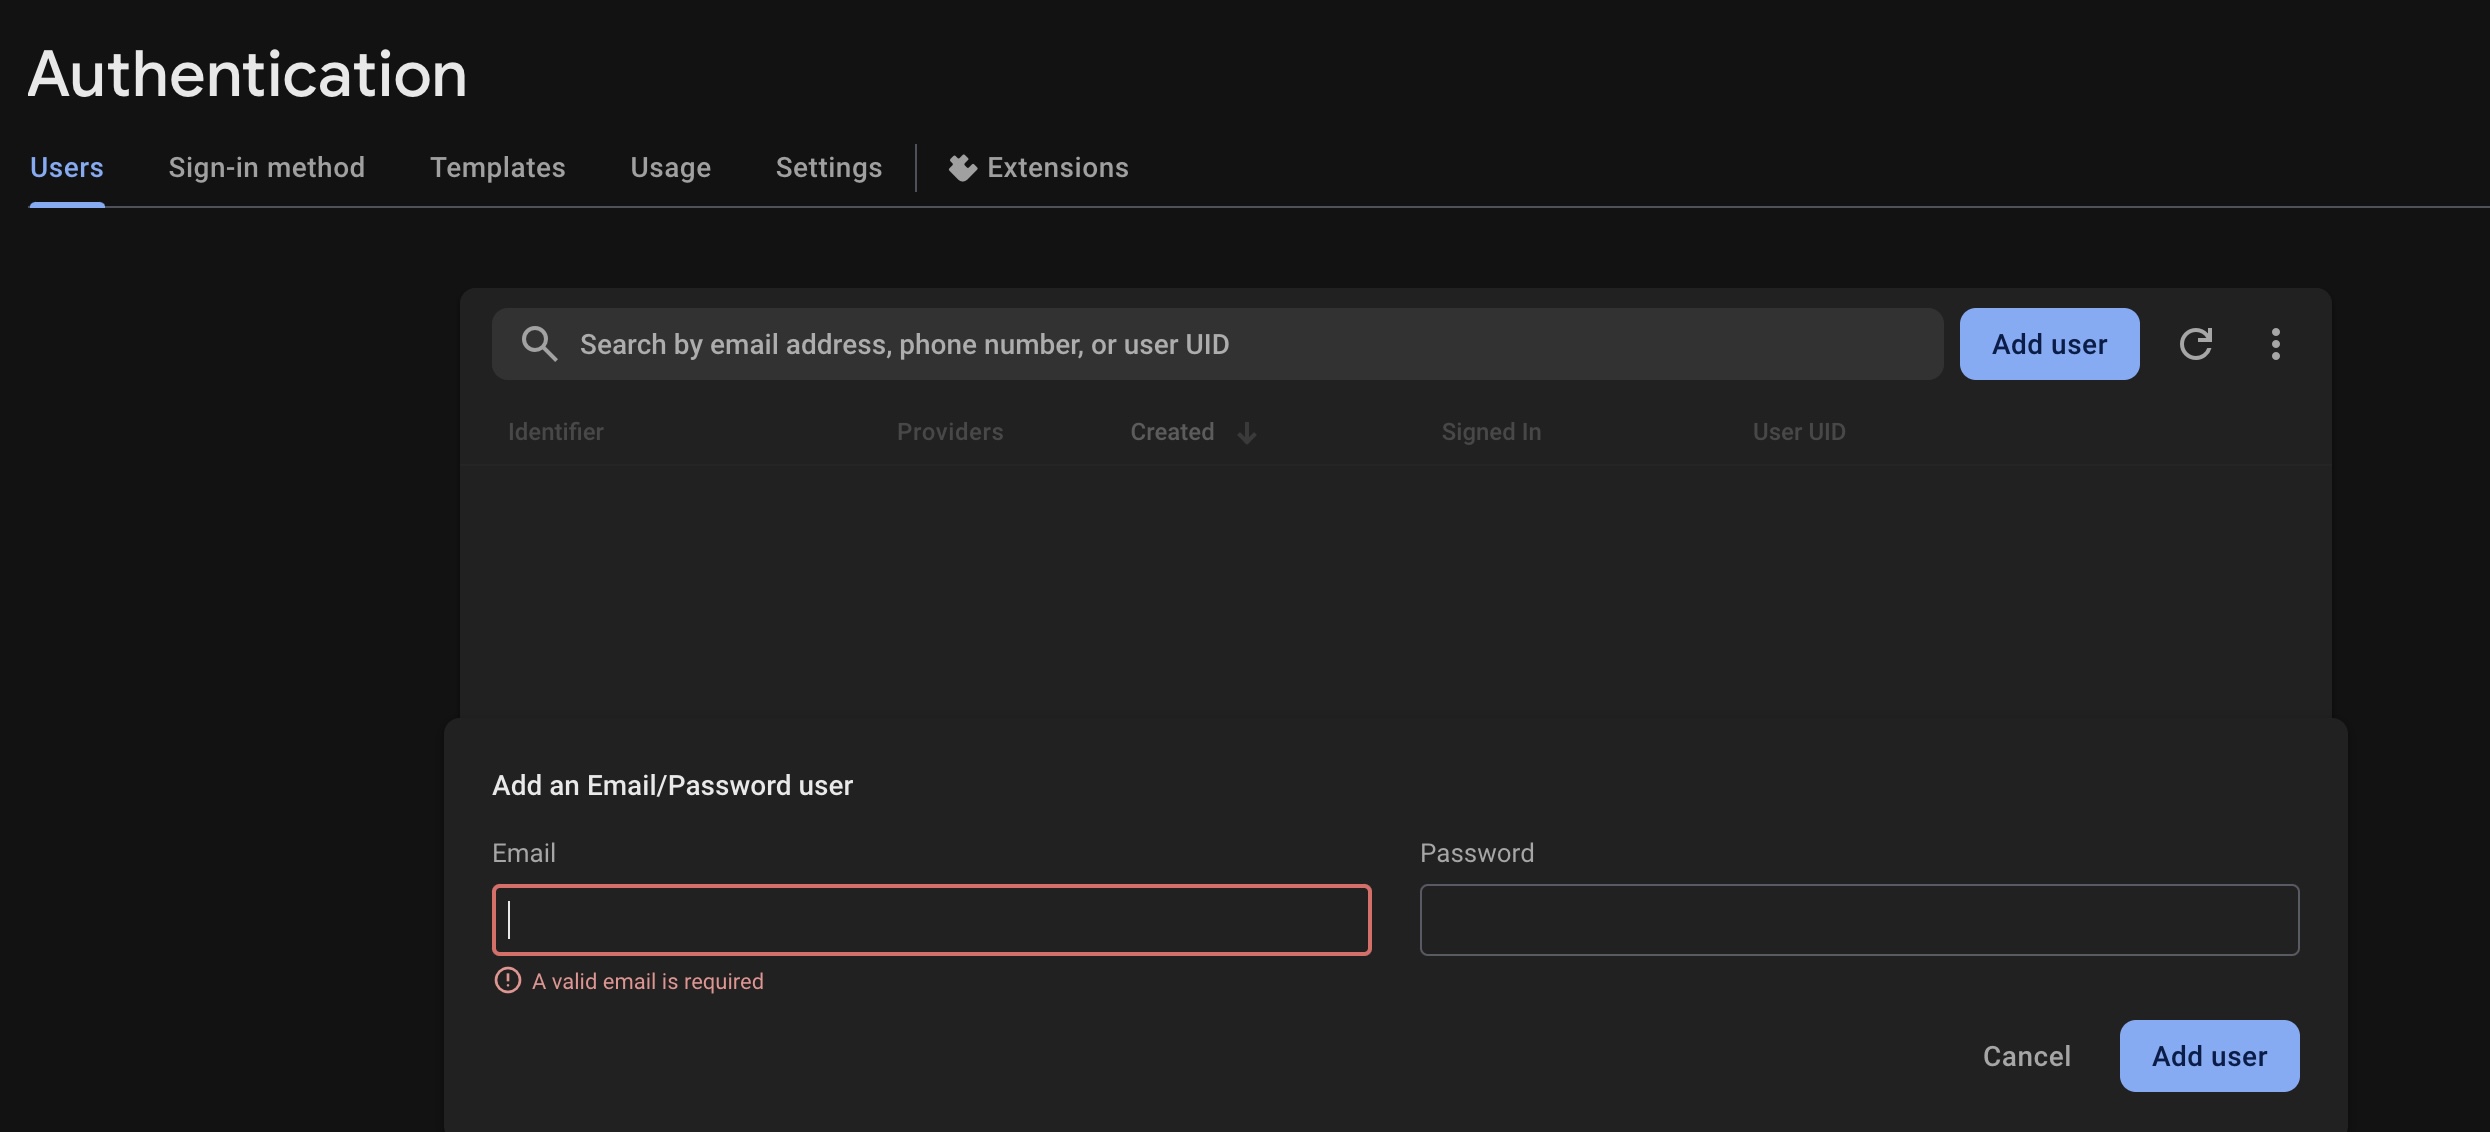
With these values setup, you should also go over to the Authentication Service and add a test user. My application uses an Auth value that is passed into the remotes, so we need a test user to be able to validate everything.
With all of this setup, you can now move over to the application to get setup.
Building the Host
For my sample application I used React, but you could just as easily use a different library or framework of your choice. The most important part is just that it has to be able to use Webpack so you can make use of Module Federation.
Since I have a full working project to share, I’m just going to highlight the places that need to be configured for everything to work. The general setup of this sample project could be expanded to a much larger project if one wanted to. One other point is that my sample project is all in the same repository, but you could potentially have your projects in separate repos entirely if you want. One of the best parts about MFEs is that you have the flexibility to customize the setup based on a variety of project needs.
In my sample application I have three projects:
- host
- remote1
- remote2
The host is where I store the Firebase configuration and you can see this in host/src/firebase.ts:
import { initializeApp } from "firebase/app";
import { getAuth } from "firebase/auth";

const firebaseConfig = {
  // Add your Firebase config here
  apiKey: "<API_KEY>",
  authDomain: "<AUTH_DOMAIN>",
  projectId: "<PROJECT_ID>",
  storageBucket: "<STORAGE_BUCKET>",
  messagingSenderId: "<MESSAGING_SENDER_ID>",
  appId: "<APP_ID>",
};

export const app = initializeApp(firebaseConfig);
export const auth = getAuth(app);
Next, you’ll notice in the sample application I have a bootstrap.tsx file next to my index.tsx file. This file is read in by index.tsx to render my application. The remotes will also have a bootstrap.tsx file, but I will cover that after I finish this portion.
// src/bootstrap.tsx
import React from "react";
import { createRoot } from "react-dom/client";
import App from "./App";

const root = document.getElementById("root");
if (root) {
  createRoot(root).render(<App />);
}
Now if you go over to the App.tsx file, you’ll note that you have 2 imports at the top that include 2 remotes:
const Remote1 = React.lazy(() => import("remote1/App"));
const Remote2 = React.lazy(() => import("remote2/App"));
You’ll also notice that the remotes are defined in the “view” of the App.tsx component:
<ErrorBoundary>
  <div>
    {!authState.user ? (
      <LoginForm onLogin={handleLogin} />
    ) : (
      <div>
        <h1>Welcome {authState.user.email}</h1>
        <React.Suspense fallback="Loading Remote 1...">
          <Remote1 user={authState.user} />
        </React.Suspense>
        <React.Suspense fallback="Loading Remote 2...">
          <Remote2 user={authState.user} />
        </React.Suspense>
        <button onClick={async () => await signOut(auth)}>Logout</button>
      </div>
    )}
  </div>
</ErrorBoundary>
Also note that the user object is passed in as a prop to both remotes. We will need to account for that in the next section where I explain the remote1 and remote2 projects.
If we jump over to the host/config/webpack.config.js file you will note at the bottom how this is setup with the Module Federation plugin:
config.plugins.push(
  new ModuleFederationPlugin({
    name: "host",
    remotes: {
      remote1: isEnvDevelopment
        ? "remote1@http://localhost:3001/remoteEntry.js"
        : "remote1@https://remote1-11182024.firebaseapp.com/remoteEntry.js",
      remote2: isEnvDevelopment
        ? "remote2@http://localhost:3002/remoteEntry.js"
        : "remote2@https://remote2-11182024.firebaseapp.com/remoteEntry.js",
    },
    shared: {
      react: {
        singleton: true,
        requiredVersion: require("../package.json").dependencies.react,
        eager: false, // Add this line
      },
      "react-dom": {
        singleton: true,
        requiredVersion: require("../package.json").dependencies["react-dom"],
        eager: false, // Add this line
      },
      firebase: {
        singleton: true,
        requiredVersion: require("../package.json").dependencies.firebase,
        eager: false, // Add this line
      },
    },
  }),
);
Lets note a few things here:
- the
remotesblock has a definition for remote projects with the prefix that is the nameremote1andremote2. You’ll note that this is the same as the imports in theApp.tsxfile. - Both of the remotes are defined based on if the
isEnvDevelopmentflag is set. If in development, load from localhost otherwise point to the deployed sites. - Both of the
remotesmake note of aremoteEntry.jsfile, this is what is compiled and read in by the host. - Note also that in the
sharedsection it specifies versions ofreact,react-dom, andfirebasebased on what is in the remotes.
Please note that the React apps shown here have been “ejected” as part of a
create-react-appproject. There are many ways one could have done this, but this was the easiest way I found to get setup with a sample project like this.
With the above setups, you’ll also need to run firebase init and go through the terminal to get the project setup as a “firebase” project.
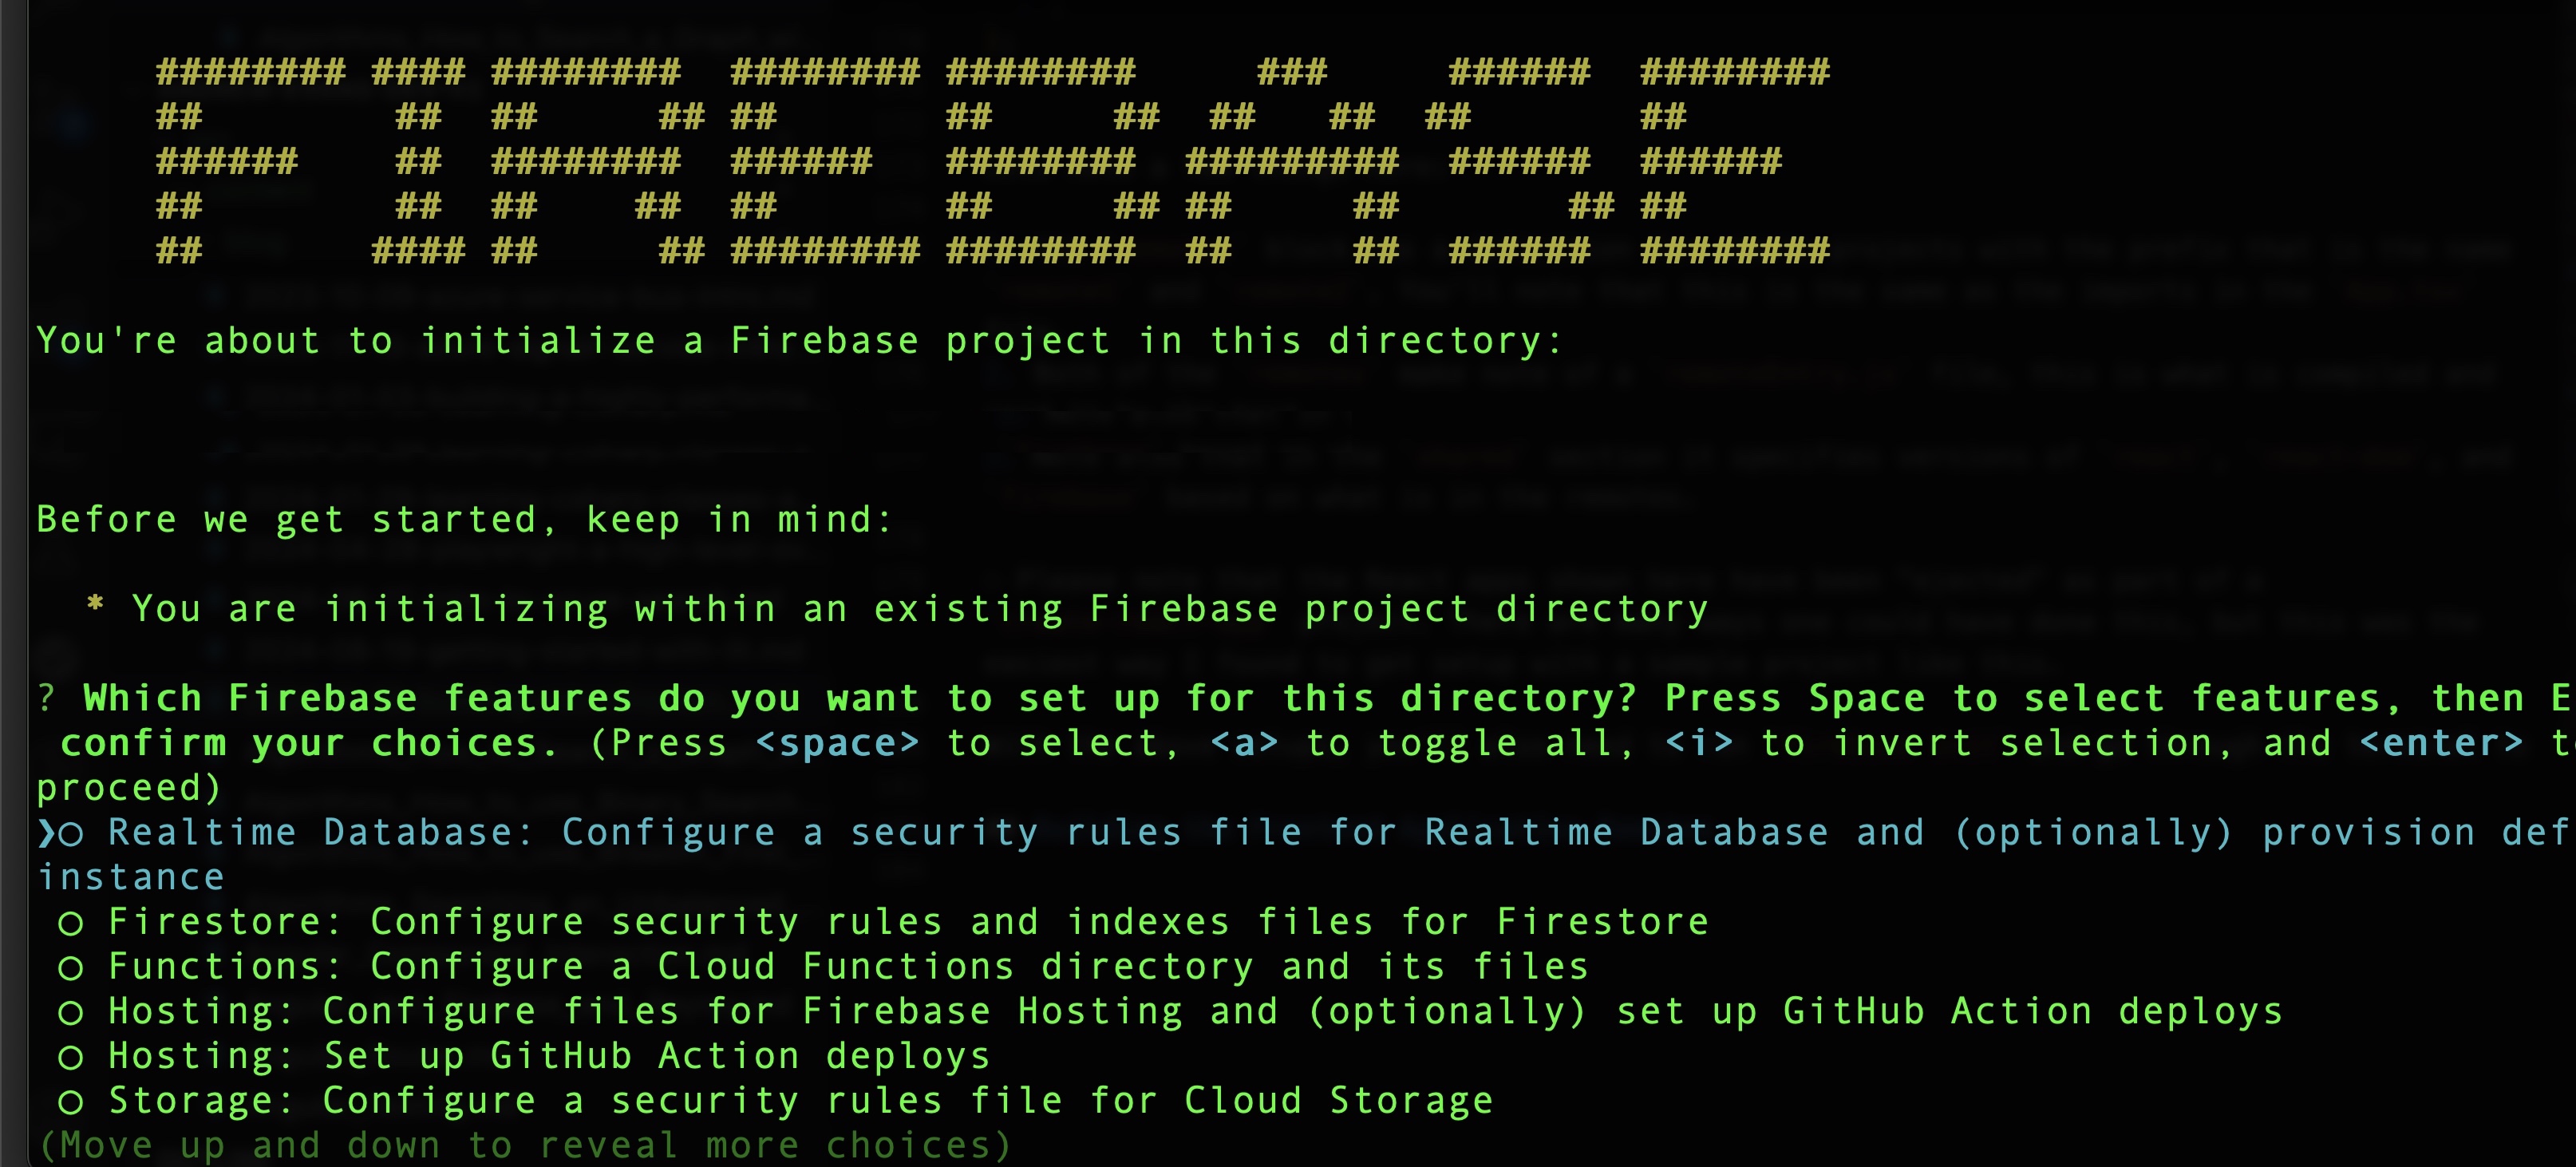
You’ll then have to either go into the Firebase console, or run commands to generate “sites” within your project that you can deploy to. Here are the commands I ran:
firebase hosting:sites:create host-11182024
firebase target:apply hosting host-11182024 <PROJECT_ID>-host-11182024
Note that i named my host
host-11182024just as a value I could remember. You could name your host (and remotes) anything you want.
The names I made for the host project were arbitrary. I also had to run these commands a few times before I figured out the correct setting here. Ultimately I ended up with a firebase.json file that looked like this:
{
  "hosting": {
    "target": "host-11182024",
    "public": "build",
    "ignore": ["firebase.json", "**/.*", "**/node_modules/**"],
    "rewrites": [
      {
        "source": "**",
        "destination": "/index.html"
      }
    ]
  }
}
I also ended up with a .firebaserc file that looked like this:
{
  "projects": {
    "default": "<YOUR_FIREBASE_PROJECT_ID>"
  },
  "targets": {
    "<YOUR_FIREBASE_PROJECT_ID>": {
      "hosting": {
        "host-11182024": ["host-11182024"]
      }
    }
  },
  "etags": {}
}
Ultimately, this is all just setting it up so when you deploy you are sending the bundle to a specific place in your project. With my sample project I used host-11182024 which ended up me using the deploy command firebase deploy --only hosting:host-11182024. We will next do similar setups for the Remote projects.
Building the Remotes
The remote projects in the sample project are in the remote1 and remote2 folders. I’ll just go through remote1 and you can follow the same process for remote2.
In remote1, look first at the bootstrap.tsx file:
import React from "react";
import { createRoot } from "react-dom/client";
import App from "./App";

const root = document.getElementById("root");
if (root) {
  // Don't render anything in standalone mode for production
  if (process.env.NODE_ENV === "development") {
    import("./devBootstrap");
  } else {
    createRoot(root).render(
      <div>
        This is a microfrontend that needs to be loaded from a host application.
      </div>,
    );
  }
}
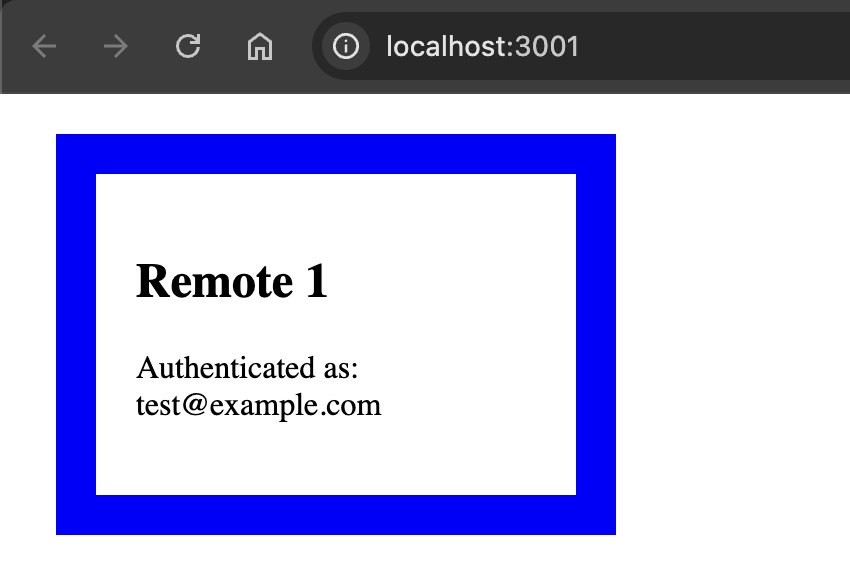
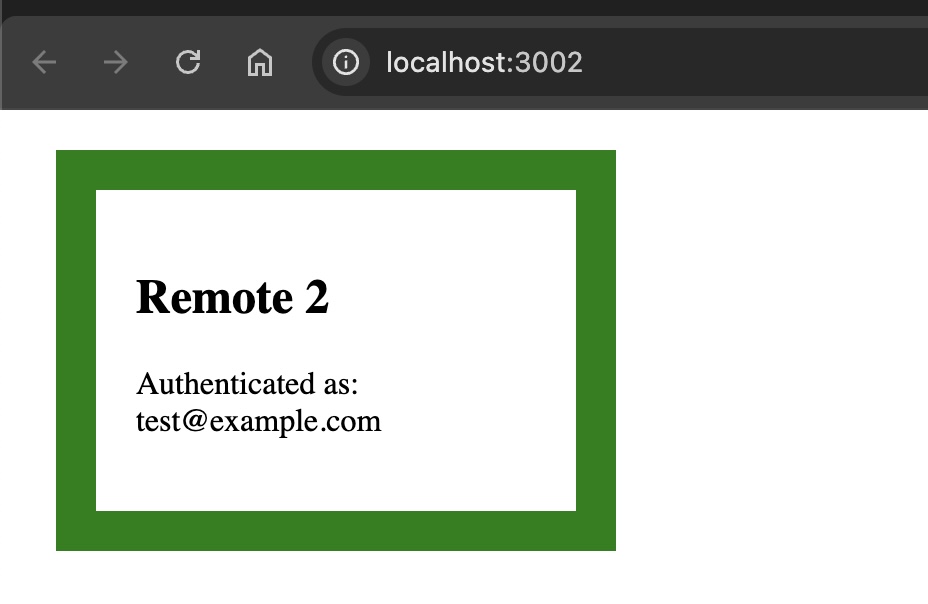
Note that we are accounting for development mode. The devBootstrap.tsx file includes a mock user. This is because we are passing in the user object into the remote from the host. Having a mock value allows you to run the remote independently of the host for debugging etc. This is a great example of how you could pass things like tokens or other values from host to remote. Just for reference and to continue with the explanation this is what the devBootstrap.tsx file looks like:
import React from 'react'
import { createRoot } from 'react-dom/client'
import App from './App'
import { User } from 'firebase/auth'

const mockUser: User = {
    email: 'test@example.com',
    uid: 'test-uid',
    emailVerified: true,
    isAnonymous: false,
    metadata: {},
    providerData: [],
    refreshToken: '',
    tenantId: null,
    delete: async () => {},
    getIdToken: async () => '',
    getIdTokenResult: async () => ({
        token: '',
        authTime: '',
        issuedAtTime: '',
        expirationTime: '',
        signInProvider: null,
        claims: {},
        signInSecondFactor: null,
    }),
    reload: async () => {},
    toJSON: () => ({}),
    displayName: 'test user',
    phoneNumber: '123-123-1234',
    photoURL: '',
    providerId: '',
}

const root = document.getElementById('root')
if (root) {
    createRoot(root).render(<App user={mockUser} />)
}
Within the remote1 project we can next take a look at the host/config/webpack.config.js file where we define the Module Federation plugin:
new ModuleFederationPlugin({
  name: "remote1",
  filename: "remoteEntry.js",
  exposes: {
    "./App": "./src/App",
  },
  shared: {
    react: {
      singleton: true,
      requiredVersion: require("../package.json").dependencies.react,
    },
    "react-dom": {
      singleton: true,
      requiredVersion: require("../package.json").dependencies["react-dom"],
    },
    firebase: {
      singleton: true,
      requiredVersion: require("../package.json").dependencies.firebase,
    },
  },
});
Note that the name remote1 lines up with the name of the value in the host webpack config. Also note the exposes field points to the projects App.tsx file where the main application is loaded. The additional definitions in the shared section are similar to how we defined the values in the same place in the host config file.
Similar to how I setup the Firebase “site” for the host project, we can do the same here with similar commands:
firebase hosting:sites:create remote1-11182024
firebase target:apply hosting remote1-11182024 <PROJECT_ID>-remote1-11182024
Then when we want to deploy, we call the Firebase command firebase deploy --only hosting:remote1-11182024.
Going through the firebase init setup, for the remote1 project we get the following firebase.json values:
{
  "hosting": {
    "target": "remote1-11182024",
    "public": "build",
    "ignore": ["firebase.json", "**/.*", "**/node_modules/**"],
    "rewrites": [
      {
        "source": "**",
        "destination": "/index.html"
      }
    ]
  }
}
Similarly, we also get the following .firebaserc file values:
{
  "projects": {
    "default": "<YOUR_FIREBASE_PROJECT_ID>"
  },
  "targets": {
    "<YOUR_FIREBASE_PROJECT_ID>": {
      "hosting": {
        "remote1-11182024": ["remote1-11182024"]
      }
    }
  },
  "etags": {}
}
If you look at the remote2 project, you’ll se basically the same setup. The only difference was that the name of the remote is remote2 and the Firebase “site” that I created was remote2-11182024.
Seeing everything in action
If you want to see my sample project working locally, you can just run each project in its own terminal session. Each project runs on a different port, and if you pull up the page for the host at port 3000 you’ll see the app running and pulling in the remotes:
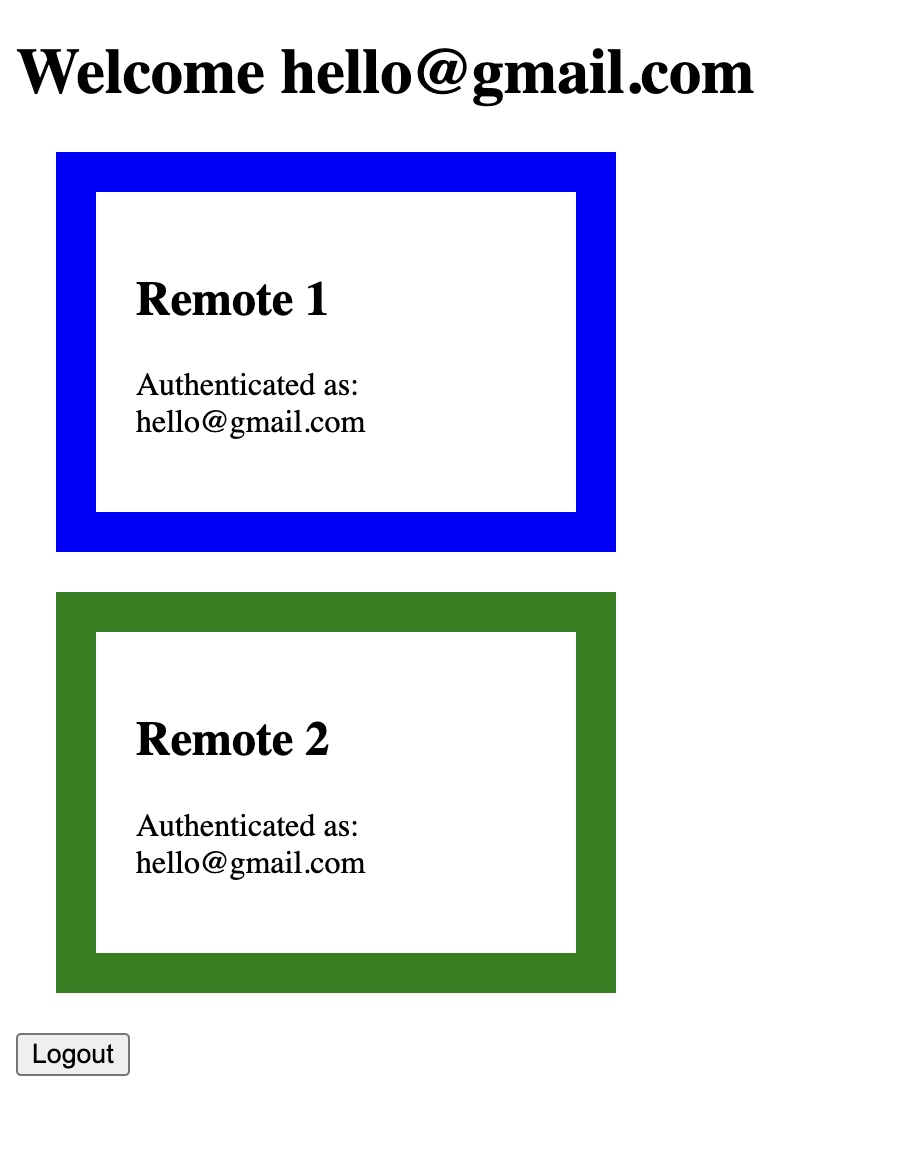
I created a sample account at hello@gmail.com just so I could login and verify the values were actually being passed in correctly.
Note that the host has props for the user that is logged in. These props are passed into the remotes without the projects needing to have the auth setup configured. This is just one example of what could be exchanged between the host and remote projects. Being able to centralize configuration like this, is one of the most powerful parts of MFE projects.
If you open up Chrome DevTools, you’ll see that what you are seeing appears to be a regular React application:
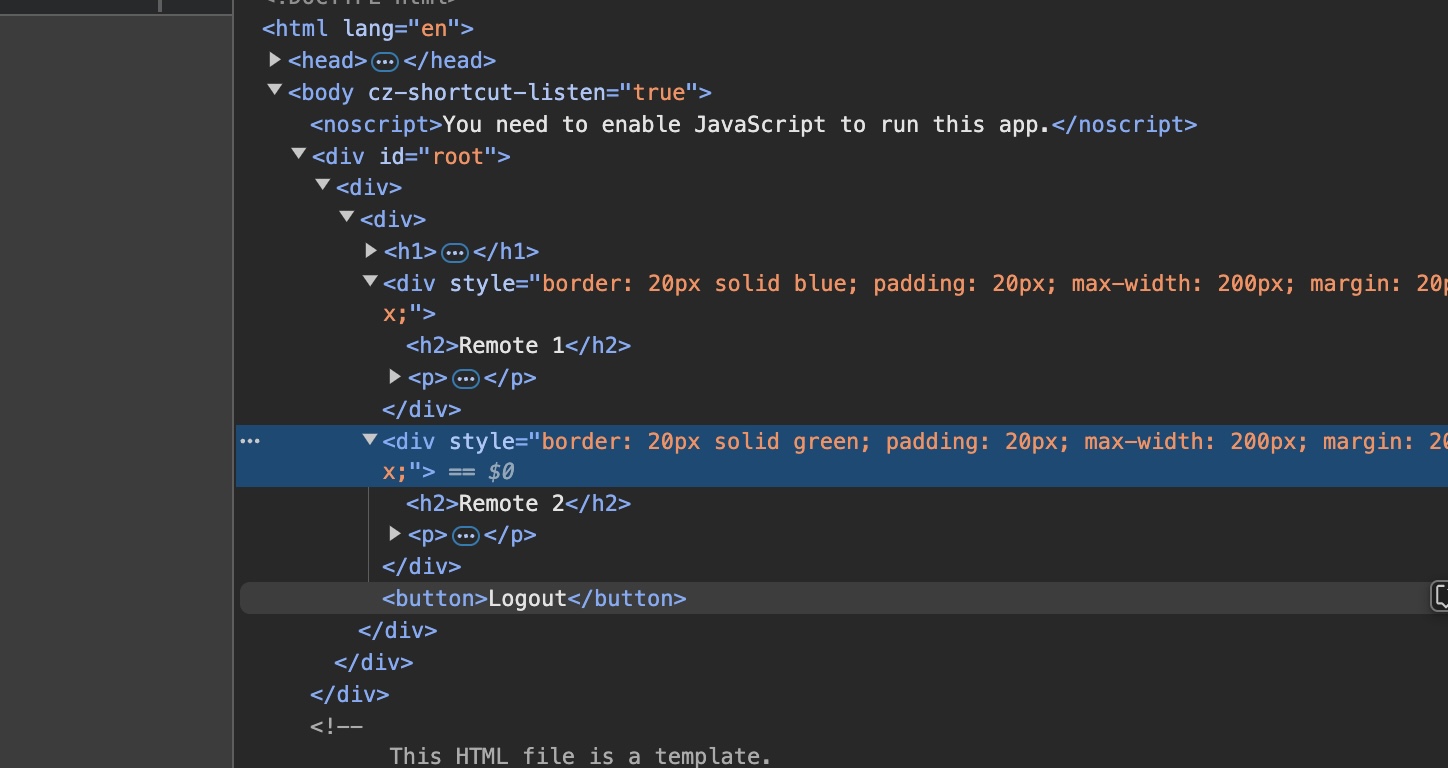
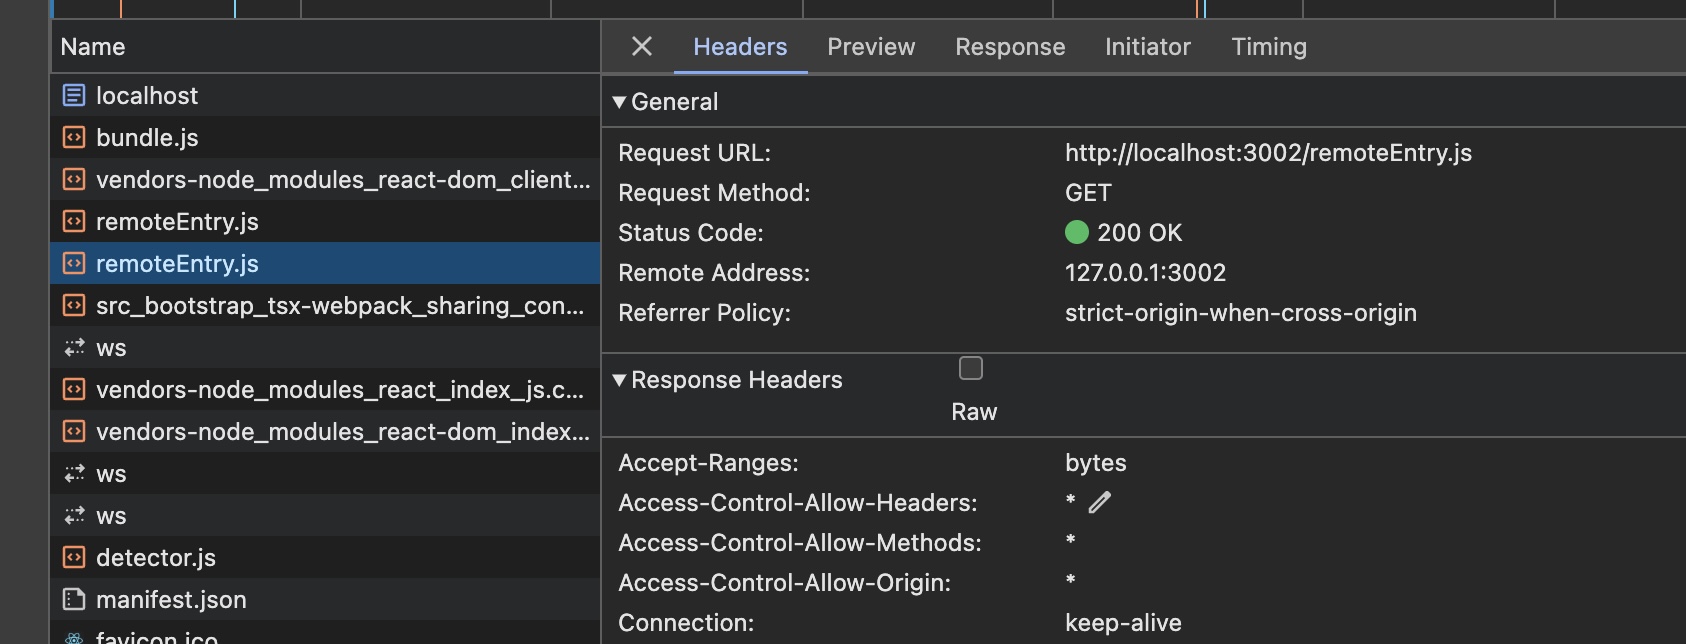
If you open the network tab, however, you’ll see that what was pulled in is from different endpoints:
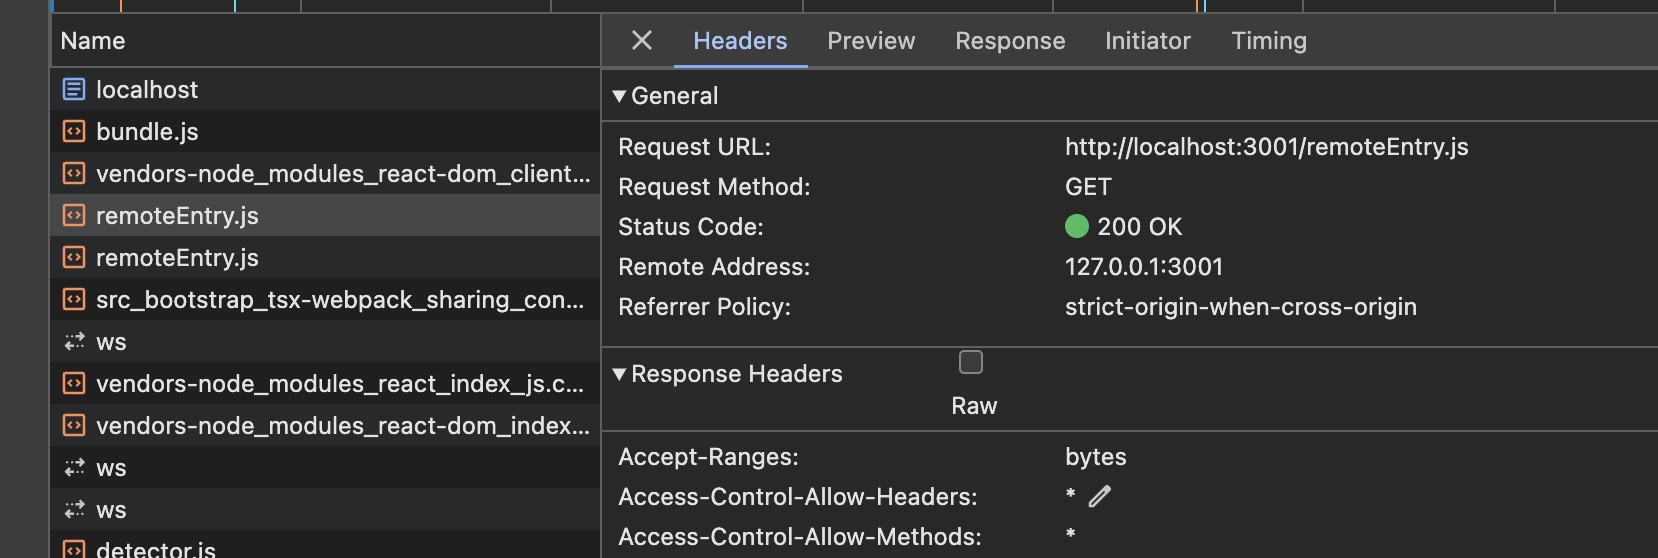
When you look at the individual pages running locally, you’ll see the devBootstrap in action as the value for the user is mocked:
Lessons Learned
So far I’ve discussed the general concepts behind MFEs, and also shown you how you can technically build your own. My general experience with MFEs are that the setup process tends to require some experimentation to get right. Fortunately, there are a fair amount of YouTube videos and blog posts that cover MFE concepts. I also was able to leverage Claude AI for help getting started and working through parts of the implementation. I recommend using all of these resources (and Claude) to help you with your initial setup.
Getting the values exposed by the Module Federation plugin can cause some issues. On a different MFE project I worked on, I had the incorrect name for the remoteEntry.js file which we didn’t see until everything was deployed and the remote would not load.
Additionally, I ran into some an error about eager consumption:
Error: Shared module is not available for eager consumption: webpack/sharing/consume/default/react/reactThis is why in the Module Federation part of my host webpack config you’ll see eager: false like this:
    shared: {
      react: {
        singleton: true,
        requiredVersion: require("../package.json").dependencies.react,
        eager: false, // Add this line
      },
    }
It’s also important to be able to properly handle errors when loading your components. If you notice in the host project, I have wrapped my “view” of the App.tsx values with an ErrorBoundary:
<ErrorBoundary>
  <div>
    {!authState.user ? (
      <LoginForm onLogin={handleLogin} />
    ) : (
      <div>
        <h1>Welcome {authState.user.email}</h1>
        <React.Suspense fallback="Loading Remote 1...">
          <Remote1 user={authState.user} />
        </React.Suspense>
        <React.Suspense fallback="Loading Remote 2...">
          <Remote2 user={authState.user} />
        </React.Suspense>
        <button onClick={async () => await signOut(auth)}>Logout</button>
      </div>
    )}
  </div>
</ErrorBoundary>
The ErrorBoundary component, is an implementation of React's Error Boundary and can be seen in the host/src/components/ErrorBoundary.tsx file:
import React, { Suspense } from 'react'

// Error Boundary Component
class ErrorBoundary extends React.Component<
    { children: React.ReactNode },
    { hasError: boolean; error: Error | null }
> {
    constructor(props: { children: React.ReactNode }) {
        super(props)
        this.state = { hasError: false, error: null }
    }

    static getDerivedStateFromError(error: Error) {
        return { hasError: true, error }
    }

    render() {
        if (this.state.hasError) {
            const styles = {
                container: {
                    padding: '1rem',
                    backgroundColor: '#fef2f2',
                    border: '1px solid #fecaca',
                    borderRadius: '8px',
                },
                heading: {
                    color: '#dc2626',
                    fontWeight: 600,
                    marginBottom: '0.5rem',
                },
                message: {
                    color: '#ef4444',
                },
                button: {
                    marginTop: '0.75rem',
                    padding: '0.5rem 1rem',
                    backgroundColor: '#fee2e2',
                    color: '#dc2626',
                    border: 'none',
                    borderRadius: '4px',
                    cursor: 'pointer',
                },
            }

            return (
                <div style={styles.container}>
                    <h2 style={styles.heading}>Failed to Load Component</h2>
                    <p style={styles.message}>{this.state.error?.message}</p>
                    <button
                        style={styles.button}
                        onClick={() => window.location.reload()}
                    >
                        Retry
                    </button>
                </div>
            )
        }

        return this.props.children
    }
}

export default ErrorBoundary
Wrapping Up
Overall, I hope this post demonstrated to you how MFE’s work and also showcased how you can use Firebase to build one. MFEs are a powerful concept that teams can use to manage larger projects. MFEs also have a lot of flexibility, and you can fine tune your project to match a variety of needs.
In my Firebase implementation, I also hope you noticed how easy it was to get going with Firebase. I’m a long time Firebase fan, and loved how easy it was to just get setup with some basic configuration. I highly recommend Firebase for projects especially like the sample one I created for this post.
I recommend going through my sample project as well as looking at other posts and YouTube videos on how MFEs work. Jack Herrington has some great videos on YouTube like this one that MFEs with some higher level concepts and examples. Webpack also has documentation on the Module Federation plugin that you can check out.
I hope my post helped you better understand MFEs and how you can use Firebase to build them. Thanks for reading my post!