
CircleCI
I’ve been hearing a lot about CircleCi recently, so I decided to write a post about it.
What is it? CircleCi is a Continuous Integration Continous Development (CICD) tool which allows you to (1) test your code before deployment and then (2) test your code when you’re ready deploy it automatically. As a traditional Jenkins user, I was already familiar with the process, but wanted to check out CircleCI as I’d heard it’s easy to use and get rolling with.
So just to start, go to the CircleCI site https://circleci.com/.
If you click on one of the links to sign up you’ll be walked through the dialog to create your account etc. It’s a pretty good deal to start out for individuals as it’s free! For corporate accounts, it’s paid. To get started, you need a GitHub or BitBucket account. This is so that you can tie a repo to your build jobs that you’ll run using CircleCI.
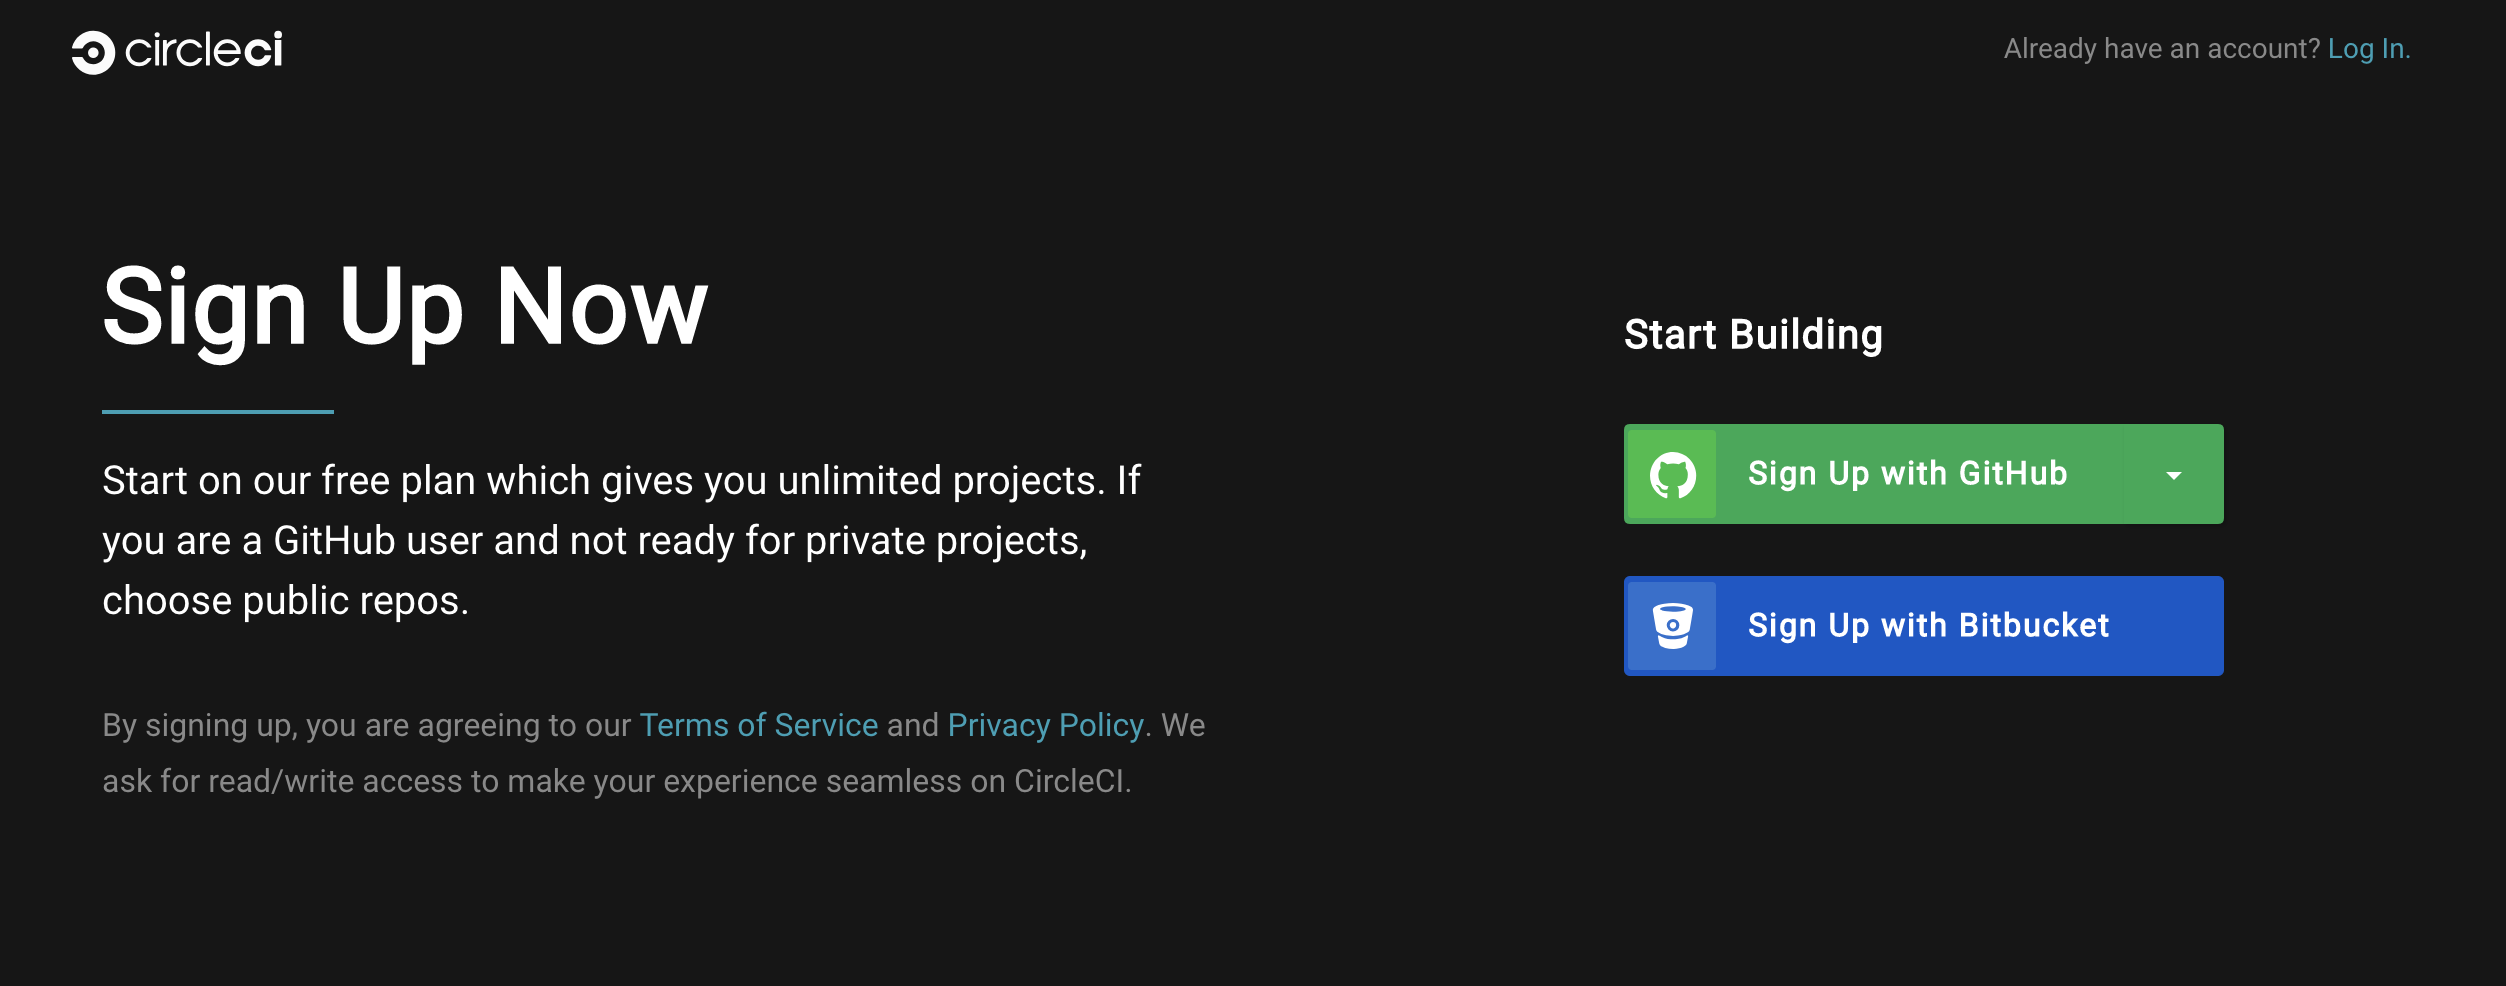
I’m a BitBucket fan myself, so I’m going to go with that setup for the rest of this post. I was already logged in, so it connected CircleCI to my BitBucket account immediately.

To demonstrate how CircleCI works, I’m just going to walk through the getting started example they provide here https://circleci.com/docs/2.0/getting-started/
CircleCI uses a Yaml file that has the configuration and is in a hidden folder “.circleci” in your repo. This is where your configuration will get pulled in.
Commit this file folder to get your initial config rolling.
Now go to your CircleCI page. If you connected using your GitHub or BitBucket account as was stated earlier, then this will take you to the page to allow CircleCI to handle your builds. Click the “add projects” button on the CircleCI screen and walk through the dialog to add your project to CircleCI.
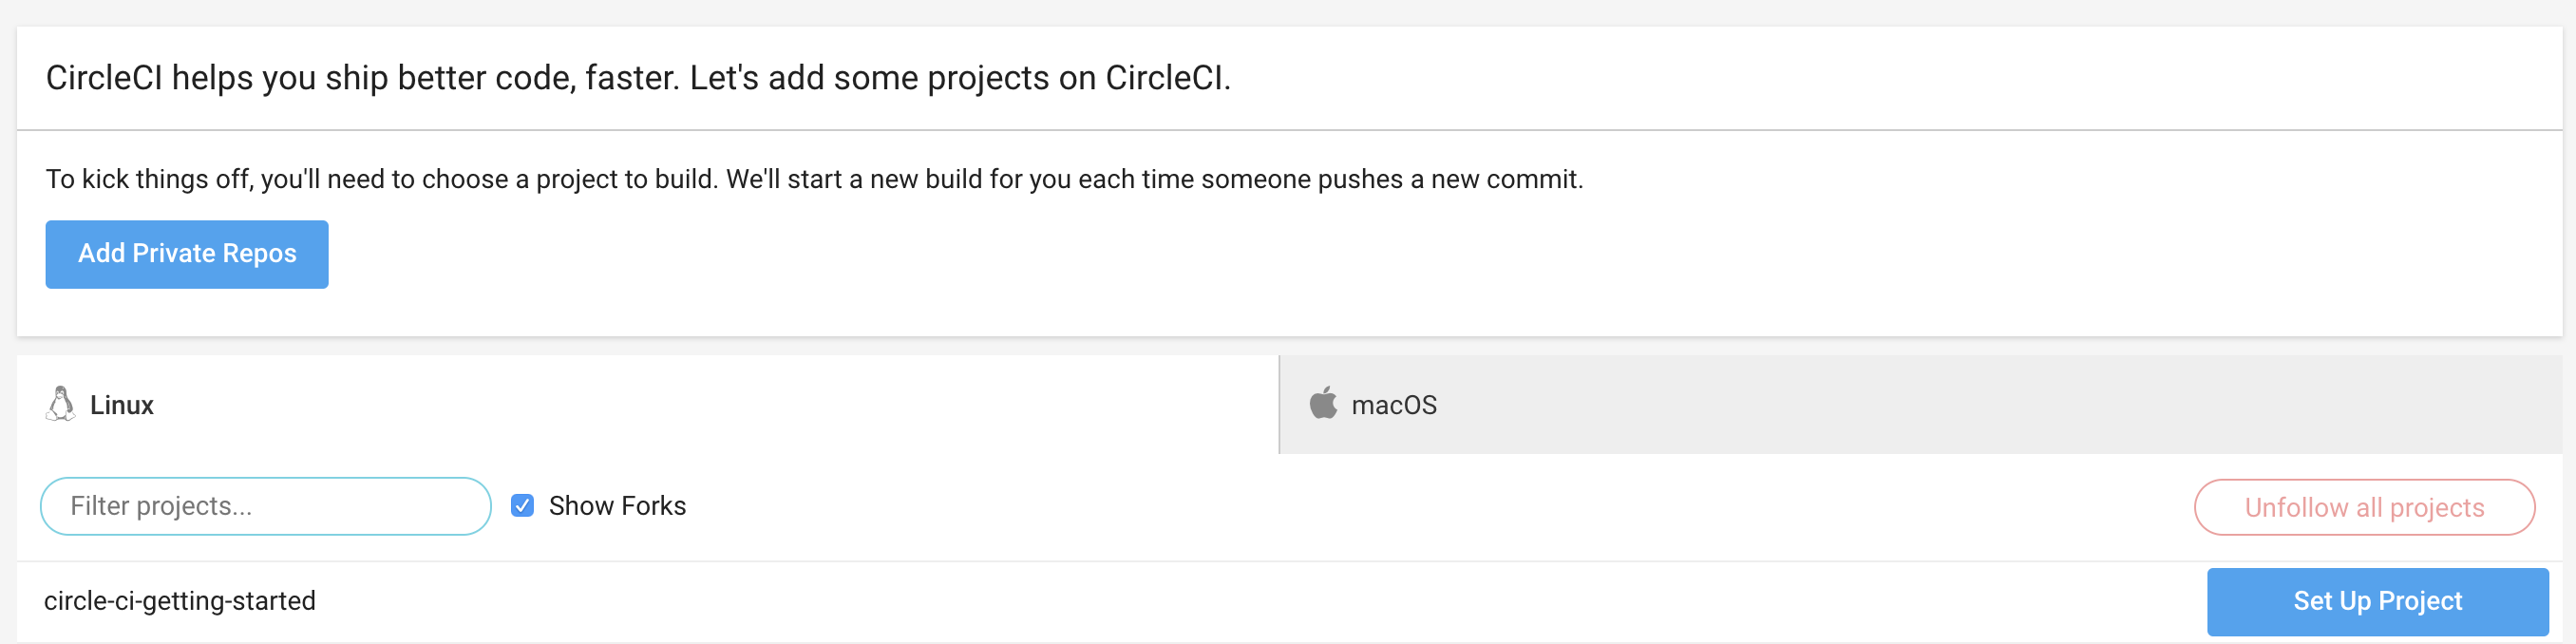
Select your project and then leave everything at default and scroll down to “start building” to run your first build.

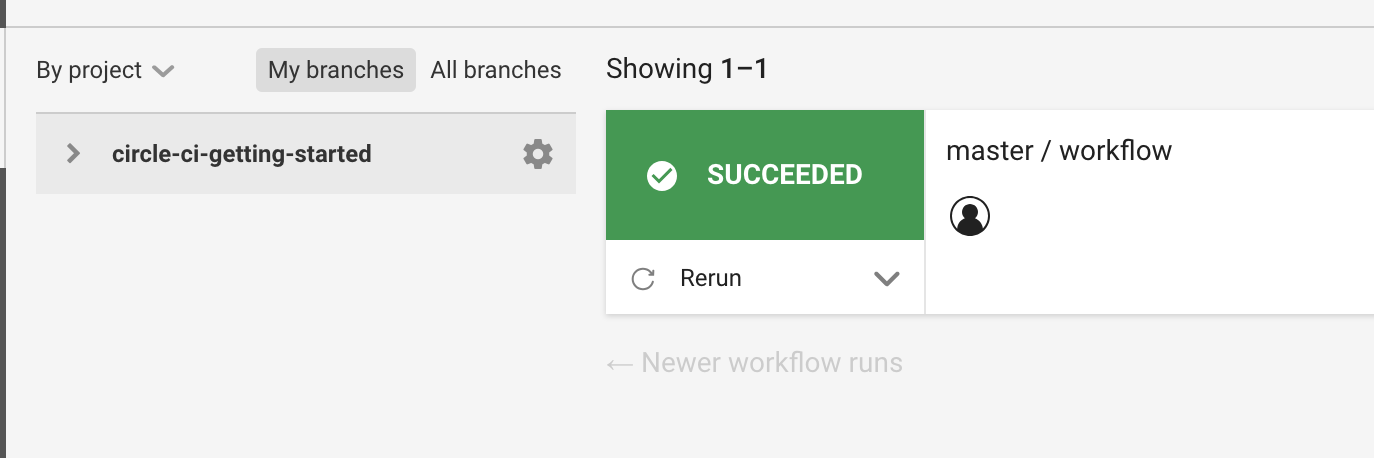
When the build completes, you should see something like the following:
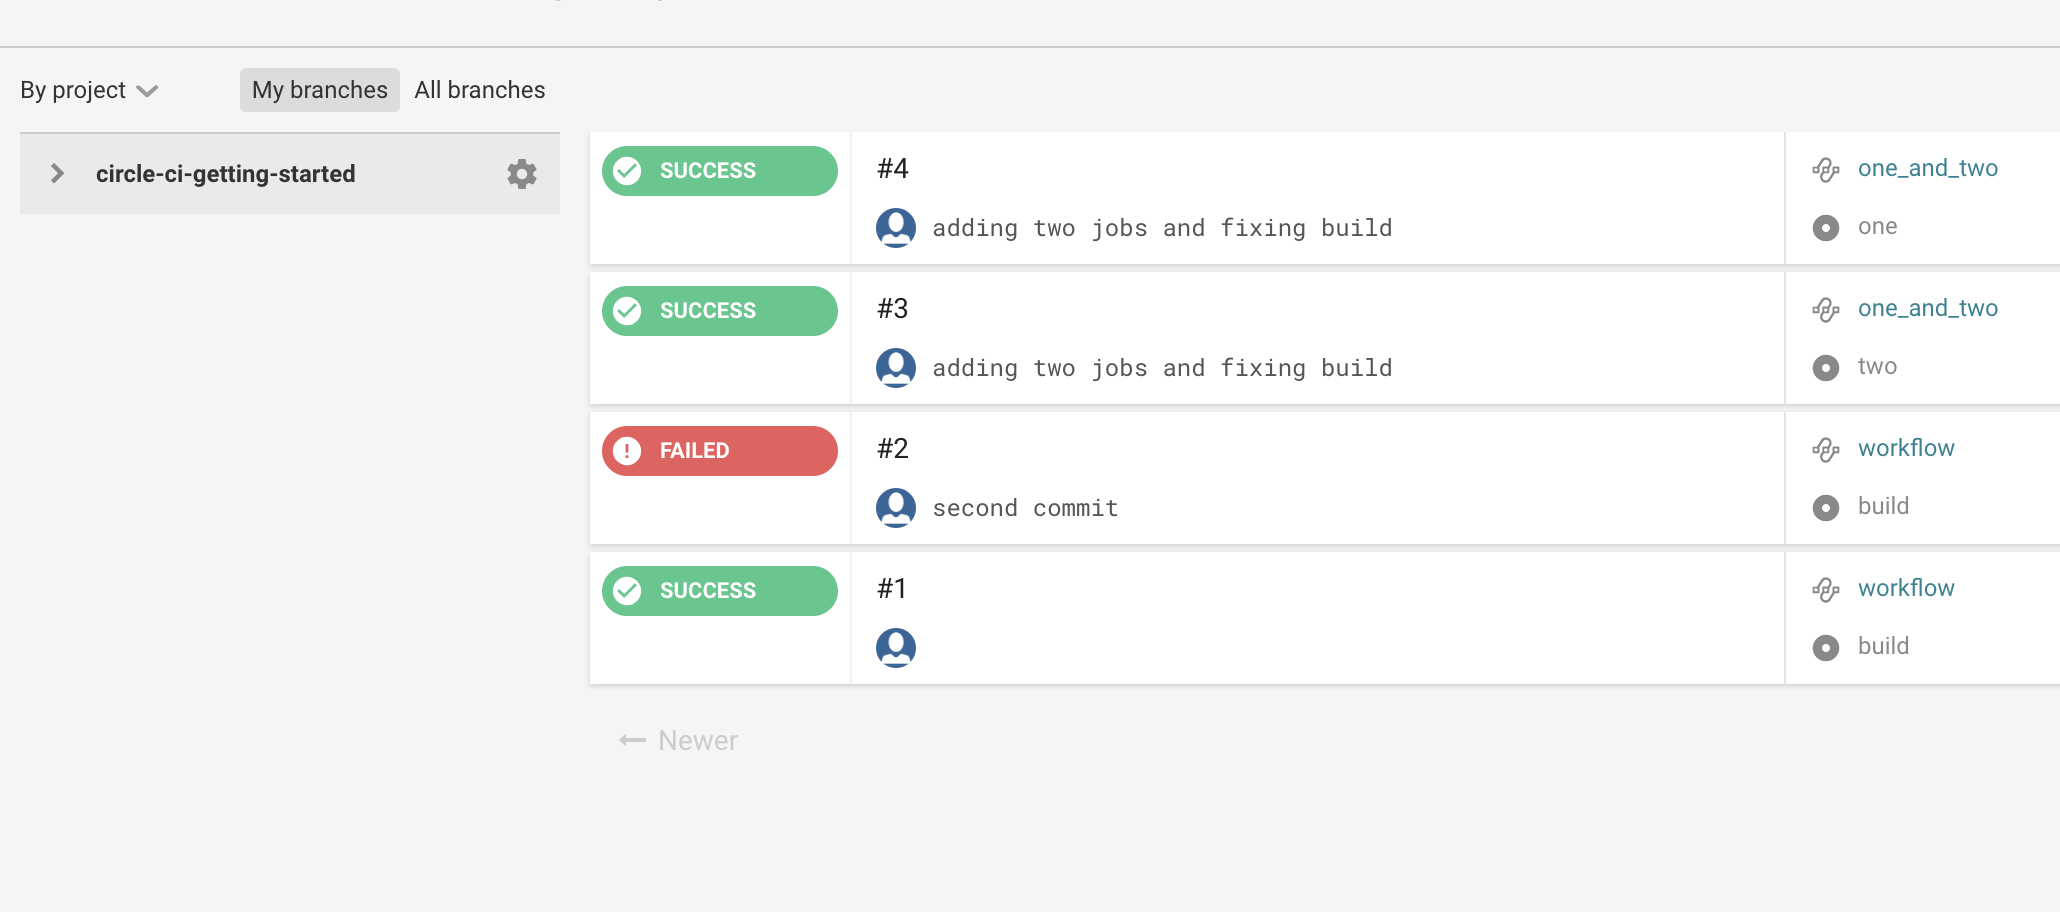
Now the how-to guide shows you how to break the build by modifying the echo command in the Yaml file. If you do this, the build will break and you’ll get an email letting you know it didn’t work.
Once you’ve turned on CircleCI for your repo, as soon as you push changes, the build jobs will run. This is very good for two reasons (1) it always ensures that you are checking your build when making code changes, (2) it makes its so you don’t have to go manually trigger build jobs when you’re doing your day to day work.
The Getting Started example will also show you how to get multiple jobs running. This is important if you want to run multiple jobs at once with your project.
Number 3 and 4 in the list here were actually run in parallel:
You can also use CircleCI workspaces which enable you to store output from stages in your pipeline and then pass it to other stages further downstream. Here’s a good page that explains more https://circleci.com/docs/2.0/workflows/#using-workspaces-to-share-data-among-jobs
Also, here’s a cool picture from the CircleCI page guide that gives a good visual of how this works as the build job runs 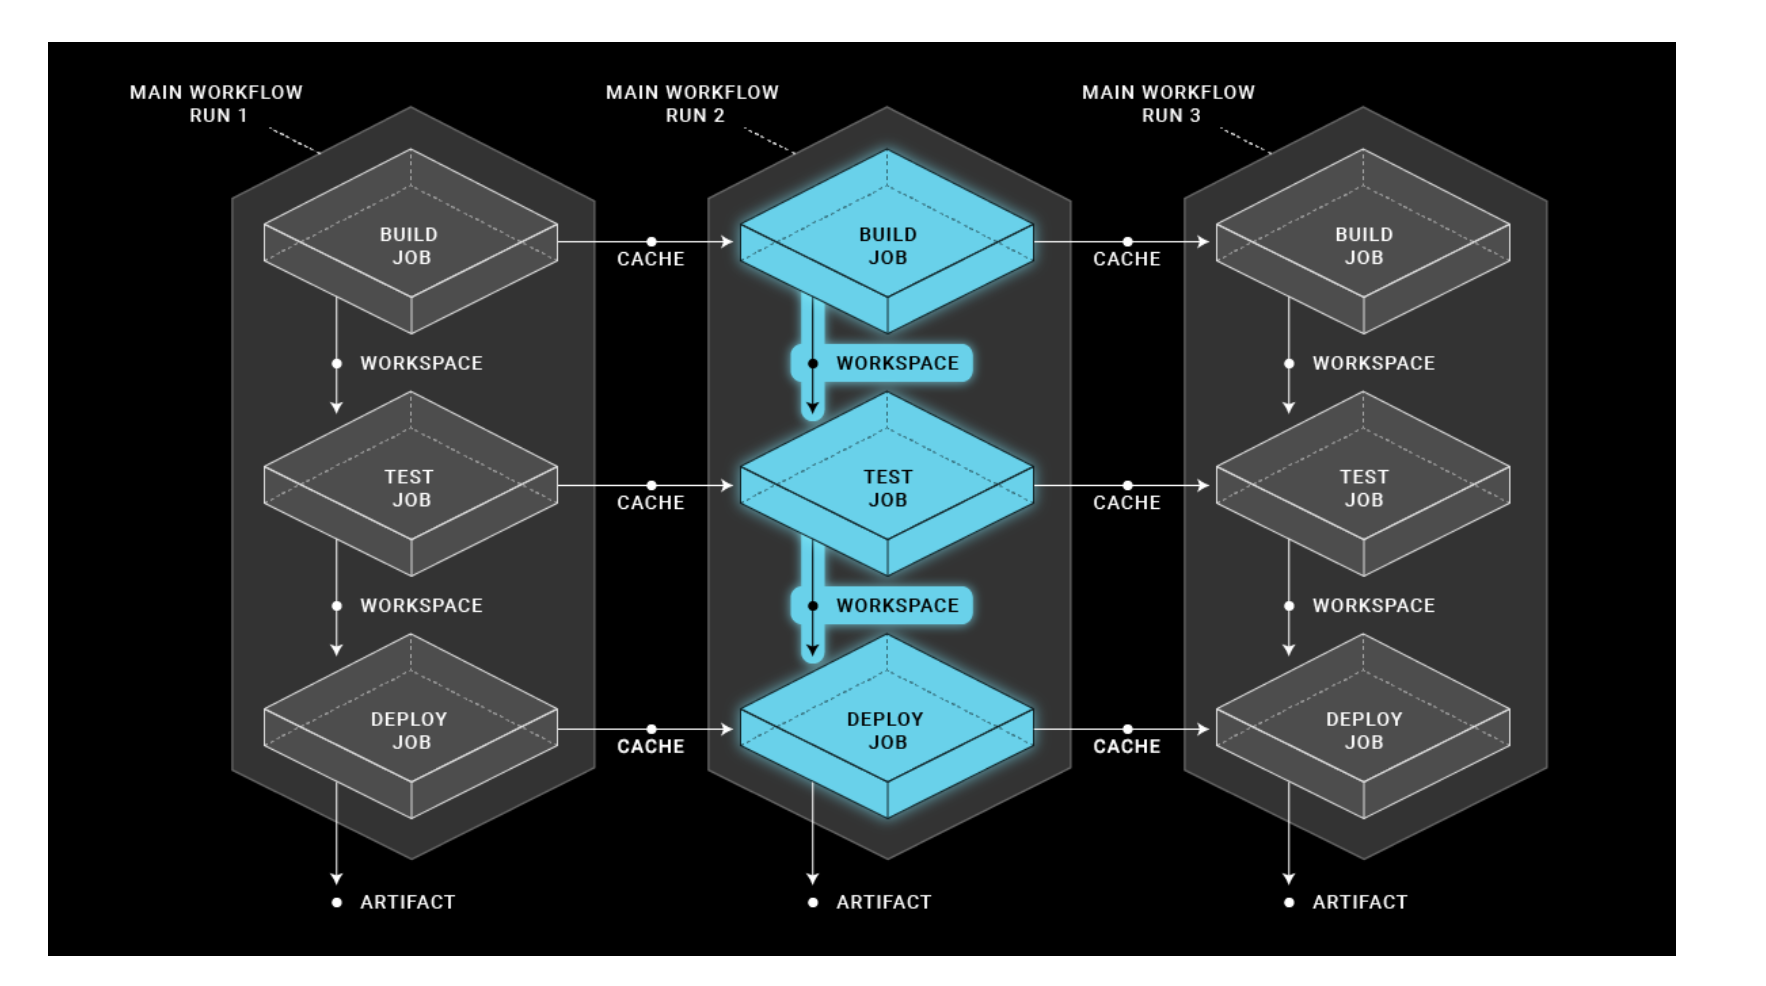
You can also SSH into your jobs as they’re running to troubleshoot specific issues.
If you want to deploy your project into a cloud provider, CircleCI does that too! I usually go back and fourth between Firebase and AWS. I’m going to show an AWS deployment example in the lines below. The main guide that CircleCI provides for deployment can be seen here https://circleci.com/docs/2.0/deployment-integrations/.
Finally, here is an example config yaml file that builds and deploys an angular app to AWS S3. This S3 bucket is also tied to a cloudfront distribution, a more in depth look at this model can be seen here my post on cloudfront distributions
version: 2
jobs:
  build:
    working_directory: ~/project
    docker:
      - image: circleci/node:chakracore-8.11-browsers-legacy
    steps:
      - checkout
      - run:
          name: Show current branch
          command: echo ${CIRCLE_BRANCH}
      - restore_cache:
          keys:
            - v1-dependencies-{{ checksum "package.json" }}
            - v1-dependencies-
      - run:
          name: Install local dependencies
          command: npm install
      - save_cache:
          key: v1-dependencies-{{ checksum "package.json" }}
          paths:
              - node_modules
       - run:
           name: Linting
           command: npm run lint
       - run:
           name: Testing
           command: npm run test
      - run:
          name: Building
          command: npm run build-prod
      - save_cache:
          key: v1-dist-{{ .Environment.CIRCLE_BRANCH }}-{{ .Environment.CIRCLE_SHA1 }}
          paths:
              - dist
  deploy:
    docker:
      - image: circleci/node:chakracore-8.11-browsers-legacy
    working_directory: ~/project
    steps:
      - run:
          name: Show current branch
          command: echo ${CIRCLE_BRANCH}
      - restore_cache:
          key: v1-dist-{{ .Environment.CIRCLE_BRANCH }}-{{ .Environment.CIRCLE_SHA1 }}
      - run:
          name: Install aws cli
          command:
              sudo apt-get -y -qq install awscli
      - run:
          name: Deploy to S3
          command: aws --region us-east-1 s3 sync dist s3:/// --delete

workflows:
  version: 2
  build-deploy:
    jobs:
      - build
      - deploy:
          requires:
            - build
          filters:
            branches:
              only: master
This example has a build and a deploy job. Lets walk through each job line by line.
build
working_directoryThis first line specifies the directory in the docker container to run your commands. This isn’t necessary, but I’ve found it very helpful because then you always know where the work is happening.
docker:
  - image: circleci/node:chakracore-8.11-browsers-legacy
This specifies the image that you are going to use for your build (and is also seen on the deployment job as well. CircleCi uses Docker containers during the deployment. You want to pick a container that has all of the dependencies you need. CircleCi has prebuilt containers or you can use others if you have special requirements etc.
steps:CircleCi jobs always have steps, these are what are actually run when the deployment happens.
- checkoutThis formally starts the build process by basically pulling down your code from your repo.
- run:
    name: Show current branch
    command: echo ${CIRCLE\_BRANCH}
This is just an echo to show what branch is being worked. It highlights how you can run basic shell commands throughout this process if you need to switch directories or some other file process etc.
- restore\_cache:
    keys:
      - v1-dependencies-{{ checksum "package.json" }}
      - v1-dependencies-
This pulls in any cached dependencies. When you deploy projects with npm or other package management, this is helpful because you can pull in cached resources in your CircleCi instance, and don’t always have to pull them down for each build. The reason that I have “v1-dependencies” twice here is because it first looks for a cache based on the checksum of the package.json file, and then if the file has changed it looks for previous cached versions of the package.json file and (if none have changed) pulls them in. This is really helpful because it allows your build to only pull in the packages that had modified rather than every package every time.
- run:
    name: Install local dependencies
    command: npm install
This is a standard npm install and installs any local dependencies that have been added and are not accounted for in the cache step etc.
- save\_cache:
    key: v1-dependencies-{{ checksum "package.json" }}
    paths:
      - node\_modules
This saves the node_modules to a cache that will be pulled in on the next build.
- run:
    name: Linting
    command: npm run lint
This does Linting on your npm project.
- run:
    name: Testing
    command: npm run test
This runs your npm script for testing. You can also store the results of your tests right in CircleCi (consult their docs for more info).
- run:
    name: Building
    command: npm run build-prod
- save\_cache:
    key: v1-dist-{{ .Environment.CIRCLE\_BRANCH }}-{{ .Environment.CIRCLE\_SHA1 }}
    paths:
      - dist
So this is actually two steps, but I wanted to talk about them together. The first is the obvious “build –prod” that every Angular developer is familiar with. Once the build of your project is complete, the “Save_cache” step caches your files that you want to deploy so that the deploy job can pull them down. This is one of the best parts of CircleCi because you can basically share resources across jobs this way. AS mentioned before, there is also support for workspaces which offers more options (check the CircleCi docs for more info on that).
Now you’ve got your build going, lets discuss the deploy job now.
deploy
docker:
  - image: circleci/node:chakracore-8.11-browsers-legacy
working\_directory: ~/project
steps:
  - run:
      name: Show current branch
      command: echo ${CIRCLE\_BRANCH}
I’ve already explained the first part of the deploy job. Just as with the build job, here we specify the docker image and then run an “echo” command to display the working branch to the console.
- restore\_cache:
    key: v1-dist-{{ .Environment.CIRCLE\_BRANCH }}-{{ .Environment.CIRCLE\_SHA1 }}
This part of the job pulls in the cached dist folder that we had written out to before. This formally takes the built project that was output from the build project and puts it into the deploy projects workspace here.
- run:
    name: Install aws cli
    command: sudo apt-get -y -qq install awscli
This installs the AWS cli that is going to be used for deployment. The cli being present makes deployment easy becuase you can just use the commands directly to push your project into AWS.
- run:
    name: Deploy to S3
    command: aws --region us-east-1 s3 sync dist s3:/// --delete
This uses the AWS cli to push the project into the S3 bucket. As mentioned above, this is used with a cloudfront distribution so once this is pushed, the changes should be available almost immediately on the cloudfront site.
workflows:
  version: 2
  build-deploy:
    jobs:
      - build
      - deploy:
          requires:
            - build
          filters:
            branches:
              only: master
Finally, this is the workflow section. This connects both jobs together. In this defined workflow, the jobs run in sequence starting with “build” then “deploy.” “Deploy” requires “build” to be done and works only on the “master” branch of the repo.
One other note is to make sure to have your environment variables setup correctly in your project. If you’re going to use AWS, you need your keys from the console. If you use Firebase, you’ll need a token stored somewhere. There are many other cloud platforms supported and more information on deployments can be seen in the links provided above.
Overall, CircleCI is a very easy to use platform that enables you to create your own CICD in a very short time. Additionally, it is robust enough to provide multiple options for deployments and allows you to customize your pipeline. Check it out if you get a chance!