Docker
Docker is somthing that is widely used by companies and Computer Scientists today. It was revolutionary in coming out because it simplified deployments and enabled companies to easily build and move systems.
One of the biggest challenges Software Engineers have today is deployment. Historically deployment would require a physical machine. The machine would have to be bought, then setup, and then patched regularly. This was costly and not time efficient. It also created a maintenance challenge because you would have to go and patch that server regularly whenever OS updates would come out.
When Virtual Machines were developed this helped a great deal (Wiki Page). You could now have several OS on one physical machine. Your applications could be maintained independently of the hardware. You still had to patch the OS but at least it was more space efficient. However, the challenge still existed to have patches on the individual VMs.
So now enter Docker.
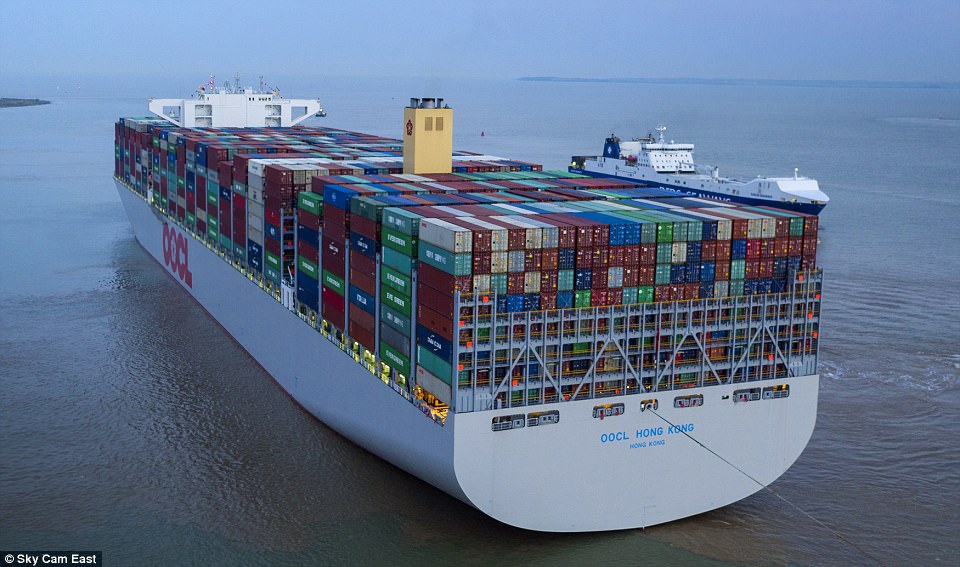
When Docker came out, everything changed because now you could containerize your application. What does that mean? Well every application can be built into a small container. This is not much different than had been before when you consider setups like Java Tomcat. However, this container can easily be moved from one place to another. Further, with Docker you can have many containers on the same VM on the same machine. This is very similar to a containership that you see today. Each one of the containers could be considered a Docker Image that is residing on the overall ship.
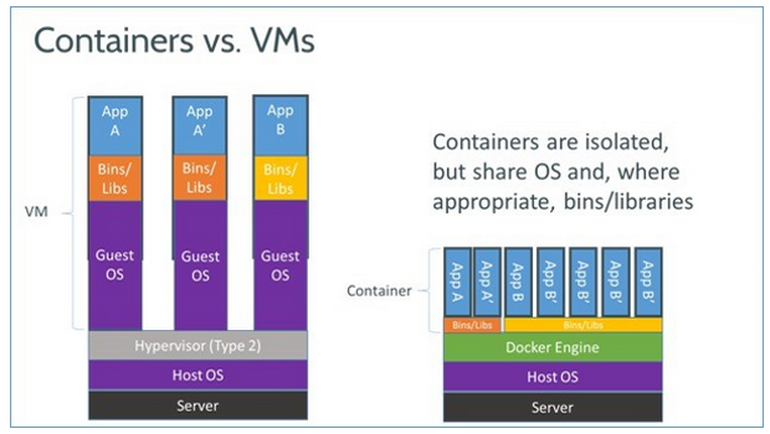
Here is an image taken from ZDNet that shows a visual explanation.
Here’s an image of a container ship just for fun
So how does this work? Well its actually pretty easy to setup.
First go out to the Docker Site and install the Community Edition. You can also purchase a full edition, but thats mostly only if you want to use enterprise features. Here’s the Docker Site Community Edition
Once you’ve got Docker setup, now lets containerize somthing. Here I’m going to containerize a Java Spring Boot Application. You should note each language has different constraints on how to work with Docker. In general, using the docker commands for building and running its fairly straightforward. I’d recommend googling this to learn more.
Next go out and create a Spring Boot project with the Spring Initialzr link here Spring IO . Make sure to include the “Web” dependency.
Now in the main class make sure to include a rest endpoint that we can call to test. Here I just created a basic Hello World endpoint that I’ll use to test when I’ve finished setting everything up.
@SpringBootApplication
@RestController
public class HelloWorldSpringBootApplication {

   @RequestMapping("/hello-world")
   public String home() {
      return "Hello World from Spring Boot!";
   }

   public static void main(String\[\] args) {
      SpringApplication.run(HelloWorldSpringBootApplication.class, args);
   }
}
Now that you have you rest endpoint setup we also need to add a “Dockerfile” to your project. This is the file that Docker will use to build an image for your application. I’ve used some help from the Spring IO Guides Docker Example ([https://spring.io/guides/gs/spring-boot-docker/](http://Spring Docker)). Here is the Dockerfile that I’m using for this example:
FROM openjdk:8-jdk-alpine
ARG JAR_FILE
COPY ${JAR_FILE} app.jar
ENTRYPOINT ["java","-jar","/app.jar"]
Some key points on the Dockerfile here. First the “FROM” keyword is pulling one of the Docker public images to start with. This is normally how Docker builds an image for an application, it takes a base image and then copies your application into it to run. You can build your own custom base images but that would be a topic for another post.
Next the COPY command is what is copying the JAR file that is created by maven. Using the “ARG JAR_FILE” syntax here is special for use with the Spotify plugin and I’m not going to go into more detail on this (more on that below). You can specify arguements to use in your Dockerfile with the “ARG” keyword.
The ENTRYPOINT is the command that will run to start your docker image. You can also do this with CMD or RUN, but ENTRYPOINT is nice because you can pass it a command with arguements and its easy to write and understand. Here we are just telling java to run the jar file with the normal JVM arguement here.
There are lots more options with Dockerfile sytnax and a full reference can be found here Docker File .
Now since we’re working with Java, its recommended to use the Spotify Docker plugin. The following configuration will work with the above rest endpoint and Dockerfile. Using this plugin makes the containerization process easier and can be setup with some parameters in the Spring Boot pom.xml file. The setup in your pom.xml file allows Docker to recognize the image name and package the JAR file that is created. This post isn’t about Java or Jar files but do some googling if you’d like to know more about it. For the purposes of this exercise it just helps to see how it is packaged. Check out the plugin and its documentation here Spotify Plugin. Second I also want to mention that if you’re using the Spotify plugin you will also need Maven. Check out Maven and how to set it up here Maven
Here is the specialized setup I used for my pom.xml file with the spotify plugin
</properties>
     <docker.image.prefix>rhythmandbinary</docker.image.prefix>
</properties>

<build>
   <plugin>
      <groupId>com.spotify</groupId>
      <artifactId>dockerfile-maven-plugin</artifactId>
      <version>1.3.6</version>
      <configuration>
         <repository>${docker.image.prefix}/${project.artifactId}</repository>
         <buildArgs>
            <JAR\_FILE>target/${project.build.finalName}.jar</JAR\_FILE>
         </buildArgs>
      </configuration>
   </plugin>
</build>
Once you’ve updated your pom.xml file and you have Maven setup. You can now build your Docker image using Maven to call the docker build commands. It should also be noted that for languages like Node JS or lighter frameworks, this process can be done more generically without the need for specialized plugins.
Open a terminal and go to your project’s root directory and run the following
mvn install dockerfile:buildWith the above configuration, the repository and prefix information in the properties and configuration parameters specify what the name of your image will be. If you don’t do this then Docker will randomly generate a string that identifies your build image for later.
Now run the following command to start your docker image locally
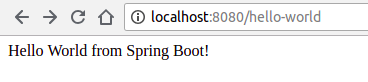
docker run -p 8080:8080 -t rhythmandbinary/hello-world-spring-bootNow open your browser to http://localhost:8080/hello-world
With that, you should see the hello world message. Congratulations you’ve just created your first Docker Container!
Once you’ve got your image setup, you can push and pull it to a repository. You can use Docker’s public repositories and you can also create your own. Commands to remember with this are just to first login to the docker repository with “docker login” and then you would need to do a “docker push” to the image to push into the repository once it is created.
In order to deploy your image into a cloud infrastructure or even on a server you would need to just run the docker run command like you did here to run it locally and expose the respective port that your application is running on.
There are lots of other options with Docker and I would encourage you to do the getting started tutorials that Docker provides for more info Getting Started